Your Microsoft account serves as the central hub for Outlook, OneDrive, Xbox, Office 365, and your entire Windows 11 ecosystem. Protecting it with two-factor authentication adds a critical second layer of defense against unauthorized access. Even if a phishing attack or data breach exposes your password, attackers cannot bypass the verification step without physical possession of your phone or hardware key. This guide walks you through enabling the strongest verification methods directly from your Windows 11 browser.
Before You Start: Confirm that you can currently sign in to your Microsoft account using your password. You will need a smartphone running iOS or Android with a compatible authenticator app already installed. Microsoft Authenticator, Google Authenticator, and Authy all work reliably for this process. If you prefer a hardware-based solution, have a FIDO2 security key ready and plugged into an available USB port on your PC.
Step 1: Open Your Microsoft Account Security Page
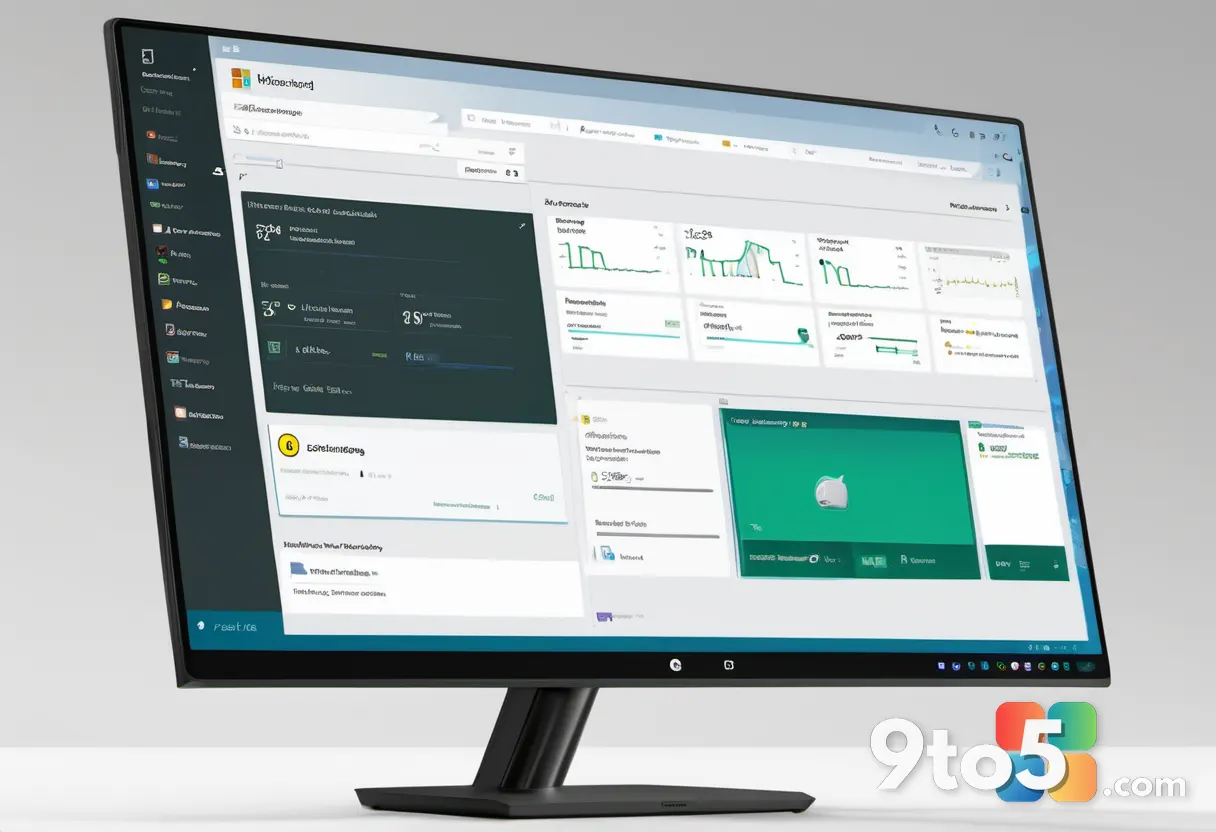
Launch your preferred web browser and navigate to account.microsoft.com/security. Enter your email address and password to sign in. This centralized dashboard controls every security setting tied to your profile, including password recovery, sign-in methods, and device trust levels. You will see a vertical menu on the left side listing recent activity, connected devices, and security preferences. Keep this tab open throughout the entire setup process.
Step 2: Access Advanced Security Options
Click the Advanced security options link located in the main content area. Microsoft routes all multi-factor authentication configuration through this dedicated panel to keep the interface clean. You will see a summary of your current verification methods, along with toggle switches and setup buttons for each option. If you already have a method enabled, the page will display it as active with an Edit link. This screen is the only place where you can manage backup recovery codes and phone numbers.
Step 3: Choose Your Primary Second Factor
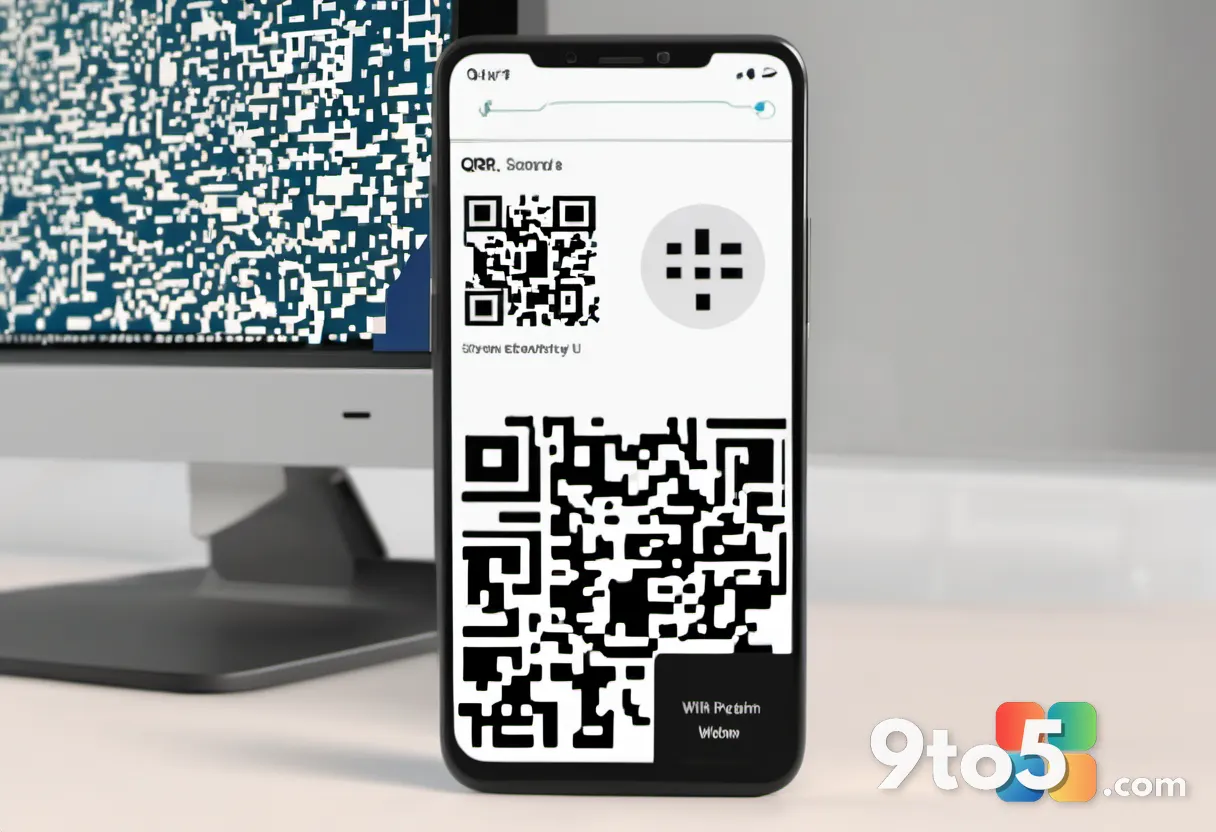
Select the Authenticator app option from the available methods list. Microsoft strongly recommends this approach because it generates offline time-based codes and supports secure push notifications. You will see a QR code displayed on your screen alongside a manual entry key for devices that cannot scan images. Keep this tab open while you configure your phone in the next step. Avoid selecting SMS as your primary method, since text messages are vulnerable to SIM swapping attacks.
Step 4: Link Your Authenticator App
Open the Microsoft Authenticator app on your smartphone and tap Add Account. Choose Add a work or school account, then select Scan a QR code. Point your camera at the code displayed on your computer screen. The app will sync with Microsoft servers and begin sending approval prompts directly to your device whenever you sign in elsewhere. You will receive a test notification within a few seconds to confirm the pairing succeeded.
Step 5: Configure a Backup Verification Method
Return to the Advanced security options page and click Add method under Backup info. Adding a secondary option prevents you from locking yourself out if you lose your primary phone or leave it at home. You can register a secondary phone number for SMS codes or link an alternate email address. Microsoft requires at least two verification methods before allowing you to remove the first one. Write down your recovery codes in a secure location if the option appears.
Pro Tip: Enable the Notify Me option inside the Authenticator app settings. This pushes instant approval requests to your phone screen, letting you tap Approve instead of manually typing six-digit codes. You can also customize the notification sound to recognize security alerts instantly.
Step 6: Test the New Sign-In Flow
Open a new browser window in incognito or private mode and sign in to any Microsoft service. You will notice a new prompt asking for verification after entering your password. Check your phone for the approval notification or open the app to view the current code. Enter the code or tap Approve to confirm the setup works correctly. If the prompt does not appear, wait thirty seconds and refresh the page.
Troubleshooting Common Setup Issues
If you run into problems during configuration, check these three frequent failure points before contacting Microsoft support.
- The QR code will not scan: Move closer to your screen or switch to the manual entry key. Some camera autofocus settings struggle with high-resolution displays. If the code expires, click Refresh on the web page to generate a new one. Ensure your phone’s camera lens is clean and free of screen protectors that cause glare.
- You never receive the approval notification: Verify that background app refresh is enabled in your phone settings. On Android, check
Settings > Apps > Microsoft Authenticator > Battery > Unrestricted. On iOS, ensure notifications are allowed inSettings > Notifications. Restart the app if the prompt remains stuck on Loading. - Sign-in fails after setup: Clear your browser cache and cookies for
account.microsoft.com. Sometimes cached authentication tokens conflict with the new multi-factor requirement. Restart your browser and try again. If you are using a corporate network, your IT department may need to whitelist the authentication endpoint.
Additional Security Tips
Once two-factor authentication is active, consider enabling Windows Hello for Business if you manage a work profile. Enterprise environments can enforce conditional access policies that block sign-ins from untrusted devices. Regularly review your active sessions under the Security page to revoke access for old computers or lost phones. Keeping your backup contact information current ensures you never lose recovery options. Pair these steps with a password manager to generate unique credentials for every service you use.
Over to you: Which second-factor method do you prefer for your Microsoft account?