Windows Sandbox is a built-in, lightweight virtual machine that Microsoft ships with Windows 11. It creates an isolated desktop environment where you can open files, install software, or test applications without touching your actual operating system. When you close the sandbox, every change you made vanishes forever. This makes it an ideal testing ground for untrusted installers, suspicious documents, or software from unknown developers.
Before You Start: You will need a Windows 11 Pro, Enterprise, or Education edition license. The Home edition does not include this feature out of the box. You will also need a processor with virtualization support enabled in your BIOS or UEFI settings.
Step 1: Verify Your Windows 11 Edition and Hardware Requirements
- Check your Windows edition and virtualization status. Open Settings, navigate to System > About, and look at the Edition field. If it reads Home, you will need to upgrade to Pro or Enterprise through the Microsoft Store. Next, open Task Manager with
Ctrl + Shift + Esc, switch to the Performance tab, and look for Virtualization under the CPU section. It must display Enabled. If it shows Disabled, reboot into your firmware settings and toggle AMD-V or Intel VT-x to active. Without virtualization enabled, Windows Sandbox will refuse to start because it cannot allocate the necessary hardware resources.
Step 2: Enable Windows Sandbox Through Windows Features
- Activate the sandbox feature in Windows. Press
Win + Rto open the Run dialog, typeoptionalfeatures, and hit Enter. Scroll down the list of Windows Features until you locate Windows Sandbox. Check the box beside it, click OK, and allow Windows to search for the required files. Your system will restart automatically. This process registers the sandbox driver and prepares the virtualization stack for immediate use. If the option is grayed out, your current Windows edition does not support it, and you will need to switch to a supported tier.
Step 3: Launch the Sandbox and Prepare Your Workspace
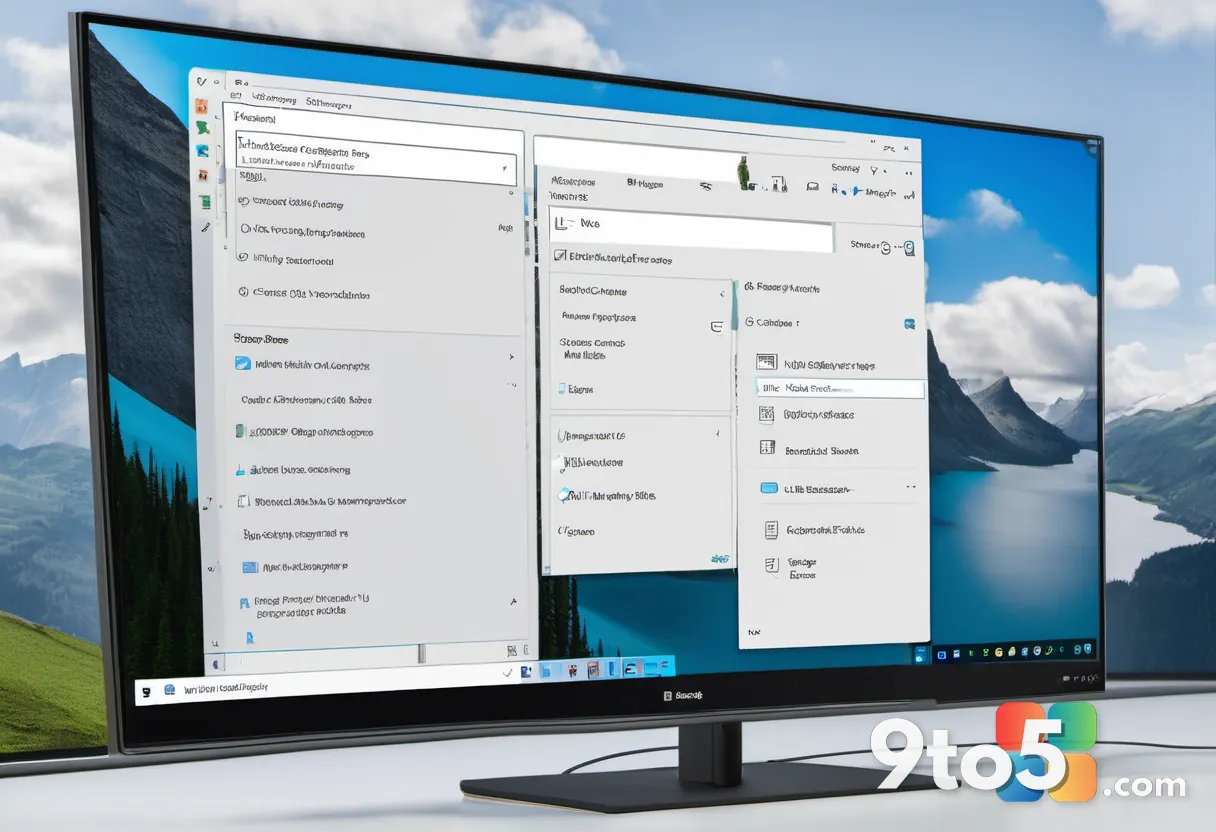
- Open a fresh sandbox instance. Open the Start menu, type Windows Sandbox, and select the app from the results. A new window will appear with a clean desktop, complete with its own taskbar, Start menu, and File Explorer. The sandbox runs on a separate virtual network and does not share your physical drives by default. You will notice a small notification icon in the system tray that lets you pause or reset the environment. If the window fails to appear or shows a black screen, wait two minutes for the virtual hardware to initialize, then close the process via Task Manager and try again.
Step 4: Transfer and Run the Untrusted Program
- Copy the file into the isolated environment. Drag the installer file from your desktop directly into the sandbox window, or right-click the file and choose Copy before pasting it inside the sandbox. You can also use the
HostFolderdirective in a.wsbconfiguration file to automatically mount a specific directory. Once the file appears inside the sandbox, double-click it to run the installer. The program will execute in complete isolation, meaning it cannot modify your host registry, steal your credentials, or spread to other devices on your network. If the installer refuses to run, right-click the file, select Properties, and check the Unblock box at the bottom of the General tab.
Step 5: Close the Sandbox and Discard All Changes
- Shut down the virtual environment permanently. When you finish testing, click the X button in the top-right corner of the sandbox window. Windows will prompt you to confirm that you want to discard all changes. Click Yes, and the virtual machine will shut down immediately. Every file you downloaded, every setting you changed, and every piece of malware you might have triggered is permanently deleted. You can launch a fresh instance at any time by repeating Step 3. If Windows asks whether you want to save changes, ignore the prompt because the sandbox does not support persistent storage by design.
Troubleshooting Common Windows Sandbox Issues
- Error 0x80370102: This code means virtualization is disabled in your firmware. Reboot, enter BIOS/UEFI, and enable Intel VT-x or AMD-V. Save your changes and restart Windows.
- Sandbox opens but shows a blank screen: Your graphics driver may be incompatible with the virtual display adapter. Update your GPU drivers from the manufacturer website, or temporarily switch to the Microsoft Basic Display Adapter in Device Manager.
- Copy-paste stops working mid-session: The sandbox uses a clipboard redirection service that can glitch after extended sessions. Restart the sandbox to restore bidirectional clipboard functionality.
- Program crashes immediately inside the sandbox: Some applications require specific hardware IDs or network configurations that the virtual environment cannot provide. Check the software requirements, or test the program on a different isolated tool like a virtual machine.
Pro Tip: Create a .wsb configuration file in Notepad to automate folder sharing and memory limits. Add <Configuration> and <MappedFolders> tags to automatically mount your Downloads folder inside the sandbox, then double-click the file to launch a preconfigured instance.
Windows Sandbox provides a reliable safety net for curious users who need to test software without risking their primary workstation. Keep your Windows 11 installation updated to ensure you receive the latest virtualization patches. Run your suspicious files inside this isolated environment, and your main system will stay clean. Enterprise administrators can also deploy sandbox configurations via Group Policy to standardize testing across organizational devices.
Over to you: Have you ever caught a suspicious file inside Windows Sandbox before it reached your main system?