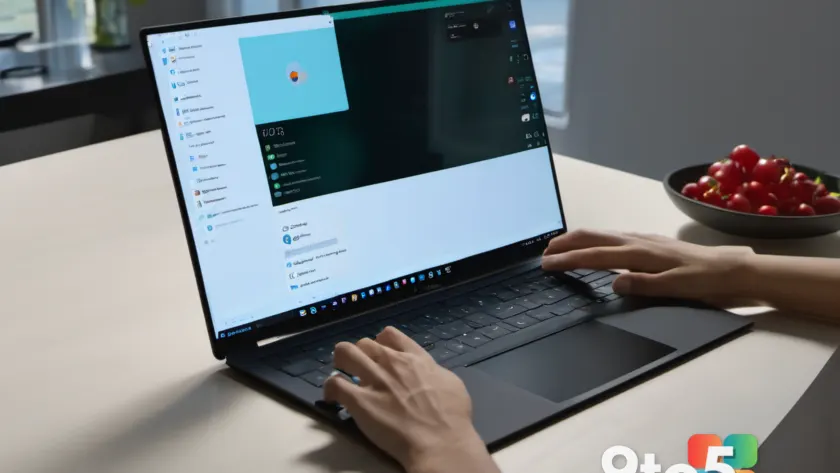
Windows Hello replaces traditional passwords with biometric authentication, giving you a faster and more secure way to unlock your PC. You can sign in using your face or fingerprint, and Windows 11 handles the cryptographic verification locally on your device. This means your biometric data never leaves your hardware, which keeps your account protected even if Microsoft servers experience an outage.
Before You Start: Your PC must have a built-in infrared camera for facial recognition or a capacitive fingerprint reader for biometric login. Most modern laptops and business desktops include one of these components. Windows 11 Home, Pro, Enterprise, and Education editions all support Windows Hello, though Enterprise deployments managed by IT departments may require administrator approval before biometric options appear.
Step 1: Verify Your Hardware Supports Biometric Sign-In
Open Settings and navigate to Accounts > Sign-in options. Scroll down to the Biometric section and look for Facial recognition or Fingerprint recognition. If you see a green checkmark or a Set up button, your hardware is compatible and ready to use. If the option appears grayed out or missing, your device likely lacks the required sensor, or the driver failed to install correctly. In that case, open Device Manager, expand Biometric devices, and check for any yellow warning icons. Right-click the listed device and select Update driver to refresh the connection.
Step 2: Create a PIN as Your Backup Sign-In Method
Click the Set up button next to Windows Hello PIN. Microsoft requires a PIN before you can enable biometric authentication because the PIN acts as a secure fallback if the sensor malfunctions or you cannot use it. Follow the on-screen prompts, enter your current Microsoft account password when requested, and choose a four-digit or longer PIN. You will see a confirmation screen once the PIN is saved. If Windows blocks you from creating a PIN, check that your device is connected to the internet and that your account is properly signed in.
Step 3: Enroll Your Face or Fingerprint
Return to Sign-in options and click Set up under your preferred biometric method. For facial recognition, position your face within the frame shown on screen and keep the room well lit. The infrared camera will map your features in three dimensions. For fingerprint login, place your finger on the sensor and lift it, then place it again as instructed until the progress bar fills. You will see a success message once enrollment completes. If the system repeatedly asks you to retry, clean the sensor with a microfiber cloth, adjust your angle slightly, or ensure your finger is dry and free of lotions.
Step 4: Configure Advanced Sign-In Preferences
Toggle Require Windows Hello sign-in for Microsoft accounts to On. This setting forces your PC to use biometric authentication instead of falling back to your password every time you restart or wake from sleep. You will notice the change take effect immediately on the next lock screen. If you manage a fleet of devices through Microsoft Endpoint Manager or Group Policy, your IT administrator may override this toggle. Contact your help desk if the option remains locked after you change it.
Step 5: Test Your New Login Method
Lock your PC by pressing Windows + L and attempt to sign back in. You should see the lock screen prompt for your face or fingerprint instead of a password field. Place your face in front of the camera or rest your finger on the reader, and Windows will verify your identity in seconds. If the biometric scan fails three times in a row, Windows will automatically offer your PIN as a fallback. You can also tap Use my PIN instead at the bottom of the sign-in screen.
Troubleshooting Common Windows Hello Issues
- Biometric sensor not detected: Open Device Manager, expand Biometric devices, and uninstall the listed sensor. Restart your PC and let Windows reinstall the driver automatically. If the issue persists, visit your manufacturer support page and download the latest chipset and sensor drivers.
- Face or fingerprint repeatedly rejected: Ensure the camera lens or fingerprint glass is completely clean and free of screen protector residue. For facial recognition, remove glasses with heavy tinted lenses and avoid standing directly under harsh overhead lighting. For fingerprints, register the same finger on both the left and right sides if your sensor supports it.
- Windows Hello disappears after a Windows update: Run
sfc /scannowin an elevated Command Prompt to repair corrupted system files. Then navigate back to Settings > Accounts > Sign-in options and re-enable the biometric toggle. If the option remains missing, checkComputer Configuration > Administrative Templates > Windows Components > Windows Hello for Businessin Local Group Policy Editor to confirm no policies are blocking enrollment.
Pro Tip: Add a secondary finger or a backup face profile during enrollment. This helps when you wear hats, scarves, or glasses that might confuse the infrared mapping system.
Closing Tips: Keep your PIN memorized and stored securely offline, since it serves as your permanent recovery method. Review your sign-in options monthly to ensure no unauthorized biometric profiles remain on shared devices. Windows Hello integrates smoothly with Microsoft Authenticator on your phone, so you can approve sign-ins remotely when working from another room.
Over to you: Which Windows Hello method do you rely on more: face recognition or your fingerprint?
You may also like
 How to Enable Windows Hello Face Recognition or Fingerprint Login on Windows 11
 How to Set Up Windows Hello Face Recognition or Fingerprint Login on Windows 11
 Make Your Windows 11 Desktop Calmer: 7 Features to Disable Immediately
 How to Set Up Windows Hello Face Recognition or Fingerprint Login on Windows 11