Windows Hello replaces your traditional password with biometric authentication, allowing you to unlock your PC with a glance or a quick touch. Whether you own a laptop equipped with an infrared camera or a desktop paired with a USB fingerprint reader, the configuration process takes only a few minutes. This guide covers both methods side by side so you can select the option that matches your hardware and daily workflow.
Before You Start: Verify that your device contains a compatible biometric sensor. You will also need a stable power source, since Windows blocks biometric enrollment on battery power to prevent accidental lockouts. If you are running Windows 11 Home, face and fingerprint sign-in are fully supported, while Windows 11 Pro, Enterprise, and Education editions unlock additional management features through Group Policy.
Step 1: Open Settings and navigate to your account panel
Launch the Settings app and select Accounts from the left sidebar. Press Win + I to open Settings, then click Accounts in the navigation pane. You will see a list of account-related menus appear in the right pane, including Your info, email & accounts, and sign-in options. This panel serves as the central repository for every authentication method Windows recognizes on your machine.
Step 2: Select Sign-in options from the Accounts menu
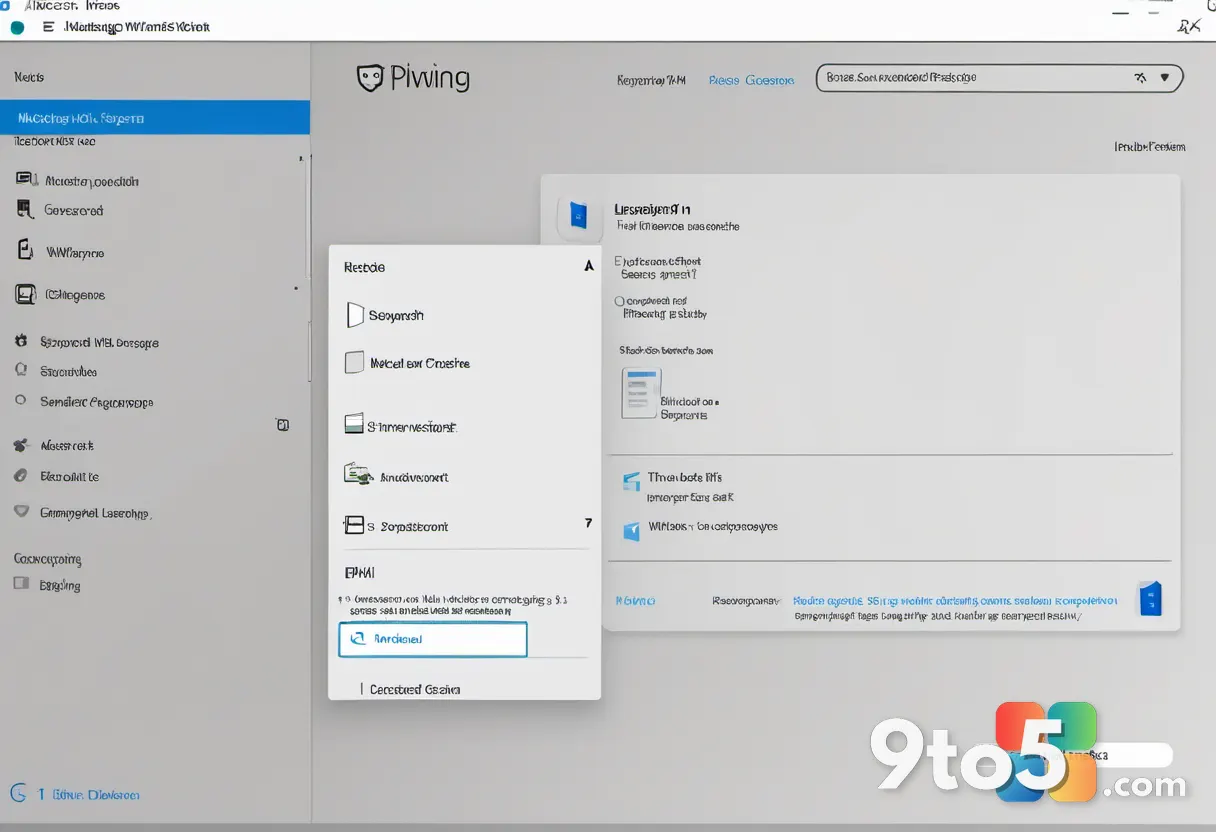
Click Sign-in options in the right pane to reveal available authentication methods. Scroll downward until you locate the Sign-in options entry, then click it. The page will refresh and display a grid of tiles representing Password, Windows Hello PIN, Facial recognition, and Fingerprint recognition. If Face or Fingerprint tiles are missing entirely, your hardware likely lacks the required sensor, or the system drivers have not installed correctly.
Step 3: Initialize the Windows Hello Face setup wizard
Click the Facial recognition tile and press the Set up button beneath it. Windows will prompt you to enter your current PIN or account password to verify your identity before accessing biometric hardware. Once authenticated, your camera will activate and begin capturing your face from multiple angles. Move your head slowly left, right, up, and down until the circular progress indicator completes. If the scanner repeatedly fails, improve your room lighting, remove glasses with heavy tints, and ensure nothing obscures your eyebrows or forehead.
Step 4: Configure the Windows Hello Fingerprint reader
Return to the Sign-in options grid and click the Fingerprint recognition tile. Press Set up, enter your PIN or password when prompted, and place your finger on the sensor exactly as the on-screen diagram demonstrates. Lift and reposition your finger three times to capture distinct pressure points and edges. If the reader rejects your print, wipe the sensor with a dry microfiber cloth, remove any lotions or oils from your finger, and retry with a different digit.
Step 5: Establish a fallback PIN for recovery purposes
Create a Windows Hello PIN if you have not already done so. Windows requires a numeric PIN before it will permit biometric sign-in, since biometric data can occasionally fail to register. Click the PIN tile under Sign-in options, follow the on-screen prompts, and choose a code that is easy for you to remember but difficult for others to guess. This PIN activates automatically when you wear face coverings, gloves, or after a system restart, ensuring you never become locked out of your own machine.
Step 6: Test your new login method from the lock screen
Lock your PC and attempt to unlock it using your chosen biometric. Press Win + L to return to the lock screen, then look at your camera or place your finger on the sensor. You should see the lock icon animate and Windows will load your desktop within seconds. If the biometric option does not appear at the bottom of the lock screen, click the Sign-in options link and manually select Face or Fingerprint from the dropdown menu.
Troubleshooting common Windows Hello issues
Resolve the “Windows Hello is not available on this device” error. Open Device Manager by pressing Win + X and selecting it, then expand the Biometric devices category. If your sensor shows a yellow warning icon, right-click it and choose Update driver. Restart your PC afterward and return to Settings to retry enrollment. If the device still does not appear, visit your manufacturer’s support page to download the latest chipset and sensor drivers.
Fix repeated biometric recognition failures. Navigate back to Settings > Accounts > Sign-in options and click Remove under your failing biometric method. Reboot the system, then run the setup wizard again from scratch. During re-enrollment, ensure you are in a well-lit environment and that the sensor surface is completely clean. For fingerprint readers, try registering the same finger twice using slightly different angles to improve match accuracy.
Restore missing biometric options on the lock screen. Open Settings > Accounts > Sign-in options and locate the toggle labeled Require Windows Hello sign-in for Microsoft accounts. Switch it to On, then restart your PC. This policy sometimes disables itself after major Windows updates, and toggling it restores the lock screen biometric buttons.
Pro Tip: Enable the Require PIN after sleep or standby option in the same menu to force a secondary verification step when your PC wakes, adding a security layer without requiring you to type your full password.
Final tips for long-term reliability
Biometric data never leaves your device, but pairing it with a strong PIN maximizes protection against unauthorized access. Review your trusted devices and recovery options periodically from the same Sign-in options page. If your appearance changes significantly over time, re-run the enrollment wizard to keep recognition accuracy high. Windows Hello also integrates with Windows Hello for Business in enterprise environments, allowing IT administrators to enforce conditional access policies without disabling consumer-friendly biometric login.
Once you finish configuring your preferred method, you will notice a measurable reduction in daily login friction while maintaining a high security standard. Keep this guide bookmarked for future reference if you swap hardware or reinstall Windows.
Over to you: Which Windows Hello method do you rely on most, and have you run into any hardware quirks during setup?
You may also like
 How to Set Up Windows Hello Face Recognition or Fingerprint Login on Windows 11
 How to Set Up Windows Hello Face Recognition or Fingerprint Login on Windows 11
 How to Set Up Windows Hello Face Recognition or Fingerprint Login on Windows 11
 Master Your Queries With These Essential Google Search Shortcuts