Windows Hello replaces your traditional password with a biometric sign-in method that is both faster and more secure. You can use your face or fingerprint to unlock your PC, approve Microsoft Store purchases, and verify your identity inside supported applications. This guide covers Windows 11 Home and Pro editions, with notes for Enterprise variants where the settings differ slightly.
Before You Start: Your PC must include an infrared (IR) camera for face recognition or a capacitive fingerprint sensor. Most modern laptops, 2-in-1 convertibles, and business desktops ship with one or both. If you are using a desktop, you will need an external USB biometric peripheral that supports Windows Hello.
Step 1: Verify Your Hardware Supports Biometric Sign-In
Open Device Manager to confirm your sensors are detected. Press Win + X on your keyboard and select Device Manager from the quick-access menu. Scroll down and expand the Biometric devices category. If you see entries like Face Recognition Device or Fingerprint Sensor, your hardware is ready for configuration. If the category is completely missing, your machine likely lacks the necessary sensors, and you will need to purchase a compatible external peripheral.
Step 2: Navigate to the Windows Hello Settings
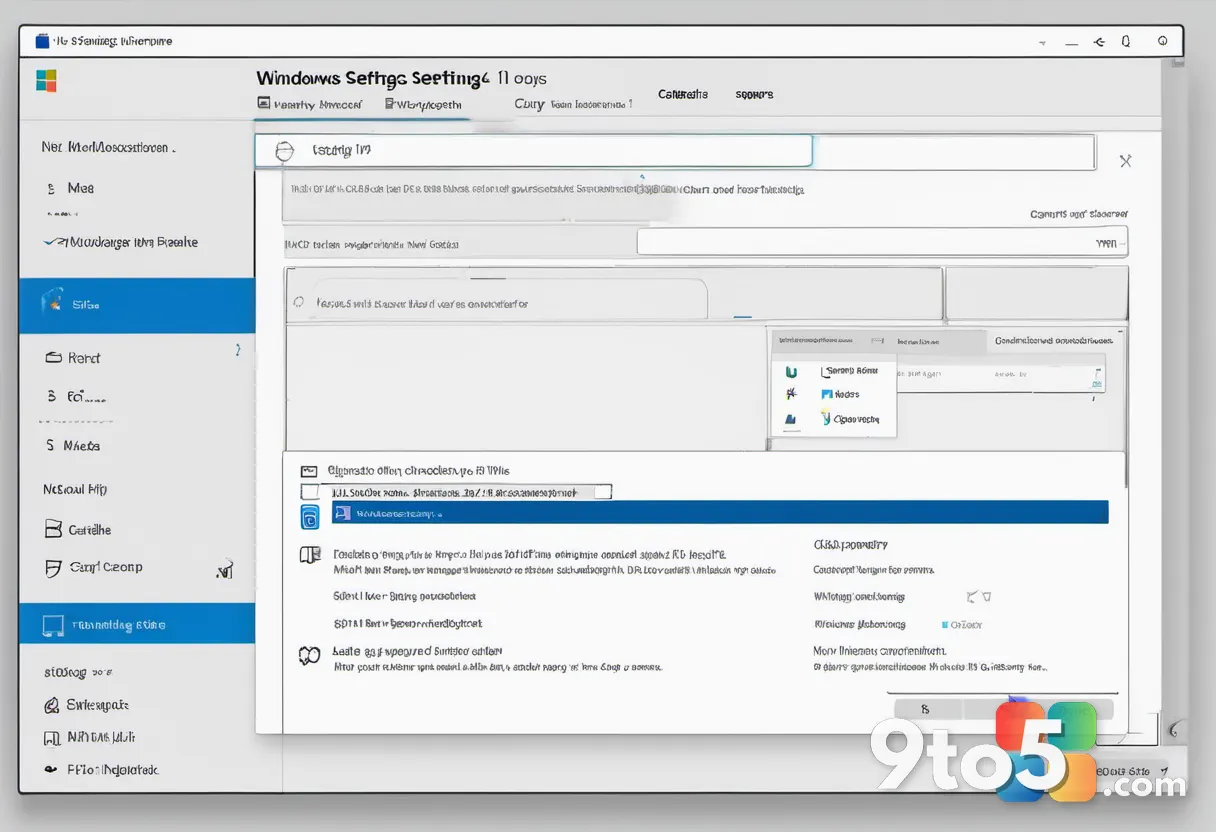
Open the dedicated Sign-in options panel. Click the Start button, type Windows Hello settings, and press Enter. Alternatively, you can open Settings with Win + I, navigate to Accounts, and click Sign-in options. You will see a grid of available authentication methods. Windows Hello options will only appear if your hardware passed the check in Step 1 and if your account is a local or Microsoft account with appropriate permissions.
Step 3: Create a PIN as Your Backup Sign-In Method
Set up a PIN before Windows Hello will activate. Click the PIN tile and select Set up. Windows requires a PIN because biometric data cannot function as a standalone fallback if the sensor fails or encounters an error. Enter a new PIN, confirm it, and click OK. The PIN is stored locally in the Trusted Platform Module (TPM) and never leaves your device, which keeps your Microsoft account credentials safe even if the biometric system triggers a fallback.
Step 4: Configure Face Recognition
Register your face using the infrared camera. Click the Face tile under Sign-in options, then press Set up. A circular guide will appear on your screen to help you position your head correctly. Look directly at the camera and move your head slowly until the on-screen dots form a complete circle. If the setup fails, ensure the room has consistent lighting, remove sunglasses, hats, or heavy face coverings, and make sure no one else is looking at the camera while it scans. Windows stores the facial map locally, and the data is encrypted by your device’s TPM chip.
Step 5: Register Your Fingerprint
Enroll your finger using the built-in or external sensor. Click the Fingerprint tile and press Set up. Follow the on-screen prompts to place your finger on the sensor, lift it, and place it again. Windows will ask you to register the same finger multiple times from slightly different angles to improve recognition speed and reliability. If the sensor ignores your finger, clean the surface with a lint-free cloth, ensure your hands are dry, and try again. You can register up to ten different fingers for maximum convenience.
Step 6: Test Your New Sign-In Method
Lock your PC and verify the biometric authentication works. Press Win + L to lock your session immediately. Wait for the lock screen to appear, then look at your camera or place your registered finger on the sensor. Windows will unlock your desktop if the biometric data matches your stored template. If the system asks for your PIN instead, wait a few seconds and try again, or return to Settings to confirm that Face or Fingerprint is still set to On. You can also enable the option to require biometrics every time you sign in, rather than only when no PIN is set.
Troubleshooting Common Windows Hello Issues
Windows Hello is grayed out or missing. This usually happens when the biometric service is disabled or drivers are outdated. Open Services by pressing Win + R, typing services.msc, and pressing Enter. Locate Windows Biometric Service, right-click it, and choose Properties. Set the Startup type to Automatic and click Start if the service is stopped. Restart your PC and return to Settings to try again.
Face recognition fails in low light or with glasses. Infrared cameras rely on structured light, not visible light, so they actually perform better in the dark. If recognition struggles, clean the front-facing camera lens, remove tinted glasses, and ensure your face is within 10 to 40 centimeters of the sensor. You can also tap the gear icon inside the Windows Hello Face settings to adjust sensitivity thresholds.
Fingerprint sensor stops responding after a Windows update. Driver conflicts are the most common cause. Open Device Manager, expand Biometric devices, right-click your fingerprint sensor, and select Update driver. Choose Search automatically for drivers. If that does not help, select Uninstall device, then restart your PC to let Windows reinstall the driver cleanly. For enterprise environments managed by Group Policy, biometric enrollment may be blocked by Computer Configuration > Administrative Templates > Windows Components > Windows Hello for Business.
Pro Tip: Enable Use my biometrics to verify I'm signing in in the Windows Hello settings if you want to use your face or fingerprint to approve UAC prompts and Microsoft Store purchases without typing your PIN.
Final Tips for Biometric Security
Biometric data cannot be reset like a password, so Windows stores it in an isolated, encrypted container that applications cannot access. Keep your PIN secure, enable two-factor authentication on your Microsoft account, and regularly check that Windows Hello is still active after major feature updates. If you ever suspect unauthorized access, remove your biometric data from Settings and re-enroll after securing your device.
Windows Hello provides a smooth balance between convenience and security when configured correctly. Follow these steps on your primary machine, and you will spend less time typing credentials and more time working.
Over to you: Do you prefer signing in with your face, your fingerprint, or are you sticking with your password?