Logging into your Windows 11 PC with a PIN or password works, but biometric authentication offers a faster and more secure alternative. Windows Hello uses your face or fingerprint to verify your identity, keeping your account protected without the hassle of remembering complex credentials. This guide will walk you through enabling Windows Hello face recognition or fingerprint login on your PC.
Before You Start: Your device must have a compatible infrared camera or capacitive fingerprint sensor. Most modern laptops, Surface devices, and business-class desktops include this hardware. You will also need a Microsoft account or local account with administrator privileges to complete the setup.
Step 1: Verify Your Hardware Supports Biometric Authentication
Open Device Manager and check for biometric devices. Press Win + X and select Device Manager from the quick-access menu. Scroll down to the Biometric devices category and expand it. You should see entries like HP Precision Touchpad, Integrated Camera, or Windows Hello Face. If you do not see any biometric hardware listed, your PC likely lacks the necessary sensors, and you will need to use an external USB fingerprint reader or webcam that supports Windows Hello.

Step 2: Open Windows Settings
Launch the Settings app using the keyboard shortcut. Press Win + I to open the Settings window. You can also right-click the Start button and choose Settings from the context menu. The Settings app is the central hub for all system configurations, and keeping it open will save you time as you navigate through the next few menus.
Step 3: Navigate to Your Account Settings
Select the Accounts tab from the left sidebar. Click or tap the Accounts icon, which looks like a person silhouette. This section manages your sign-in options, email accounts, and synchronization preferences. Windows Hello settings live under a dedicated subsection within Accounts, so you will drill down from here.
Step 4: Access the Windows Hello Configuration Panel
Click on Sign-in options in the Accounts menu. You will see a list of available authentication methods, including Windows Hello Face, Windows Hello Fingerprint, Windows Hello Iris, and PIN. If you do not see these options, your device may not support biometric login, or your organization’s group policy might be restricting biometric enrollment. Enterprise and education accounts sometimes disable biometrics by default for security compliance, so check with your IT administrator if you manage a work device.
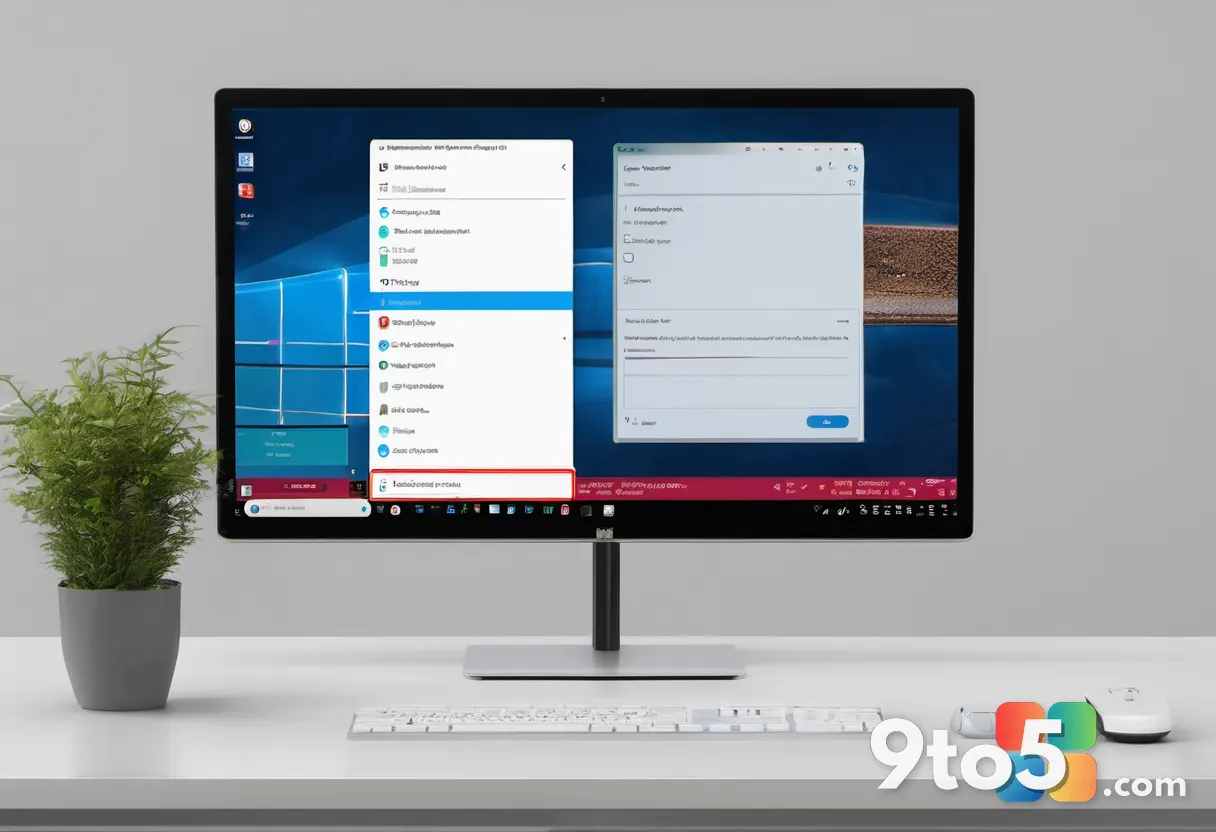
Step 5: Enroll Your Biometric Data
Click the Set up button next to your preferred biometric method. If you want to use facial recognition, choose Windows Hello Face. For fingerprint scanning, select Windows Hello Fingerprint. Windows will prompt you to sign in with your current PIN or password to confirm you are the account owner. Follow the on-screen instructions to position your face in front of the camera or place your finger on the sensor. The system will capture multiple angles or scans to build a secure mathematical representation of your biometric data.
Complete the enrollment process by following the progress prompts. You will notice a circular guide that tracks your movement or finger placement. Keep your device steady and ensure adequate lighting if you are using facial recognition. Once the progress bar reaches 100 percent, Windows will save your biometric template to the device’s secure enclave. This hardware-level storage ensures your actual facial map or fingerprint image never leaves your PC.
Set up a PIN as a backup sign-in method. Windows requires a PIN before it will allow biometric enrollment. The PIN acts as a fallback if the biometric sensor fails to read your print or face correctly. You can customize the PIN length and security requirements in the same Sign-in options window. A longer PIN with mixed characters provides stronger protection against unauthorized access.
Step 6: Test Your New Login Method
Lock your screen and attempt to sign in with your biometric data. Press Win + L to lock your PC immediately. Look at the camera or place your finger on the sensor to unlock the desktop. Windows should recognize you within a few seconds and load your profile. If the system asks for your PIN instead, wait a moment and try again, as biometric recognition can take a second to calibrate after initial setup.
Step 7: Configure Additional Security Preferences
Return to the Sign-in options page and adjust biometric requirements. Toggle options like Require Windows Hello sign-in for Microsoft accounts. Enabling this setting forces Windows Hello authentication even when a password or PIN is available, reducing the chance of unauthorized access if someone bypasses your lock screen. You can also turn off the option to use your PIN for Microsoft account sign-in on other devices if you prefer stricter security boundaries.
Troubleshooting Common Setup Issues
Windows Hello is not appearing in Sign-in options. This usually indicates missing drivers or disabled biometric services. Open services.msc and ensure the Windows Biometric Service is running and set to Automatic startup. Restart your computer and check the Sign-in options page again. If the service is already active, visit your PC manufacturer’s support website and download the latest biometric drivers. Outdated chipset drivers often prevent Windows from detecting the sensor correctly.
Your face or fingerprint is not being recognized. Clean the sensor or camera lens with a microfiber cloth to remove oils and dust. For fingerprint sensors, ensure your finger is dry and placed firmly on the scanner. You can also delete your existing biometric data and re-enroll by clicking the Remove button next to the Windows Hello option. Environmental factors like bright sunlight, glasses, or hats can interfere with facial recognition, so adjust your positioning accordingly. If you recently changed your appearance significantly, re-enrolling will help Windows update its reference data.
Biometric login works but unlocks slowly. This often happens when Windows is trying to match your biometric data against multiple user profiles on the same device. Sign out of any other accounts and ensure only your profile is active. You can also adjust the recognition sensitivity in the Windows Hello settings if your device supports it. Restarting the Windows Biometric Service can also clear temporary caching delays. If the issue persists, run the built-in Hardware and Devices troubleshooter by searching for troubleshoot in the Start menu and selecting the recommended diagnostic tool.
Pro Tip: Enable the Fast sign-in option under Sign-in options to reduce the delay between waking your PC and authenticating. This keeps your biometric data cached in memory for instant recognition without compromising security.
Once Windows Hello is active, you will notice a smoother daily routine. Your PC unlocks faster, and you no longer need to type credentials every time you step away. Keep your biometric sensors clean and update your Windows drivers regularly to maintain reliable performance. If you run into persistent enrollment errors, check your manufacturer’s support portal for model-specific guidance. Biometric authentication integrates deeply with Windows security features, so keeping your system updated ensures you benefit from the latest threat protections.
Over to you: Which Windows Hello method do you prefer for your daily sign-in?