Running low on storage space is one of the most common reasons Windows 11 users upgrade their hardware. Rather than wiping your system, reinstalling every application, and restoring files from a backup, you can clone your existing drive to a larger one. This process copies your operating system, user profiles, installed programs, and boot configuration exactly as they appear right now. You will boot straight into your new drive with zero data loss.
Before You Start: You will need the new drive (SATA or NVMe depending on your system), a USB flash drive if your cloning tool requires one, and a reliable disk cloning utility. Most modern Windows 11 PCs support both SATA and NVMe interfaces, so verify your motherboard or laptop manual before purchasing hardware.
- Back up your critical files to an external drive or cloud storage. Even though cloning preserves your data, any operation involving storage hardware carries a small risk of failure. Create a full system image using Windows Backup, or copy your most important documents, photos, and project files to an external USB drive. This safety net ensures you can recover your work if the clone process encounters an unexpected error or if the new drive fails to initialize.
- Power down your PC and physically install the new drive. Shut down Windows 11, unplug the power cable, and press the power button for a few seconds to drain residual electricity. Open your desktop case or laptop access panel, then secure the new drive into an available SATA port or M.2 slot. Tighten the mounting screw, reconnect the power and data cables, and verify that the drive sits flush without forcing any connectors. Proper physical installation prevents connection errors that often cause Windows to ignore the new hardware during the cloning phase.
- Initialize the new drive in Windows Disk Management. Power the system back on and sign into Windows 11. Press
Win + Xand select Disk Management from the quick link menu. Locate the new drive in the lower panel, right-click it, and choose Initialize Disk. Select GPT (GUID Partition Table) for drives larger than 2TB, or MBR for older systems, then click OK. The drive will appear with unallocated space, which tells Windows the hardware is recognized and ready for cloning software to write data to it. - Download and launch a trusted disk cloning utility. Open your browser and navigate to the official website of a cloning program such as Macrium Reflect, AOMEI Backupper, or Clonezilla. Download the installer, run it, and complete the initial setup wizard. Launch the application and locate the Clone Disk or Migrate OS option in the main dashboard. Using official software guarantees sector-level accuracy and prevents corrupted boot files that can leave your system unbootable.
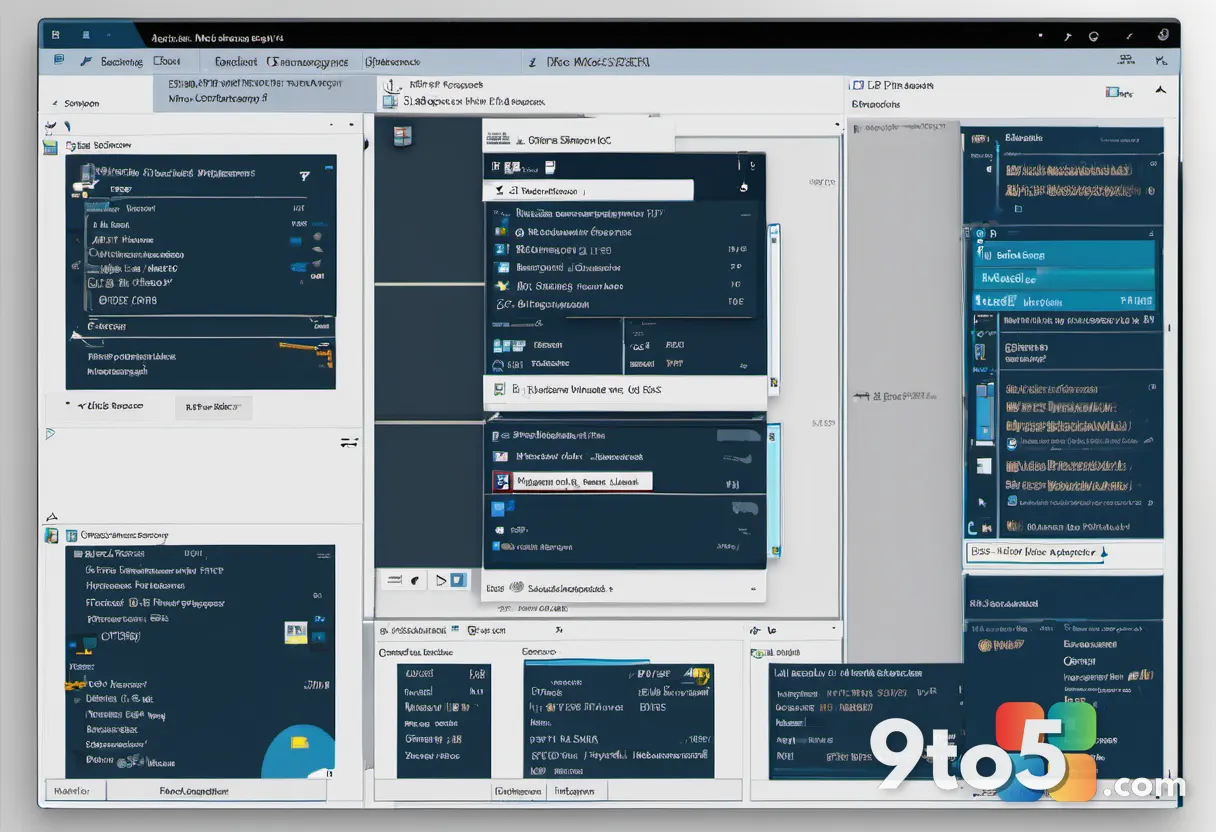
- Configure the source drive and destination drive. In the cloning interface, select your current Windows 11 drive as the source. Then choose the new, larger drive as the destination. The software will display a visual layout showing how partitions will be copied. Ensure the system reserved, recovery, and main Windows partitions are all included in the transfer. Confirm the operation and start the clone. The process will read every sector from your old drive and write them to the new one, which may take anywhere from twenty minutes to over an hour depending on drive speed and data volume.
- Shut down, change the boot order, and power on from the new drive. Once the cloning utility reports success, close the program and shut down Windows 11. Enter your BIOS or UEFI firmware by pressing
Del,F2, orF10during startup. Navigate to the Boot tab, move the new drive to the first position in the boot priority list, save your changes, and exit. Windows will now load directly from the larger drive. If the system still boots from the old drive, double-check the boot order and ensure the old drive is either disconnected temporarily or set to a lower priority. - Expand the partition to claim the full drive size. After Windows boots successfully from the new drive, press
Win + Xand open Disk Management again. You will notice unallocated space at the end of your main C: drive. Right-click the C: partition and select Extend Volume. Follow the wizard prompts, accept the default allocation for the remaining space, and finish. The partition now spans the entire drive, giving you the full storage capacity you purchased. If the Extend Volume option appears grayed out, you will need to run the cloning software again and ensure the destination layout places the main partition at the start of the new drive.
Troubleshooting Common Cloning Issues
System won’t boot from the new drive. This usually happens when the BIOS boot order remains unchanged or when the old drive is still connected and taking priority. Disconnect the original drive entirely, boot into Windows 11 from the new drive, verify everything runs correctly, and then reconnect the old drive as a secondary storage device. If Windows still refuses to start, open an elevated Command Prompt and run bootrec /fixmbr followed by bootrec /fixboot to rebuild the boot configuration data.
Clone fails with a sector read error. Your original drive may have developing bad sectors that block the cloning software from reading certain files. Run chkdsk C: /f /r in an elevated Command Prompt before attempting the clone again. Allow the scan to complete fully, then retry the cloning process. If errors persist, the original drive may be failing, and replacing it should be your next step.
Windows activation shows as deactivated. Migrating to new storage hardware can sometimes trigger a Windows license revalidation. Open Settings, navigate to System > Activation, and select Troubleshoot. Sign in with your Microsoft account and choose I changed hardware on this device recently to transfer your digital license. Most retail and digital licenses transfer without issue, while OEM licenses tied to the motherboard may require contacting your PC manufacturer.
Pro Tip: If your cloning software offers a Sector-by-Sector Clone option, disable it for routine upgrades. That mode copies every empty space on the drive, which dramatically increases clone time without providing any benefit for standard storage migrations.
Once your new drive is fully operational, you can verify the upgrade by opening File Explorer and checking the Properties window for your C: drive. You should see the updated total capacity and plenty of free space for future installs. Keep the old drive disconnected for at least one full boot cycle to confirm the new hardware handles all system operations reliably. After that, you can format the original drive and use it as a secondary storage volume or external backup target.
Upgrading your Windows 11 storage through cloning saves hours of reconfiguration and keeps your workflow intact. Follow each step in order, verify the boot order before expanding the partition, and you will have a faster, larger system running your exact setup within an afternoon.
Over to you: Have you ever cloned your Windows drive to upgrade storage, or do you prefer a clean reinstall?