Unexpected restarts during critical work hours can derail deadlines and break open save sessions. Windows Update for Business gives organizations a structured way to manage patch delivery, and it also includes built-in deferral windows that you can adjust when your environment allows it. This guide shows you how to configure those deferral periods on Windows 10 and Windows 11 Pro, Enterprise, and Education editions.
Before You Start: You will need local administrator rights on the machine. Enterprise environments managed by Intune, SCCM, or a domain controller often override local settings, so your changes may revert if your IT department enforces a strict policy. If your settings appear grayed out after you finish, your organization likely controls update timing centrally.
Step 1: Check Your Current Update Policy
Open Settings > Windows Update and click Update history. Review the dates of the last installed quality and feature updates to understand your current cadence. If you see a message like Some settings are managed by your organization, your deferral windows are locked at the group policy level and you will need to contact your IT department before making changes.
Step 2: Open the Local Group Policy Editor
Press Win + R, type gpedit.msc, and hit Enter. The Local Group Policy Editor opens a hierarchical view of all configurable system policies. Navigate to Computer Configuration > Administrative Templates > Windows Components > Windows Update > Windows Update for Business. This folder contains every deferral and pause option that the consumer-facing Settings app hides.
Step 3: Configure the Quality Update Deferral Period
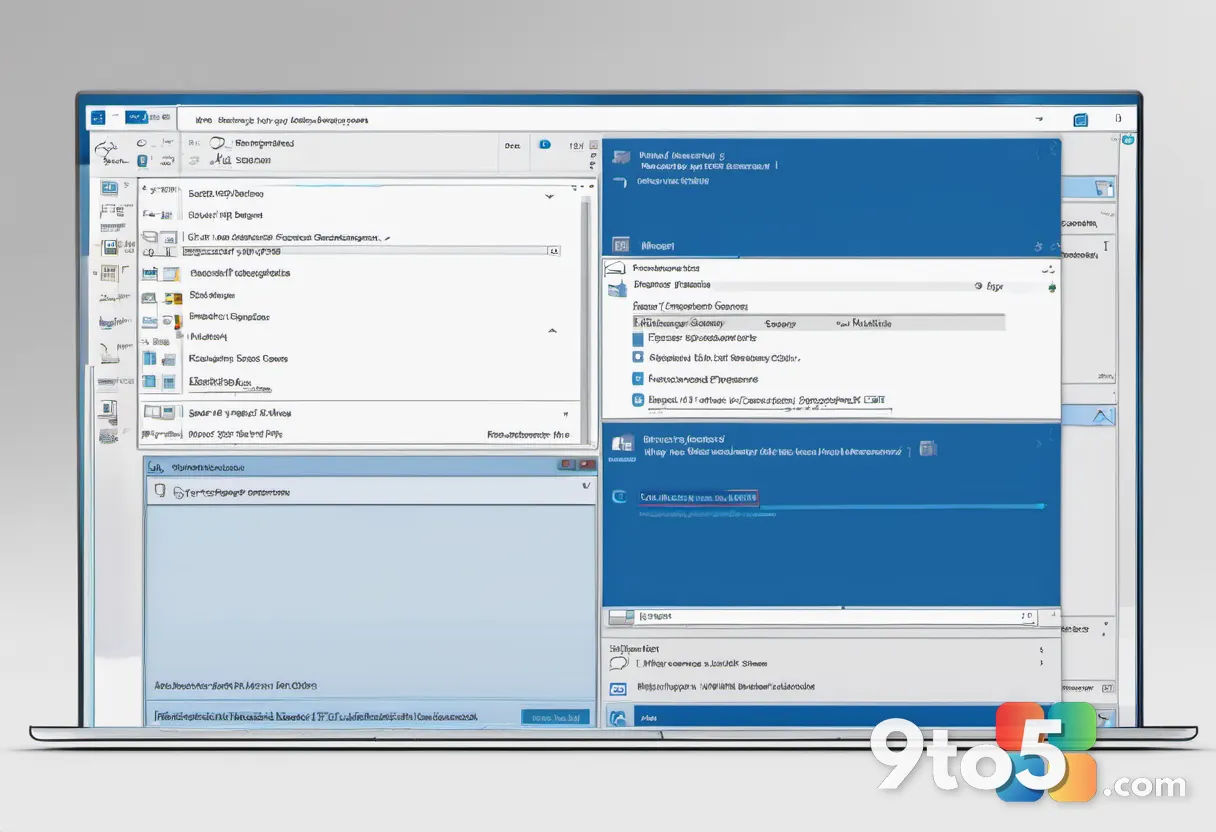
Locate the policy named Configure Automatic Updates and double-click it. Set the policy to Enabled, then change the second dropdown to 2 - Auto download and notify for install. In the Defer Quality Updates field, enter the number of days you want to delay security and cumulative patches. Microsoft recommends keeping this window between 7 and 30 days to balance stability with security. Click Apply and OK to save the change.
Step 4: Set the Feature Update Deferral Window
Find the policy labeled Defer Feature Updates and open it. Mark it as Enabled, then select your preferred deferral length from the dropdown menu. Feature updates introduce major interface changes and new functionality, so a longer deferral window (typically 180 to 365 days) gives you time to verify compatibility with your work applications before the upgrade rolls out. Confirm the selection and close the policy window.
Step 5: Adjust the Active Hours to Prevent Disruptions
Return to Settings > Windows Update > Advanced options > Active hours. Click Change hours and define a start and end time that matches your typical workday. Windows will skip restart prompts outside this window, which pairs directly with your deferral settings to keep your PC operational during critical tasks. Save the changes and close the Settings app.
Step 6: Force a Policy Refresh and Verify the Result
Open an elevated Command Prompt by right-clicking the Start button and selecting Terminal (Admin). Run gpupdate /force and wait for the confirmation message. Next, open Settings > Windows Update and click Check for updates. The system will now respect your deferral window and will not install the feature update until the grace period expires. If updates still appear immediately, reboot the machine once to clear the update cache and retest.
Troubleshooting Common Deferral Issues
Settings remain grayed out after configuration: Your organization likely pushes a configuration profile through Microsoft Endpoint Manager or a domain Group Policy. Open rsop.msc to view the resulting policy set. If you see Configured under the Windows Update policies, the enterprise profile is overriding your local changes. Contact your IT helpdesk and request an exception or a longer deferral window.
Updates install despite an active deferral window: Windows may bypass deferral settings when a critical zero-day vulnerability is detected. The operating system treats certain security bulletins as mandatory regardless of your configured pause period. If you need to delay a specific high-priority patch, you must work with your security team to apply a temporary registry override or request a maintenance window exception.
Group Policy changes do not take effect: Corrupted policy caches frequently block deferral settings from applying. Open an elevated Command Prompt and run the following commands in order: gpresult /r, gpupdate /force, and reg delete "HKLM\SOFTWARE\Policies\Microsoft\Windows\WindowsUpdate" /f. Restart the computer and verify the new deferral period in the Settings app.
Pro Tip: Create a scheduled task that runs gpupdate /force weekly during your off-hours. This keeps your deferral policies synchronized with any backend changes without interrupting your daily workflow.
Deferring updates on a work PC requires balancing security requirements with operational stability. Use the Group Policy Editor to set conservative deferral windows, verify the changes with a policy refresh, and document your current settings in a shared note. If your environment enforces strict update timelines, request a formal maintenance window instead of fighting the centralized policy. You will keep your applications stable while staying compliant with your organization’s security standards.
What deferral window length works best for your daily workflow, and have you run into compatibility issues after a feature update finally installed?
Over to you: What deferral window length works best for your daily workflow, and have you run into compatibility issues after a feature update finally installed?