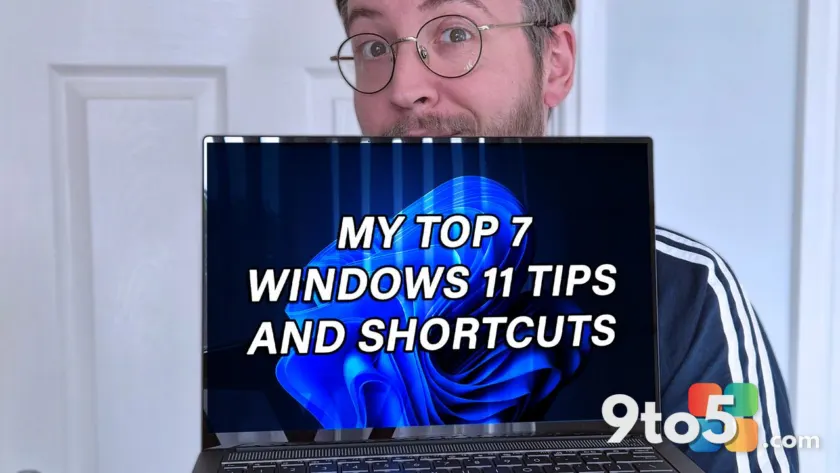
Having reset Windows across hundreds of devices, I have built a reliable set of keyboard commands and system utilities that cut through the friction of daily computing. While some of these feel like basic knowledge, others solve persistent headaches that catch even experienced users off guard. Whether you are configuring a fresh install or optimizing a long-running system, these Windows 11 shortcuts provide practical control over setup flows, hardware diagnostics, and window management.
Each command below includes the exact keystrokes, the technical context behind why it exists, and how it impacts your workflow. I recommend keeping this list accessible, as muscle memory for these combinations tends to replace slower, menu-driven alternatives over time.
#1 Open Command Prompt During Setup
During the Windows Out-of-Box Experience (OOBE), Microsoft restricts access to system utilities by default. Pressing Shift + F10 at any point after the language selection screen opens a Command Prompt window with elevated privileges.
There is a known quirk with this window: the cursor often blinks, but keyboard input is ignored until the window gains focus. Click inside the black console or press Alt + Tab to activate it. This step is particularly useful for bypassing mandatory Microsoft account prompts, partitioning drives manually, or launching recovery tools before the desktop environment loads.
What this means for you: You gain full control over the installation process without relying on third-party scripts or workarounds. This is especially valuable for IT administrators deploying devices in bulk or users who prefer offline, privacy-focused configurations.
#2 Create a Local Account Without Workarounds
Microsoft has progressively removed the native option to skip online account creation during setup. However, the ISO installation still supports a direct command that forces the local account flow.
After opening Command Prompt via Shift + F10, type start ms-cxh:localonly and press Enter. The setup will immediately redirect to the local user creation screen. You can assign a username and optional password, then proceed without linking a Microsoft account.
Some applications may still prompt you to sign in with a cloud account. When this happens, look for the option that says “Don’t use my Microsoft account to sign in” or similar wording. Selecting the equivalent of “Sign in to this app only” keeps the local profile intact.
What this means for you: You retain full ownership of your device credentials and avoid cloud telemetry tied to personal accounts. This method remains stable across current Windows 11 builds and does not require registry edits.
#3 Generate a Detailed Battery Health Report
Laptops degrade over time, and understanding your battery’s actual capacity versus its design capacity helps you decide when to replace the cell or adjust power plans.
Open an elevated Command Prompt and run: powercfg /batteryreport /output "C:\battery_report.html". Windows generates an HTML file on your system drive containing design capacity, full charge capacity, cycle count, and historical usage graphs.
The report also estimates remaining battery life based on current degradation. Generating this file during the first week of ownership establishes a baseline, making it easier to track performance drops over subsequent months.
What this means for you: You can verify warranty claims, assess refurbished hardware, and optimize charging habits without relying on manufacturer-specific diagnostic tools.
#4 Open Task Manager Without Ctrl + Alt + Delete
Many users still reach for Ctrl + Alt + Delete to launch Task Manager, but that sequence opens a secure attention screen that requires an extra click. The direct shortcut is Ctrl + Shift + Esc.
Alternatively, right-click anywhere on the taskbar and select Task Manager. Both methods bypass the secure screen and load the utility immediately.
Once open, navigate to the Startup apps tab. Disabling unnecessary launchers reduces boot time and background resource consumption. Programs like msedge.exe often run at startup even when you prefer a different browser. Removing these entries prevents redundant processes from consuming memory before you even log in.
What this means for you: Faster boot sequences and lower idle CPU usage. This is one of the first adjustments I make on any new device to ensure it runs cleanly from the first login.
#5 Enable Clipboard History for Multi-Item Copying
Windows 11 includes a built-in clipboard manager that stores multiple copied items instead of overwriting the last entry. Access it by pressing Windows + V.
Enable the feature in Settings > System > Clipboard. Once active, copied text, images, and code snippets accumulate in a searchable list. You can pin frequently used items or clear the history when it grows too large.
Pressing Windows + . (period) opens the same floating panel but lands directly on the emoji and symbol picker. This dual-purpose interface keeps both tools within a single keystroke, reducing the need to switch between copy operations and special character insertion.
What this means for you: Fewer repeated copy-paste cycles when transferring data between applications. Useful for developers, writers, and anyone who frequently moves structured text or hex codes.
#6 Minimize All Windows to Reach the Desktop
Clearing your workspace instantly is handled by Windows + D. Press it once to minimize all open windows and reveal the desktop. Press it again to restore everything exactly as it was.
For users who prefer mouse gestures, clicking the narrow vertical strip at the far right edge of the taskbar (next to the clock) performs the same action. This area is often overlooked because it blends with the taskbar background.
A lesser-known variation is Windows + , (comma). Holding this combination peeks at the desktop, but windows restore automatically when you release the keys. This is useful for quick glances without disrupting your current workflow.
What this means for you: Faster context switching between tasks and a cleaner workspace when handing your device to someone else or taking a screenshot.
#7 Move Off-Screen Windows on Multi-Monitor Setups
When connecting secondary displays, applications sometimes render outside the visible area, making them impossible to interact with using the mouse alone.
Press Windows + Arrow Key while the hidden window is active. The right or left arrow moves the window to the adjacent display based on your display arrangement in Settings > System > Display. If the window does not move, press Alt + Tab first to ensure the correct application is focused.
This shortcut relies on Windows’ internal window positioning logic, which calculates movement based on your configured monitor layout rather than physical desk placement. Adjusting the display order in settings ensures the arrow keys move windows in the intended direction.
What this means for you: Immediate recovery of lost windows without restarting applications or manually dragging them with a mouse. Essential for multi-display productivity setups.
What This Means for You
These shortcuts replace slow, menu-driven workflows with instant keyboard commands. They reduce dependency on cloud accounts during setup, provide transparent hardware diagnostics, and streamline window management across multiple displays. Implementing them early in your Windows 11 experience establishes a more efficient baseline for daily use.
How to Get It
All commands are built into Windows 11. No third-party software, registry modifications, or feature flags are required. Open an elevated Command Prompt or press the specified key combinations at any point during normal operation or setup.
If you are configuring a new device, I recommend running the local account command first, generating a battery report during your initial review period, and disabling startup apps before connecting to Wi-Fi. This sequence minimizes background telemetry and establishes a clean performance baseline.
Source: Latest from Windows Central
Over to you: Which of these shortcuts do you rely on most, or do you have another hidden gem you use daily?