Task Scheduler is one of Windows 11’s most powerful built-in tools, yet most users never open it. This utility automates repetitive work—running scripts, backing up files, updating software, or cleaning your hard drive—without you lifting a finger. Once you schedule a task, Windows runs it in the background on the schedule you choose, whether that means once a day, every hour, or only when your computer sits idle.
In this guide, you’ll create a scheduled task from scratch, set it to run at specific times, and fix the common problems that stop tasks from working. These steps apply to Windows 11 Home and Pro editions, and the same tools appear in Windows Server’s Task Scheduler for enterprise environments.
Before You Start: Decide what you want to automate before you begin. The most common uses include running a daily backup script, launching a program at startup, or clearing temporary files each week. Write down the program or file path you’ll need, since you’ll enter it in the action step.
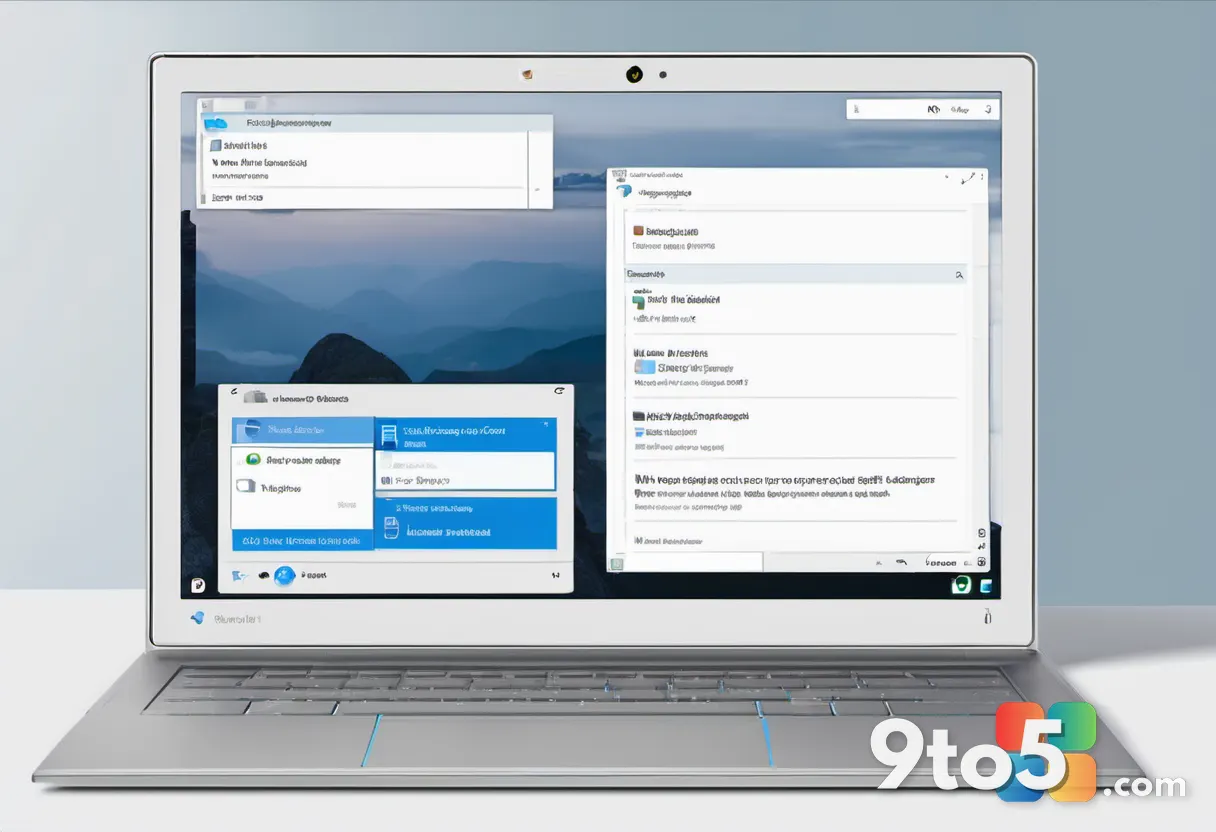
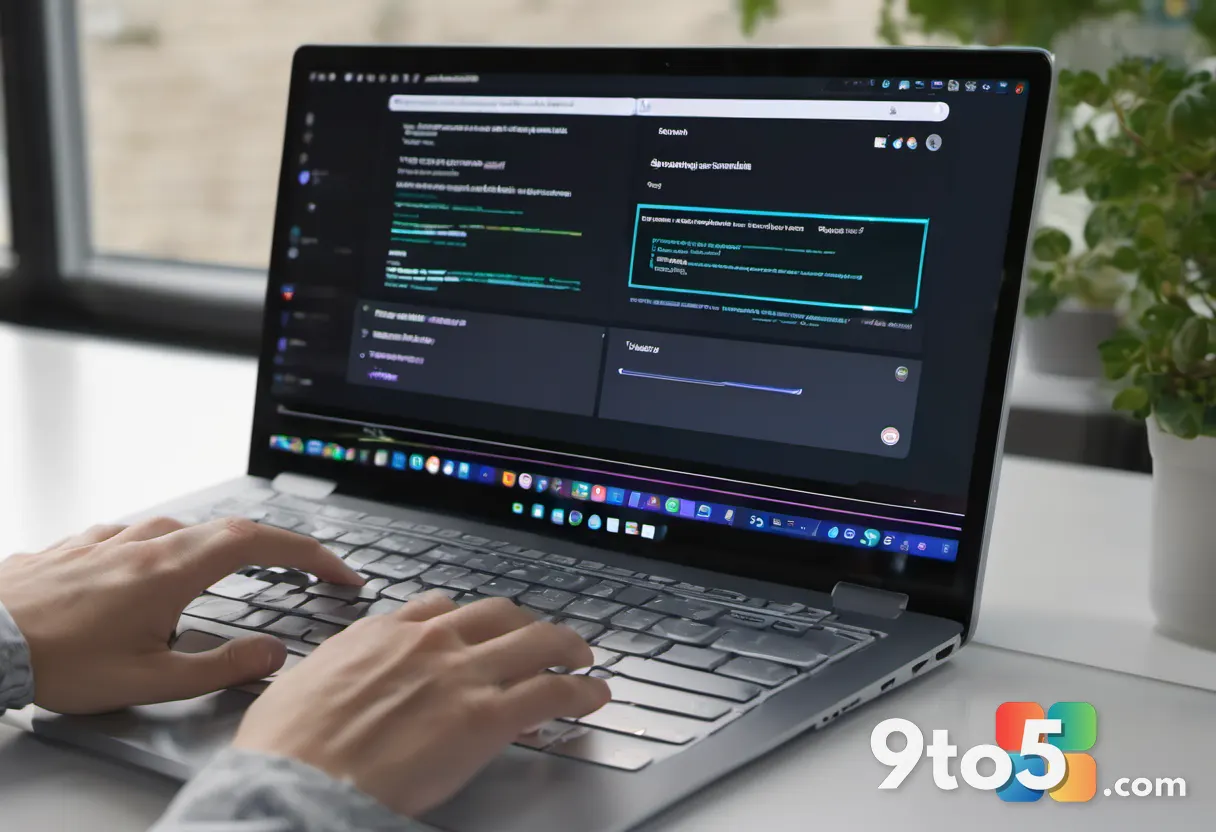
Featured: A user’s hands resting on a laptop keyboard with the Task Scheduler window open on screen, showing the Create Basic Task wizard.
Step 1: Open Task Scheduler
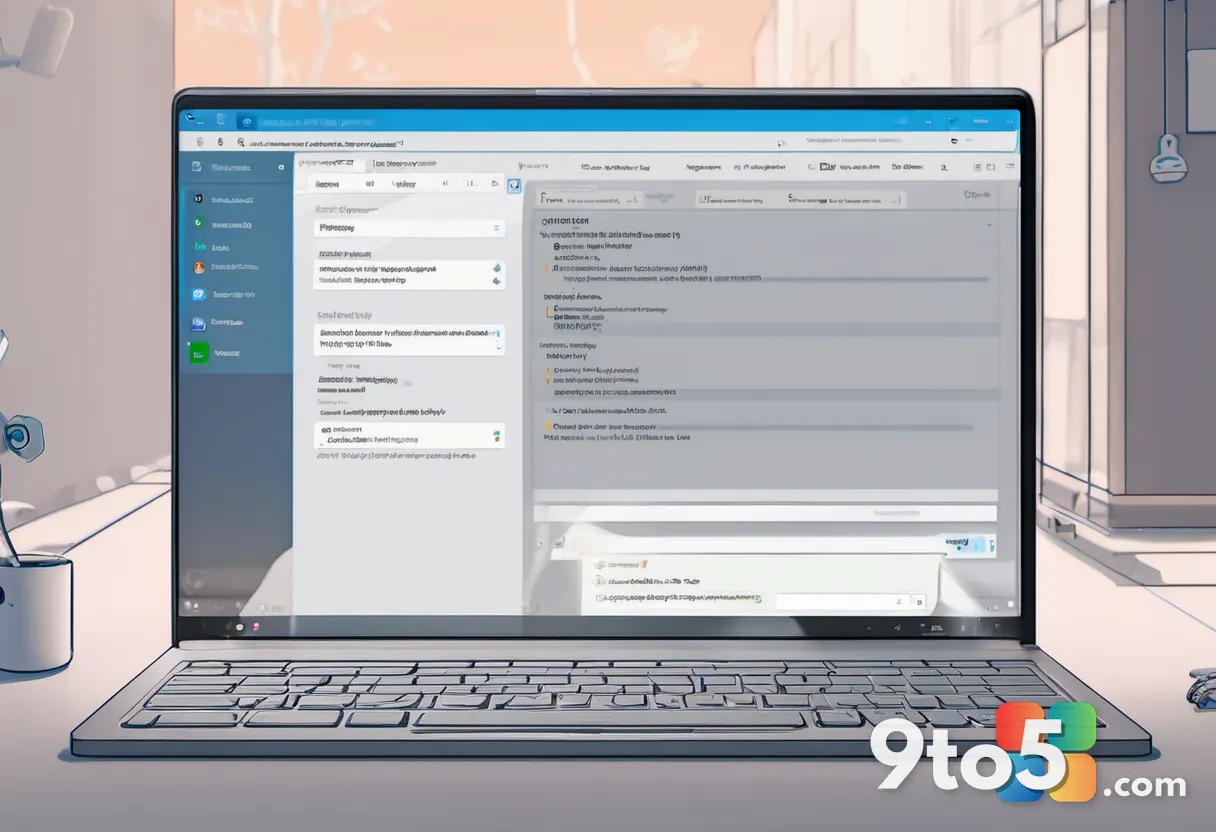
Press Win + S, type Task Scheduler, and press Enter. The Search box finds the tool instantly, and clicking it launches the console with a three-pane layout: a navigation tree on the left, a list of tasks in the center, and details on the right.
If you prefer the classic route, press Win + R, type taskschd.msc, and press Enter to open it directly. The left pane shows folders like Task Scheduler Library, where your custom tasks live. Keep this window open while you build your task, since you’ll return to it to test and edit later.
Step 2: Start the Create Basic Task wizard
In the right-hand Actions pane, click Create Basic Task. This launches a step-by-step wizard that walks you through the essentials without overwhelming you with options. Choose Create Basic Task if you are new to Task Scheduler, or Create Task for advanced controls like running tasks when no one is logged in.
The wizard opens on the Name and Description page. If the Actions pane is not visible, click the View menu and make sure Actions is checked. This single choice sets the difficulty level for the rest of the process, so take a moment to pick the right one.
Step 3: Name and describe your task
Type a clear name like “Daily Backup” and an optional description. The name shows up everywhere in Task Scheduler, so avoid vague labels like “Task 1.” A descriptive name lets you find the job later when you have dozens scheduled.
The description box is optional but useful for reminding yourself what the task does and when you created it. Leave the “Start only when the user is logged on” option as-is for now, since the wizard sets this automatically. Click Next to move to the trigger settings.
Step 4: Choose when the task runs (the trigger)
Pick a trigger from the menu, such as Daily, Weekly, or At Startup. The trigger defines when Windows should launch your task. Selecting Daily opens a calendar-style page where you choose the start date, how often it repeats, and the exact time.
For example, set the task to run every day at 2:00 AM when your computer is most likely to be idle. The “Repeats every” option lets you set recurring intervals, while “One time” suits a single scheduled job. Adjust the settings until the preview matches your goal, then click Next.
Step 5: Choose what the task does (the action)
Select Start a program, then click Next. Starting a program is the most common action, though Task Scheduler can also send emails and display messages. For most automation jobs, Start a program is the right choice.
On the next page, click Browse to locate the program, script, or file you want to run. If the file has spaces in its path, wrap the whole path in quotes in the Program/script field. In the Add arguments box, type any options the program needs, and leave the Start in field blank unless a program expects a working directory. Click Next when ready.
Pro Tip: To run a file type like a .bat or .ps1 script, set the Program/script field to cmd.exe and put the script path in the Add arguments box. This trick makes Task Scheduler run scripts that have no executable of their own.
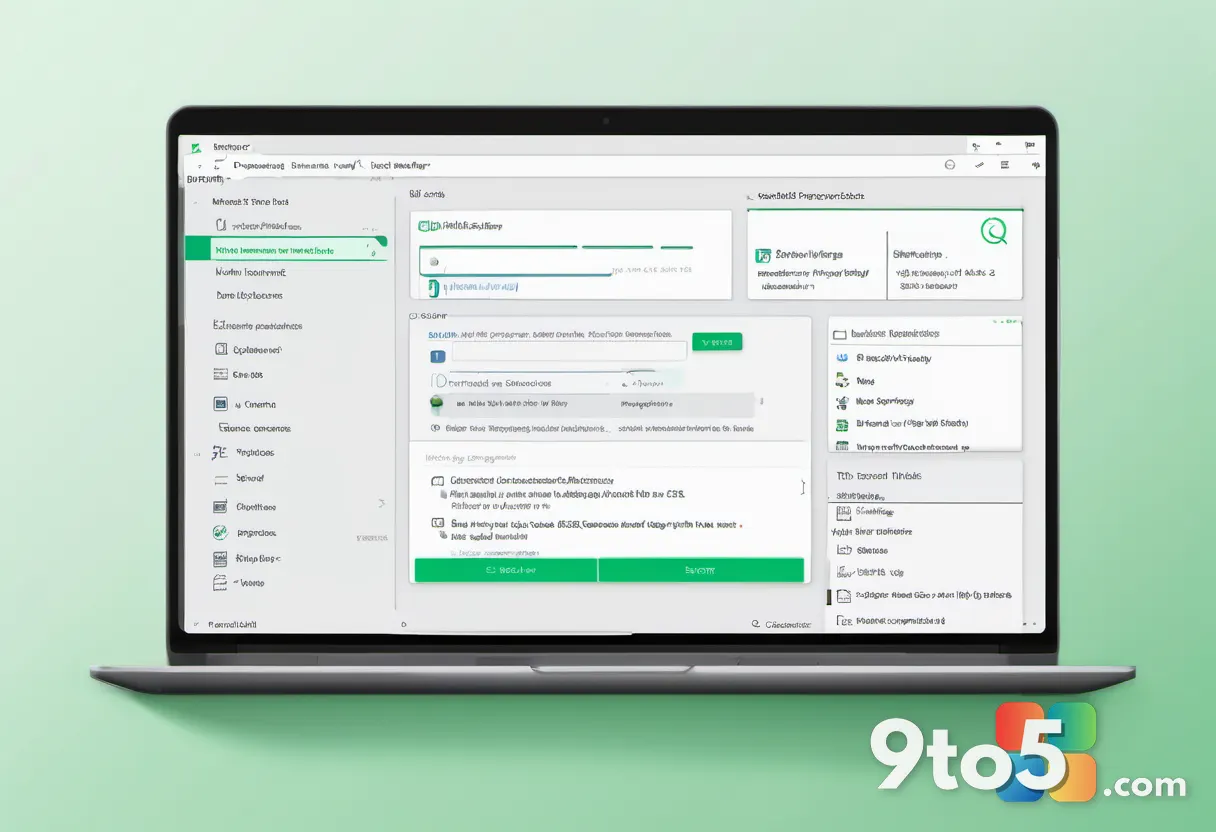
Featured: The Task Scheduler details pane showing a completed scheduled task with its Trigger and Action tabs configured and a green status.
Step 6: Review and finish the wizard
Check “Open the Properties dialog box when I click Finish.” This option saves time by letting you tweak advanced settings before the task goes live. If you skip it, the task installs immediately with the defaults, and you can edit it later by right-clicking the task.
Review each page using the Back button if anything looks wrong. When everything matches your plan, click Finish to create the task. It now appears in the Task Scheduler Library, and the Properties dialog opens so you can fine-tune it.
Step 7: Configure advanced conditions and settings
On the Settings tab, enable “Allow task to be run if the computer switches from battery to AC power” and similar options. These controls decide how Windows handles real-world interruptions. For a laptop, turning on “Wake the computer to run this task” ensures a scheduled job runs even if the machine is asleep.
The Conditions tab lets you stop the task if the computer becomes idle, or start it only when running on AC power. The Triggers tab lets you add a second schedule, such as running the task again when the computer boots. Adjust these options to match how your computer is actually used, then click OK to save.
Step 8: Test your scheduled task
Right-click the task and choose Run from the context menu. This forces the task to execute immediately, so you can confirm it works without waiting for the scheduled time. Check the Status column for “Running” or “Ready,” and open the History tab to see a detailed log of what happened.
If the task fails, the Exit column shows a code that points to the problem. A status of 0x0 means success, while codes like 0x1 or 0x2 indicate errors you need to fix. Once the task runs cleanly, you can trust it to fire on its own schedule.
Troubleshooting common Task Scheduler problems
Even a well-built task can misfire. Here are the failures you are most likely to hit and how to resolve them.
The task never runs at the scheduled time. The most common cause is the “Run only when the user is logged on” option combined with a power setting that puts the computer to sleep. Open the task’s Properties, go to the General tab, and switch to “Run whether user is logged on or not.” Then check the Conditions tab and enable “Wake the computer to run this task” so the job fires even from sleep.
The task runs but the action fails. This usually means the program cannot find its files or lacks permission. Verify the Program/script path is correct and wrapped in quotes if it contains spaces. If the task needs admin rights, open the General tab and check “Run with highest privileges.” A missing working directory is another frequent culprit—set the Start in field to the folder containing your files.
The task works only while you are watching it. When you run a task manually, it inherits your active session, so it can succeed even with settings that fail on their own. Always test with the “Run whether user is logged on or not” option enabled, and log off to confirm the task truly runs in the background. This step catches permission and session problems before they bite you later.
Final tips for managing scheduled tasks
Keep your Task Scheduler library tidy by using folders to group related jobs. Right-click any folder in the left pane and choose Add Folder to organize backups, maintenance, and scripts separately.
Review task history regularly by opening the History tab, which logs every run and its result. Enable history from the View menu if it is turned off, since a detailed log is your best tool when a task suddenly stops working.
Back up your custom tasks by right-clicking the Task Scheduler Library and choosing Export Task. This saves an XML file you can restore on another PC or after a fresh install, so your automation survives a reinstall.
Pro Tip: Use the “If the task fails, restart every” option on the Settings tab to automatically retry a flaky job. Setting it to retry after a few minutes saves you from chasing down intermittent failures by hand.
Ready to automate your PC?
Task Scheduler turns tedious, repetitive chores into set-it-and-forget-it jobs. Once you build one task, you’ll find plenty of other uses around your computer, from keeping your system clean to launching your favorite apps on a schedule.
Over to you: What’s the first task you’d schedule to automate your Windows 11 PC?