Expanding your digital workspace with additional displays remains one of the most effective upgrades for both productivity and entertainment. Over the past two decades, the evolution of multi-monitor configurations has transformed from a niche enthusiast hobby into a standard professional requirement. Whether you are managing complex spreadsheets, coding across multiple environments, or seeking an immersive gaming experience, the right arrangement can significantly enhance your workflow. However, achieving a seamless visual experience requires careful consideration of several technical factors, from resolution matching to pixel density and ergonomic positioning. This guide breaks down the essential elements of constructing a cohesive and functional multi-monitor environment.
Selecting the Right Display Dimensions and Aspect Ratios
The foundation of any successful multi-monitor configuration begins with the physical dimensions and aspect ratios of the displays. The most straightforward approach is to select monitors of identical size and resolution. For instance, pairing two 27-inch displays with a 1920×1080 resolution ensures that the physical footprint and pixel grid align perfectly. This uniformity guarantees that window borders, text sizes, and graphical elements transition smoothly between screens without visual discontinuity.
When identical models are unavailable, prioritizing matching size and resolution remains critical. If your primary display is a 32-inch 4K panel, seeking a secondary unit with the same specifications maintains consistency in pixel density and physical proportions. However, budget constraints or specific use cases may necessitate mixed configurations. In such scenarios, maintaining the same vertical resolution can preserve a degree of alignment. For example, combining a standard 16:9 monitor with a 21:9 ultrawide display can work if the vertical pixel count is compatible, though the aspect ratio difference will be immediately apparent.
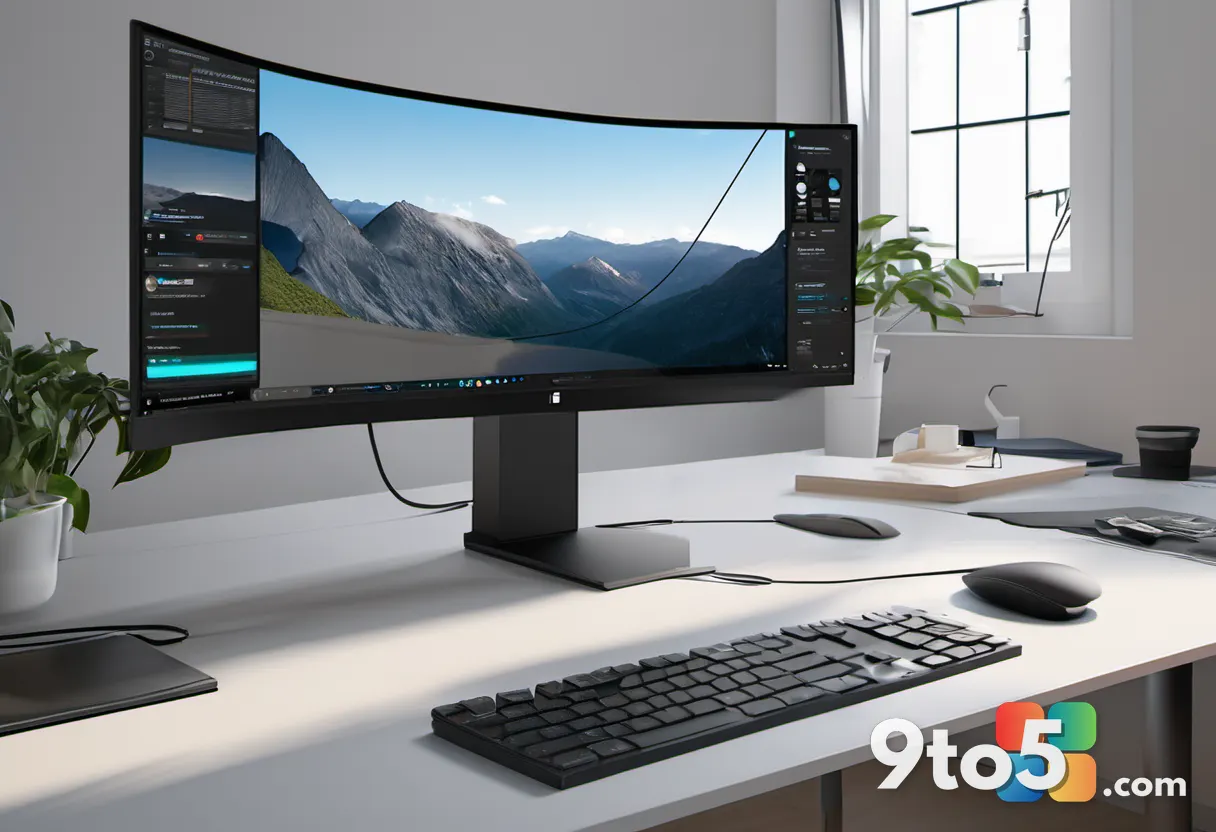
Aspect ratio selection significantly impacts the overall layout. The standard 16:9 ratio dominates the market, offering a balanced field of view suitable for most tasks. Conversely, 16:10 displays provide additional vertical space, which benefits productivity tasks involving documents and code. Ultrawide monitors, ranging from 21:9 to 32:9, offer expansive horizontal real estate. A 32:9 panel effectively replaces a dual-monitor setup by providing the width of two 16:9 screens in a single unit, eliminating the bezel interruption. Understanding these ratios helps in planning the physical desk space and determining how windows will be distributed across the available area.
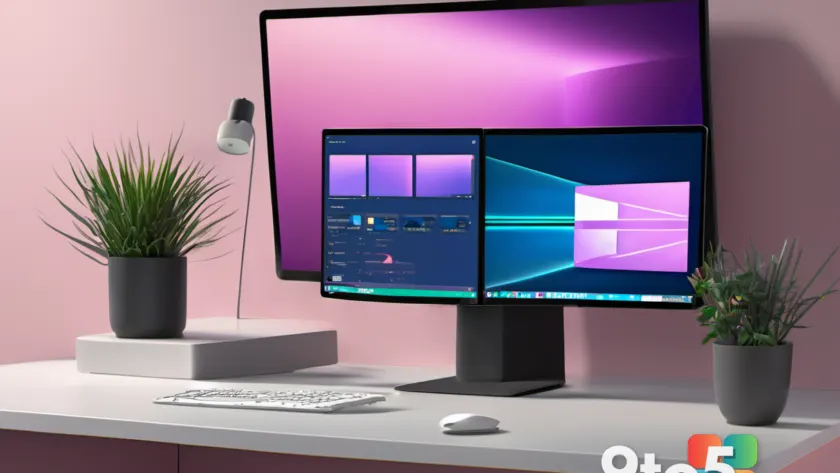
For users considering a hybrid approach, such as a central ultrawide flanked by vertical monitors, the complexity increases. The vertical orientation changes the effective aspect ratio, requiring careful calculation of screen real estate. Tools and calculators exist to help visualize how different dimensions interact, ensuring that the final arrangement feels cohesive rather than disjointed. Planning the layout before purchase prevents costly mismatches and ensures that the setup aligns with your specific workflow requirements.
Mastering Pixel Density and Windows Scaling
Pixel density, measured in Pixels Per Inch (PPI), is a technical specification that often goes overlooked but plays a pivotal role in visual consistency. PPI determines the sharpness of text and images on a screen. When combining monitors with different resolutions and sizes, the PPI values can diverge significantly. For example, a 27-inch 1080p monitor has a PPI of approximately 81, while a 27-inch 1440p monitor reaches about 109 PPI. This difference means that text and icons will appear noticeably smaller and sharper on the higher-density display.
Windows and other operating systems provide scaling options to mitigate these discrepancies. By adjusting the scaling percentage in display settings, you can enlarge UI elements on high-density screens to match the perceived size on lower-density units. However, this adjustment is rarely perfect. Text rendering algorithms may struggle to align scaled elements with native pixels, leading to blurriness or misalignment at window edges. The visual transition between screens can feel jarring, especially when moving fast-moving content like videos or cursor movements across displays with different densities.
To achieve the most seamless experience, aim for monitors with similar PPI values. Pairing two 27-inch 1440p displays ensures identical sharpness and scaling behavior. If mixing resolutions is unavoidable, selecting displays with a common vertical resolution can help. For instance, using a 34-inch ultrawide with a 3440×1440 resolution alongside two 27-inch 1440p monitors maintains the same vertical pixel count. This alignment reduces the scaling burden and keeps text size consistent across the array, even if the horizontal stretch differs.
Advanced users can explore fractional scaling options in Windows 11, which offer more granular control over UI size. While this can improve readability on high-DPI screens, it does not resolve the fundamental issue of differing pixel densities. For critical visual tasks, matching PPI remains the gold standard. Before purchasing, calculate the PPI for each candidate monitor using online tools to ensure they fall within a acceptable range of each other, typically within a 5-10% margin for optimal consistency.
Understanding Panel Technologies and Quality
The technology behind the screen panel influences color accuracy, contrast, response times, and overall image quality. The three primary panel types available today are IPS, VA, and OLED, each offering distinct advantages for different use cases.
IPS (In-Plane Switching) panels are renowned for their color accuracy and wide viewing angles. They are the preferred choice for professional content creators, designers, and anyone prioritizing faithful color reproduction. IPS displays typically offer consistent brightness across the screen and maintain color integrity even when viewed from the side. For a multi-monitor setup used for productivity and creative work, IPS panels provide a reliable and consistent visual baseline across all units.
VA (Vertical Alignment) panels excel in contrast ratios, often delivering deeper blacks and more vibrant images compared to IPS. They are generally more affordable and can offer faster response times in certain models. VA panels are suitable for media consumption and gaming where contrast is valued. However, they may suffer from “black smearing” during fast motion and narrower viewing angles compared to IPS. When mixing VA and IPS monitors, the difference in contrast and color gamut may be noticeable, so consistency in panel type is advisable.
OLED (Organic Light-Emitting Diode) technology represents the pinnacle of image quality, offering infinite contrast ratios and perfect blacks since each pixel emits its own light. OLED panels provide exceptional color vibrancy and response times. However, they come at a premium price and may have concerns regarding long-term burn-in for static UI elements. For a multi-monitor gaming or entertainment setup, an OLED primary display can provide a stunning focal point, while pairing it with a more affordable IPS or VA secondary monitor can balance cost and performance.
When selecting panels for a mixed setup, prioritize the technology for your primary display based on your main activities. If gaming is the priority, a high-refresh-rate OLED or IPS panel is beneficial. For productivity and coding, an IPS panel with good text clarity is ideal. The secondary monitor can then be selected based on budget and functional needs, such as a simpler IPS model for displaying reference materials or chat applications.
Ergonomic Mounting and VESA Standards
Proper mounting is essential for achieving both ergonomic comfort and a clean aesthetic in your multi-monitor arrangement. The industry standard for monitor mounting is the VESA (Video Electronics Standard Association) interface, which consists of a pattern of four mounting holes on the back of the display. The most common VESA patterns are 75x75mm and 100x100mm, measured in millimeters. Before purchasing any mounting hardware, verify that your monitors support the VESA standard and identify the specific hole pattern.
Monitor stands included in the box often lack the adjustability required for an optimal setup. Many budget monitors feature fixed stands that do not allow for height adjustment, which can lead to poor ergonomics. To achieve the correct viewing height, where the top of the screen is at or slightly below eye level, monitor arms are highly recommended. These arms clamp to the desk and provide extensive range of motion, allowing you to position each screen precisely.
Monitor arms come in various configurations, including single-arm, dual-arm, and triple-arm mounts. Single-arm mounts offer the most flexibility for individual screen positioning and are ideal for setups where each monitor may need independent adjustment. Dual or triple-arm mounts can save desk space by consolidating multiple screens onto a single base, but they may limit the range of motion for each individual display. For complex multi-monitor arrangements, individual arms are often preferred to avoid collisions and allow for unique positioning.
Cable management is another critical aspect of mounting. Monitor arms often include channels or clips to route power and video cables, reducing clutter on the desk surface. Proper cable management not only improves the visual appearance but also prevents accidental disconnections and reduces dust accumulation. When selecting arms, consider the weight capacity to ensure they can support the weight of your monitors, especially larger or heavier OLED models.
Investing in quality mounting hardware pays dividends in terms of comfort and usability. The ability to tilt, rotate, and swivel each monitor allows for fine-tuning the viewing angle to reduce glare and neck strain. For users with multiple monitors, the flexibility to adjust each screen independently ensures that the entire array can be optimized for the user’s specific posture and desk layout.
Arranging Screens for Optimal Workflow
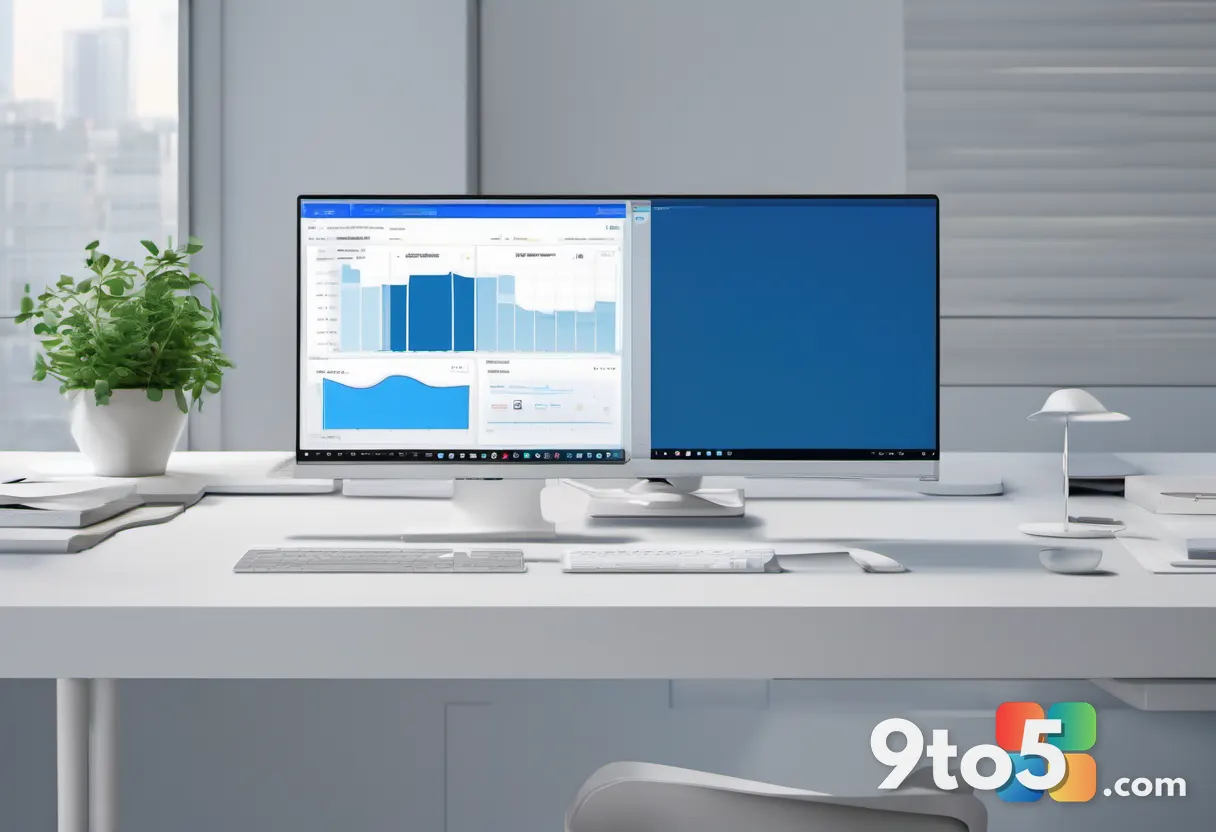
The physical arrangement of monitors on your desk directly impacts your workflow efficiency and physical comfort. The goal is to create a cohesive workspace where screens feel like a unified extension of your vision rather than separate, disjointed units. Proper alignment minimizes neck movement and reduces eye strain when shifting focus between displays.
For a dual-monitor setup, positioning the screens side-by-side with a slight inward tilt can create a natural viewing arc. The monitors should be close enough to minimize the gap but not so close that they obstruct each other’s viewing angles. The center of the screen should be at or slightly below eye level when sitting upright. This arrangement allows for smooth transitions between tasks without significant head movement.
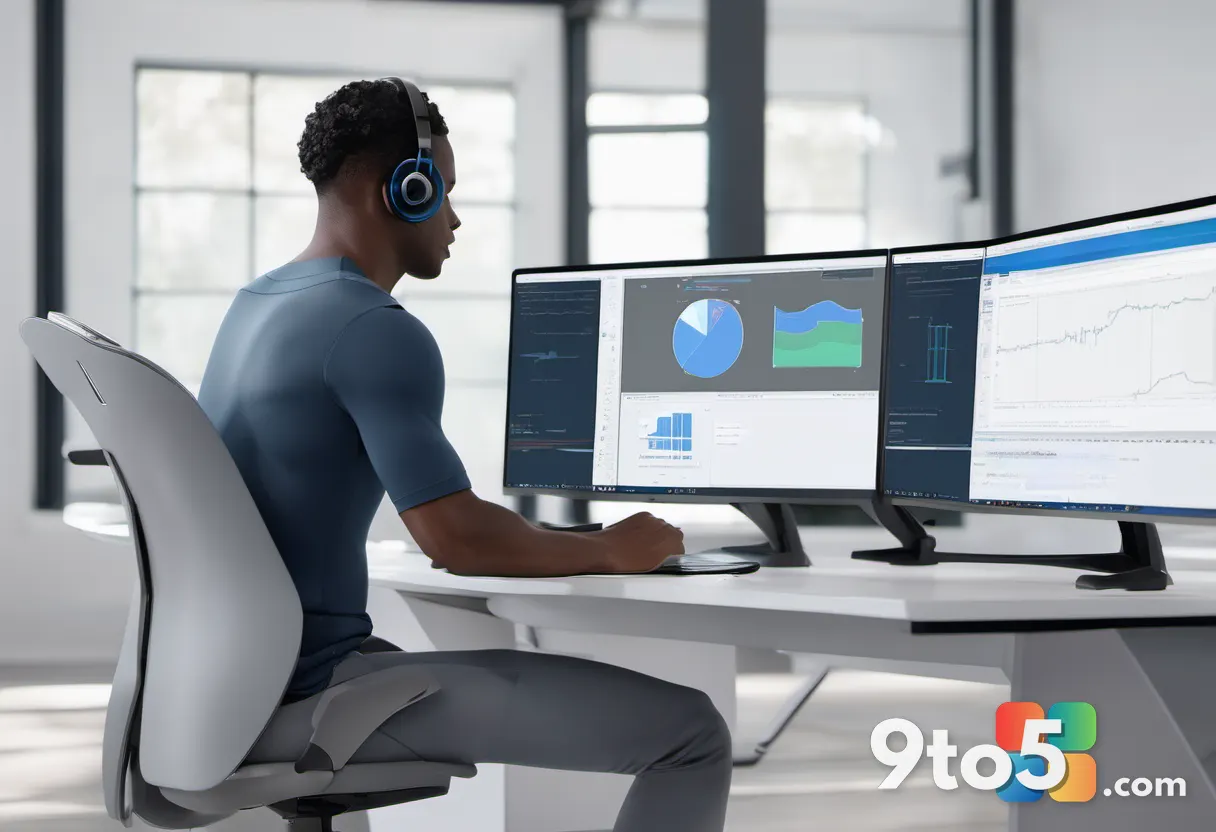
Triple-monitor setups introduce additional complexity. The central monitor should be positioned directly in front of the user, serving as the primary focal point. The side monitors can be angled slightly inward to create a panoramic effect. Maintaining consistent height across all three screens is crucial to avoid a stepped appearance. Using a bubble level during installation can help ensure perfect alignment. The distance from the eyes to the screens should be approximately an arm’s length, or about 20 to 30 inches, to reduce eye fatigue.
For asymmetric setups, such as a central ultrawide with vertical side monitors, the arrangement requires careful planning. The vertical monitors should be positioned to complement the central display without creating visual clutter. The height and angle of the vertical screens must be adjusted to align with the user’s natural line of sight. This configuration is particularly effective for coding, where the central screen displays the main workspace and the vertical monitors show reference documentation or system monitors.
Experimentation is key to finding the ideal arrangement. Start with a basic layout and adjust the positions over time based on your usage patterns. Pay attention to any areas of neck strain or eye fatigue and modify the setup accordingly. Some users prefer a more curved arrangement, while others opt for a flat, wide layout. The right configuration depends on your specific tasks and physical comfort.
What This Means for Your Productivity and Experience
Implementing a well-planned multi-monitor setup has profound implications for daily productivity and user experience. The primary benefit is the expansion of digital real estate, allowing users to keep multiple applications visible simultaneously. This reduces the need to alt-tab between windows, streamlining workflows for tasks that involve cross-referencing data, monitoring communications, or managing complex projects.
For professionals, the ability to dedicate specific screens to specific functions can enhance focus. A developer might use one monitor for code, another for documentation, and a third for terminal output. A designer might dedicate a screen to their canvas, another to asset libraries, and a third to client communication. This separation of tasks minimizes context switching and allows for deeper concentration on primary activities.
In gaming and entertainment, multi-monitor setups offer immersive experiences. A triple-monitor configuration can provide a 180-degree field of view, enveloping the player in the game world. Alternatively, a single ultrawide monitor can deliver a cinematic experience with support for ultra-wide resolutions in compatible titles. The visual continuity achieved through proper size and density matching enhances immersion by eliminating distracting bezels and resolution discrepancies.
Moreover, a thoughtfully arranged multi-monitor setup contributes to better ergonomics. By positioning screens at the correct height and distance, users can maintain a neutral posture, reducing the risk of neck and back pain. The ability to adjust monitor angles helps minimize glare from overhead lighting or windows, further enhancing comfort during long work sessions.
How to Get Started with Your Multi-Monitor Journey
Embarking on a multi-monitor upgrade requires a systematic approach to ensure compatibility and satisfaction. Begin by assessing your current setup and identifying your primary goals. Are you looking to increase productivity, enhance gaming immersion, or create a more versatile workstation? Your goals will guide your decisions on monitor selection and arrangement.
Next, measure your available desk space. Multi-monitor setups require significant surface area, and ensuring adequate space prevents a cramped and uncomfortable workspace. Consider the depth of your desk, as larger monitors may extend further forward. Also, evaluate the weight capacity of your desk if you plan to use heavy monitor arms.
Set a realistic budget that includes not only the monitors but also the necessary mounting hardware, cables, and any potential upgrades to your graphics card. Driving multiple high-resolution displays may require a more powerful GPU with sufficient output ports. Check the connectivity options on your graphics card to ensure it can support your desired number of monitors at the desired resolutions and refresh rates.
When shopping for monitors, prioritize the specifications discussed in this guide: size, resolution, PPI, and panel type. Read reviews and compare specifications to find the best options for your needs. Consider purchasing monitors in pairs or sets to ensure compatibility, or carefully match individual units based on the criteria outlined above.
Finally, take your time with the installation and adjustment process. Mounting monitors and aligning them can be tedious, but the result is a customized workspace tailored to your preferences. Use tools like bubble levels and measuring tapes to achieve precise alignment. Once installed, spend a few days adjusting the positions and angles to find the perfect setup for your workflow. The effort invested in building a cohesive multi-monitor environment will yield significant returns in productivity, comfort, and enjoyment.
Source: PCWorld
Over to you: What is the biggest challenge you face when aligning your multi-monitor setup?