Setting up multiple monitors in Windows 11 can transform how you work. With extra screen real estate, you can spread out documents, keep a chat window or email pane visible, and monitor dashboards without tab-switching. The process sounds technical, but Windows 11 handles most of the work through a single settings page. This guide walks you through connecting each display, arranging them on screen, and tuning resolution and scaling so every panel looks sharp.
Before You Start
Gather the cables and adapters you’ll need before opening any menus. Most modern laptops and desktops use HDMI or DisplayPort outputs, while newer ultrabooks rely on USB-C or Thunderbolt. If your computer has fewer video ports than monitors, you’ll need a docking station, a USB-to-HDMI adapter, or a DisplayPort-to-HDMI adapter. Make sure each monitor is plugged in and set to the correct input source on its own on-screen menu. Enterprise users rolling out displays across a fleet can also configure these settings through Group Policy or Microsoft Intune, but the manual steps below work on any machine.
-
Step 1: Connect each monitor to your PC
Plug one end of the video cable into the monitor and the other end into the matching port on your computer. If you are using a laptop with a single universal port, connect a dock or adapter first, then run each monitor from there. You should see the monitor’s power light turn on and, within a few seconds, Windows detect the new display with a small notification appearing in the corner of the screen.
If no image appears, check that the cable is fully seated on both ends and that the monitor is set to the input matching the port you used. Try a different cable or port before assuming the hardware is faulty, since loose connections are the most common cause of a blank screen.
-
Step 2: Open Settings and navigate to Display
Press
Win + Ito open Settings, or right-click an empty area of the desktop and choose Display settings. Either path lands you on the same page, where Windows lists every connected screen as a numbered box. If you do not see all your monitors here, scroll down and click Detect to force Windows to look again.Notice the Identify button near the top of the page. Click it once and a large number flashes on each physical screen so you can confirm which box in Settings matches which monitor on your desk.
-
Step 3: Identify and arrange your displays
Click Identify to label each screen, then click and drag the numbered boxes so they match the physical layout of your monitors. If your second screen sits to the right of the first, drag its box to the right in the settings window.
This arrangement matters because Windows moves your cursor between screens based on it. If the boxes are in the wrong positions, your cursor will hit an invisible wall or jump to the wrong screen, which feels frustrating until you fix the layout. Click Apply to confirm the new positions.
-
Step 4: Choose a display mode
Scroll to the Multiple displays dropdown and pick the mode you want. Extend desktop treats each monitor as one continuous workspace, letting you drag windows between screens. Duplicate shows the same content on every monitor, which suits presentations or sharing your screen.
For everyday productivity, Extend is the better choice because it gives you more room to work. If you accidentally pick Duplicate and your second screen looks redundant, switch back to Extend and click Apply to restore your expanded workspace.
-
Step 5: Set resolution and scaling for each monitor
Click the box for the monitor you want to adjust, then scroll to Display resolution and pick the recommended native resolution, which Windows usually marks as (recommended). Next, set Scaling to a value that makes text comfortable, often 100% or 125%, depending on screen size.
Mismatched scaling is a frequent cause of blurry or oversized text, especially when mixing a high-resolution monitor with a lower-resolution one. Keeping each display at its native resolution and a sensible scaling percentage keeps everything crisp and legible.
Pro Tip: When mixing monitors of different sizes, set the larger or higher-resolution screen to 125% scaling and leave the smaller one at 100% so your eyes do not have to adjust between drastically different text sizes.
-
Step 6: Adjust orientation and refresh rate
If you mount a monitor vertically, open the Display orientation dropdown and choose Portrait. For standard horizontal use, leave it on Landscape. Below that, find the Refresh rate dropdown and select the highest value offered, such as 144 Hz, for smoother motion in videos and games.
A lower refresh rate can make scrolling look choppy, so choosing the maximum supported value improves the feel of the whole desktop. If the refresh rate options look limited, your cable or adapter may be capping the bandwidth, so try a higher-quality DisplayPort cable.
-
Step 7: Configure taskbar behavior across monitors
Right-click the taskbar and choose Taskbar settings, then scroll to the Multiple displays section. Turn on Show my taskbar on all displays if you want the taskbar and system clock on every screen.
You can also enable Show taskbar buttons on all displays so open apps appear on each taskbar, or keep them only on your primary screen to reduce clutter. Toggle each option and watch the taskbars update in real time so you can pick the layout that fits how you work.
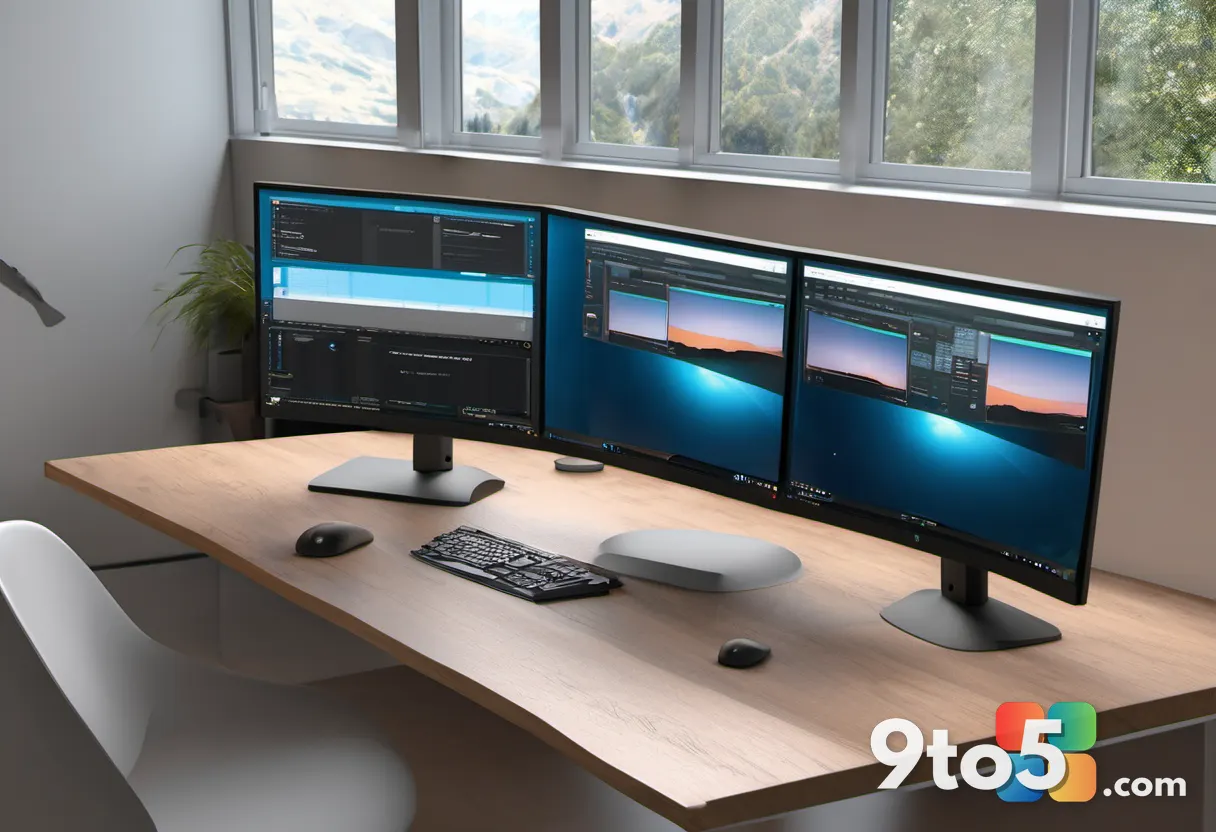
Once every monitor is connected, arranged, and tuned, your desktop should feel like a single wide workspace. Move windows between screens by dragging them to the edge, and use Win + Shift + Left/Right Arrow to snap an active window to a specific monitor quickly.
Troubleshooting common multiple-monitor problems
Even with careful setup, a few issues show up regularly. Work through these fixes in order before contacting support.
- Monitor not detected: Verify the cable is firmly connected on both ends and the monitor is set to the correct input source. Try a different cable, port, or adapter, and update your graphics driver from the manufacturer’s website, since outdated drivers are a leading cause of detection failures.
- Cursor won’t cross between screens: Return to the Display settings arrangement and drag the boxes so they sit edge-to-edge in the correct order. If a gap remains between the boxes, your cursor will stop at the edge instead of gliding to the next monitor.
- Blurry or stretched image: Confirm each monitor is running at its native resolution and that scaling is set to a recommended value. A non-native resolution forces the panel to stretch the image, which is what causes fuzziness or distortion.
- Taskbar missing on the second screen: Open Taskbar settings and turn on Show my taskbar on all displays. Without this option enabled, the second monitor will show only your windows with no taskbar to switch between them.
Closing tips for a smooth multi-monitor setup
Keep your graphics drivers current, since Windows 11 relies on them to detect and optimize every connected display. Take a few minutes to arrange the boxes in Settings before you start working, because fixing a wrong layout later is more annoying than getting it right the first time. Label your cables at the back of your desk so unplugging and reconnecting becomes a quick, predictable task.
With everything connected and arranged, your dual or triple-monitor setup should give you a noticeably more productive workspace. If you run into a problem not covered above, check your monitor’s manual and your graphics driver, then revisit the Display settings to confirm the arrangement and resolution.
Over to you: How many monitors do you currently use, and which layout works best for your daily tasks?