GPU hardware scheduling is a Windows feature that hands control of your graphics card’s memory management from your CPU over to the GPU itself. When it is turned on, your graphics card can decide how to prioritize its own work, which can lower input latency, smooth out frame times, and help performance in CPU-heavy games. In this guide, you will learn how to enable hardware-accelerated GPU scheduling in Windows 11 and confirm it is actually working.
Before You Start: Make sure you are running Windows 11 (or Windows 10 version 1809 or newer) and have a graphics card with at least 4GB of VRAM. You will also want your GPU drivers up to date, since an outdated driver is the most common reason the option will not show up. This feature works across all Windows 11 editions, including Home, Pro, Enterprise, and Education.
-
Step 1: Open Settings
Open the Settings app. Press the Windows key on your keyboard, or click the Start button, then type Settings and press Enter. Alternatively, use the keyboard shortcut
Win + Ito launch it directly. The Settings app is the central hub for most Windows 11 configuration options, and you will reach the display controls from here. -
Step 2: Go to Display Settings
Navigate to the Display page. In the left sidebar of Settings, click Display. If you are already on the Display page, skip ahead. This page shows your current monitor’s resolution, refresh rate, and brightness controls, and it serves as the entry point to the advanced display options you need.
-
Step 3: Open Advanced Display Settings
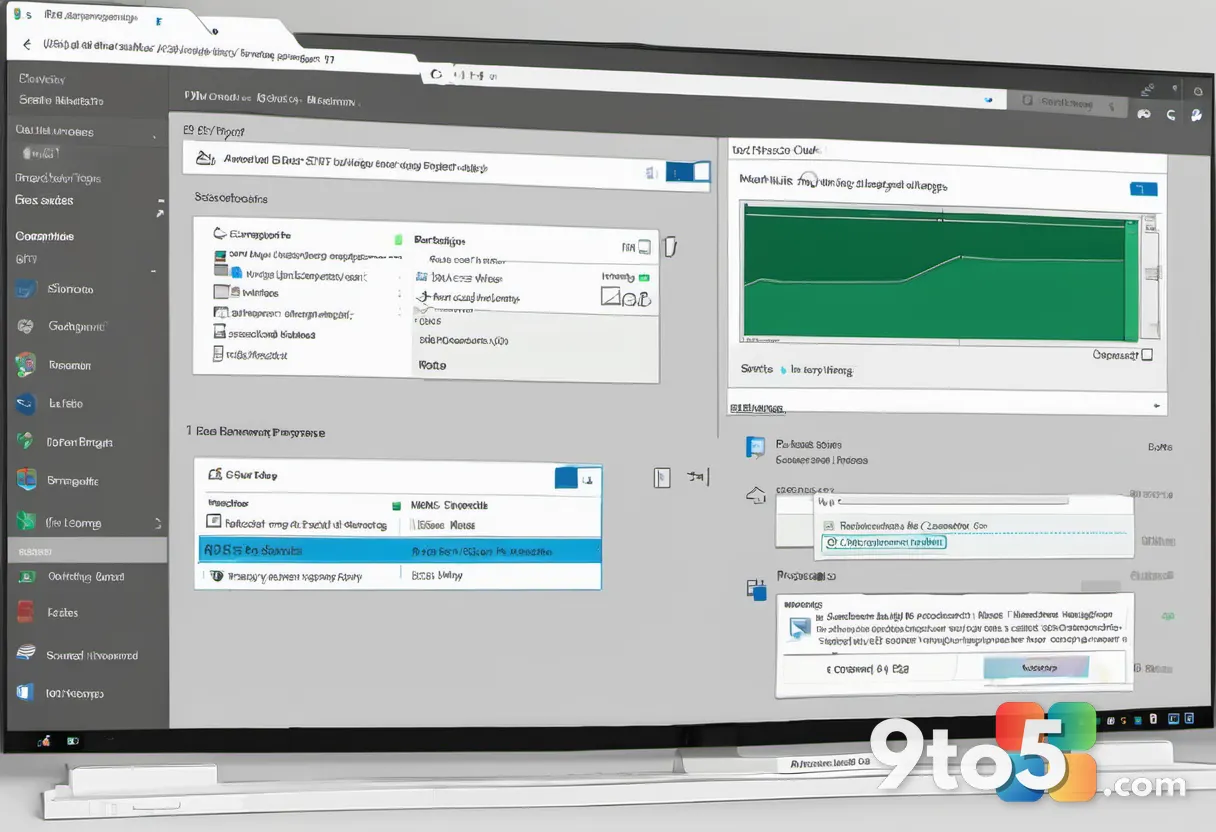
Click Advanced display. Scroll down on the Display page and select the Advanced display link. This takes you to a page with more detailed information about each connected monitor, including the adapter details that hold the GPU scheduling toggle.
-
Step 4: Open Display Adapter Properties
Click Display adapter properties for Display 1. Scroll to the very bottom of the Advanced display page and choose Display adapter properties for Display 1. This opens a page that mirrors the classic display properties dialog but keeps Windows 11’s modern layout. Look for the Game settings section near the bottom of the new page.
-
Step 5: Turn On Hardware-Accelerated GPU Scheduling
Switch the toggle to On. In the Game settings section, find the Hardware-accelerated GPU scheduling toggle and turn it on. If the toggle is greyed out or missing, do not worry, and see the Troubleshooting section below for the fix. Notice that Windows tells you the change requires a restart before it takes effect.
-
Step 6: Restart Your PC
Reboot to apply the change. Click the Start button, select Power, and choose Restart. Windows will not fully activate the new scheduling mode until you reboot, so skipping this step leaves the setting inactive. A full restart, rather than a shutdown and power-on, ensures the change registers cleanly.
-
Step 7: Verify the Setting Is Enabled
Confirm the toggle reads On. After restarting, return to the Game settings section on the Display adapter properties page and check that the toggle still shows On. You can also open Task Manager with
Ctrl + Shift + Esc, go to the GPU tab, and confirm your graphics card is being tracked. This proves Windows has picked up the change.
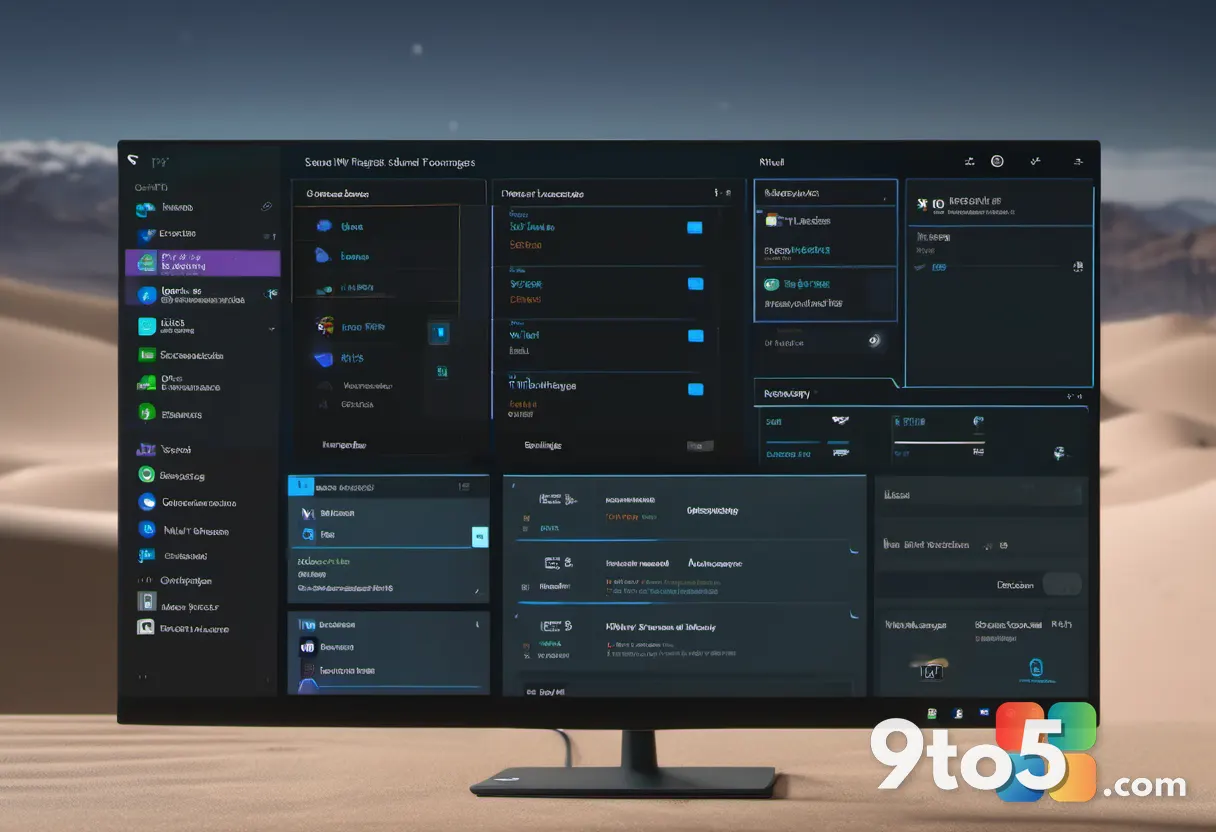
Alternative method for advanced users: NVIDIA and AMD also expose this option in their own control panels. Open the NVIDIA app or AMD Adrenalin software, look under the GPU settings or performance tab, and toggle Hardware-accelerated GPU scheduling there. Either route works, so use whichever interface you are most comfortable with.
Troubleshooting: Common Problems and Fixes
If the setting will not turn on or you do not notice a difference, one of these issues is usually to blame.
- The option is greyed out or missing. This almost always means your GPU driver is outdated or your graphics card does not meet the requirements. Visit your GPU maker’s website (NVIDIA, AMD, or Intel) and install the latest driver, then check again.
- Your screen goes black after restarting. In rare cases an incompatible driver can cause a display glitch on boot. If this happens, restart again and toggle the setting back to Off, then update your driver before trying once more.
- You see no performance improvement. Hardware scheduling helps most in CPU-intensive titles at high frame rates, while casual games may not benefit at all. Test with a benchmark or an in-game FPS counter to get a fair read on whether it helps your setup.
Final Tips
Enabling GPU hardware scheduling is a low-risk tweak that can pay off in smoother gameplay, but it is not a magic performance boost. Pair it with up-to-date drivers and a stable refresh rate to get the most out of it.
Pro Tip: Run a benchmark like 3DMark or an in-game FPS counter before and after enabling the setting. Comparing frame times gives you real data on whether hardware scheduling helps your specific game and hardware.
Keep in mind that some games and streaming tools can behave differently with this feature on, so if you notice new stuttering or crashes, toggle it back off and revisit your drivers.
Over to you: Have you tried enabling GPU hardware scheduling, and did you notice a difference in your games?