Multi-factor authentication (MFA) is one of the strongest defenses against unauthorized access to your Microsoft account. By requiring a second form of verification, it stops attackers even if they manage to steal your password. Setting Microsoft Authenticator as your default MFA app means your phone becomes the primary gatekeeper, replacing less secure options like SMS codes or email verification.
This guide walks you through configuring Microsoft Authenticator as the default sign-in method for a personal Microsoft account, plus notes for work or school accounts that are managed by an administrator.
Before You Start
- A smartphone (iPhone or Android) with the Microsoft Authenticator app installed.
- Access to your Microsoft account online at
account.microsoft.com. - For work or school accounts, remember that your IT administrator controls MFA settings, so you may need their help to change the default method.
Step 1: Download and install the Microsoft Authenticator app
Open the App Store on iPhone or the Google Play Store on Android, search for Microsoft Authenticator, and install the official app published by Microsoft Corporation. Installing the app on your phone first matters because the web setup later asks you to scan a QR code that links your account to this specific device.
Once installed, open the app and sign in with the same Microsoft account you want to protect. You should see a blank account list at first, which is normal because the account will be fully registered once you complete the steps on the website. If the app refuses to sign in, confirm that your phone has a working internet connection and that you are using the correct account email address.
Step 2: Sign in to your Microsoft account online
On your computer, open a web browser and navigate to account.microsoft.com, then sign in with your account credentials. Signing in through the browser is required because the security settings live on Microsoft’s web portal, not inside the phone app itself.
If your account already has MFA turned on, the browser may prompt you to verify your identity using an existing method. Complete that verification so you can reach the security settings. If you cannot receive the current verification code, wait for it to expire and choose a different available method, or contact your account recovery options before proceeding.
Step 3: Open the Security info page
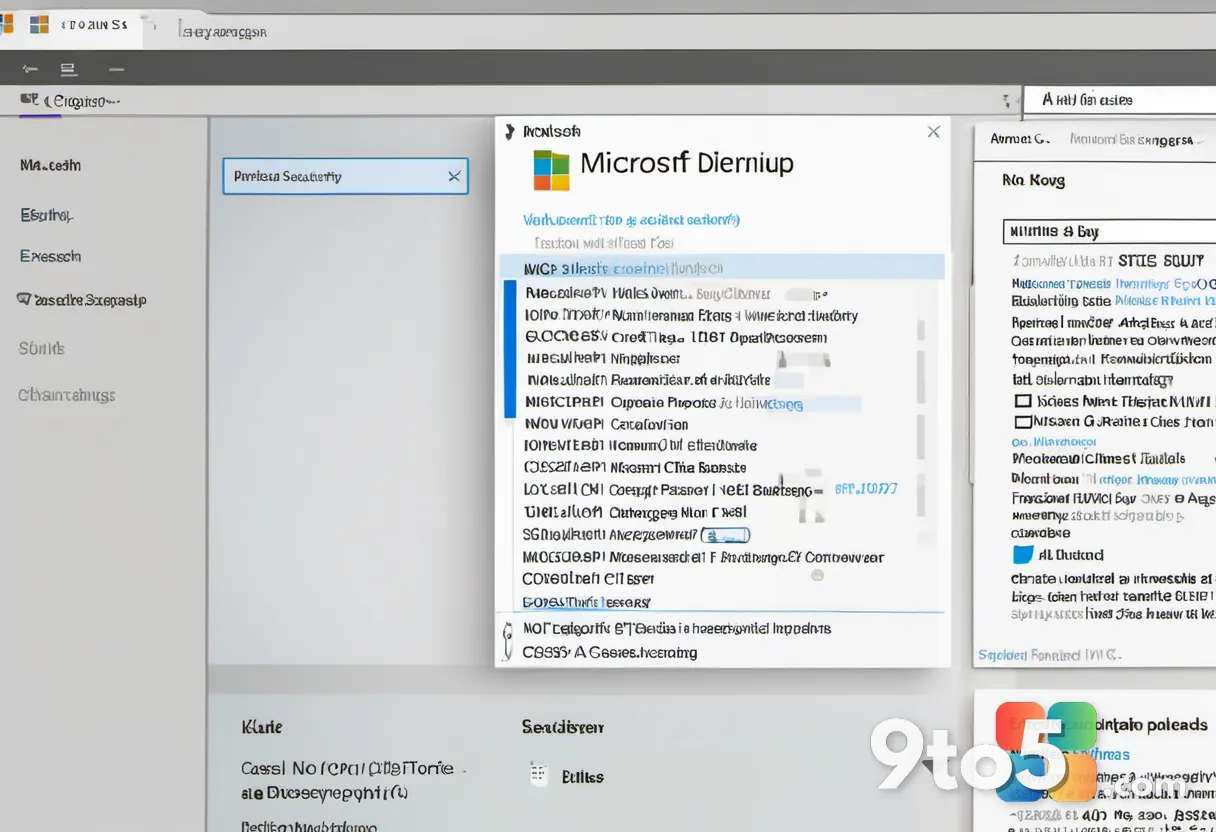
Once signed in, click the Security info link in the left navigation or under the “Account security” section on the dashboard. This page lists every sign-in method currently attached to your account, such as password, Windows Hello, authenticator app, email, and phone.
You will see a list of your existing methods with their last used dates. Take a moment to review them so you know what is already configured. If the Security info page does not load, refresh the browser and confirm you are signed in as the account owner rather than a guest or secondary profile.
Step 4: Add the Authenticator app as a sign-in method
On the Security info page, click the Add method button and choose Authenticator app from the dropdown menu. This registers the Authenticator app as a recognized second-factor option for your account.
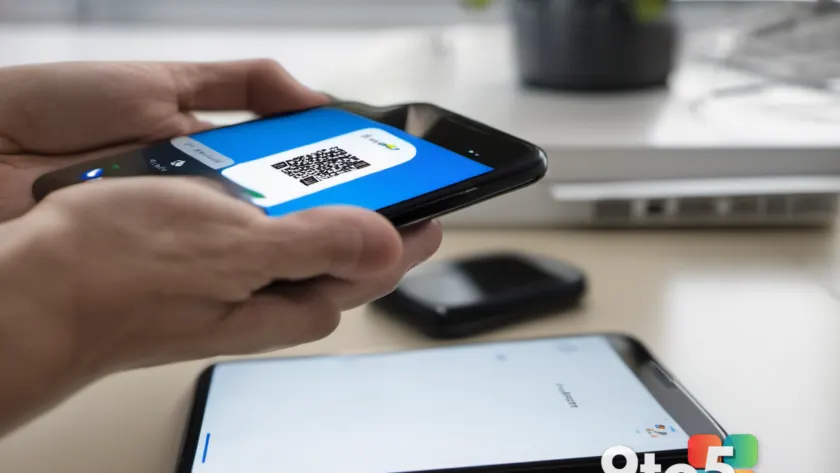
The page then displays a QR code along with instructions to open the app on your phone and tap Add an account or Scan a code. Point your phone camera at the QR code until the app confirms it has linked the account. If the QR code will not scan, look for a can’t scan the code link that lets you enter the setup details manually instead.
Step 5: Set Authenticator as your preferred default method
After the app is added, return to the Security info page and find the Preferred authentication method section, which may appear under advanced settings. Select Authenticator push or Authenticator app code as the default so your phone is used automatically on future sign-ins.
Changing this setting ensures that Microsoft prompts your phone first instead of falling back to SMS or email, which are easier for attackers to intercept. If you do not see the preferred method option, your account may be governed by an organization policy that fixes the default, which is common for work or school accounts.
Pro Tip: Enable passwordless sign-in inside the Authenticator app settings if your account supports it. Passwordless lets you sign in with a single tap or fingerprint, removing the need for a code entirely while keeping your account more secure.
Step 6: Verify the setup works
Open the Microsoft Authenticator app on your phone and confirm that your account now appears with a green checkmark or verified status. Then sign out of your Microsoft account on a browser and sign back in to confirm the app sends a push notification or code.
You should receive a notification on your phone asking you to approve or deny the sign-in. Tap Approve to complete the test, which proves the default MFA method is functioning correctly. If no notification arrives, pull down on the account in the app to refresh, or check that notifications are enabled in your phone’s system settings.
Troubleshooting
Even with careful setup, a few common issues can block a smooth experience. Here is how to resolve the most frequent problems.
- Cannot receive push notifications: Make sure notifications are enabled for the Authenticator app in your phone settings, and confirm the app has permission to show alerts. Keep the app installed and signed in, and verify your phone’s date and time are set to automatic so the authentication tokens stay valid.
- The Authenticator app is missing from the method list: Return to the Security info page and confirm you added the method under the correct account. Sign out and back into
account.microsoft.comto refresh the page, then repeat Step 4. If the option never appears, your account type may not support the app method, so contact Microsoft support for clarification. - Codes do not appear or sign-in fails: Ensure both your computer and phone are connected to the internet, and that the Authenticator app is unlocked. Try removing and re-adding the account in the app if the problem persists, then re-scan the QR code during setup.
Final tips
Once your default MFA method is set, keep the Authenticator app signed in and backed up so you never lose access to your account. Enable the app’s cloud backup feature if available, which restores your accounts if you switch phones. Consider adding a secondary method like a phone number as a safety net in case your phone is lost or unavailable. With these steps complete, your Microsoft account is protected by one of the most reliable authentication methods available.
Have you switched your Microsoft account to Authenticator as your default MFA method, or are you still relying on SMS and email codes? Let us know how your setup is going.
Over to you: Have you switched your Microsoft account to Authenticator as your default MFA method, or are you still relying on SMS and email codes?