Running a clean installation of Windows 11 is one of the most effective ways to eliminate persistent bugs, remove bloatware, and restore your PC to a smooth, responsive state. Many users assume that a clean install requires wiping everything and starting from scratch, but Microsoft built a built-in recovery feature that preserves your personal data while refreshing the operating system. This guide walks you through the exact steps to reset your Windows 11 PC without losing your files, whether you are troubleshooting a sluggish machine or preparing it for a fresh start.
Before You Start: Even though the official reset process protects your documents, photos, and media, you should always create a secondary backup of critical files to an external drive or cloud storage. Power interruptions during the reset process can cause complications, so connect your PC to a reliable power source and ensure your battery is fully charged if you are working on a laptop.
Step 1: Open the Recovery Settings
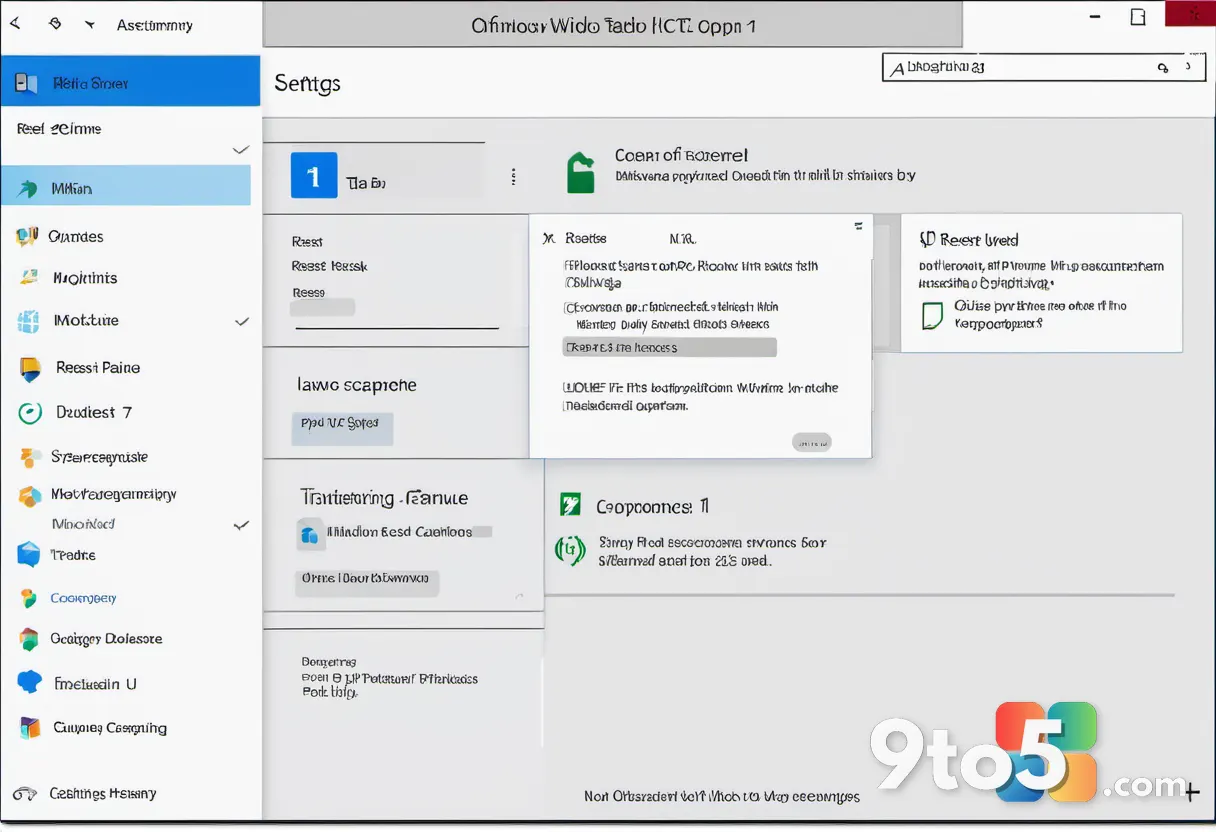
Navigate to Settings > System > Recovery. You will see the Recovery tab display the current status of your Windows installation along with a few recovery options. This is the central hub where Windows stores all system restoration tools, and it is the only official location you should use for this process.
Step 2: Launch the Reset Process
Click the Reset this PC button and then select the Get Started option. A new window will appear asking how you want to handle your data. Windows will present two distinct choices: Keep my files and Remove everything. You must select Keep my files to proceed with this guide.
Step 3: Choose Keep My Files
Select the Keep my files option and click Next. Windows will now explain what will happen during the reset. Your personal files, such as documents, music, pictures, and videos, will remain untouched. However, the apps you installed from the Microsoft Store and third-party programs will be removed, and system settings will return to their default values.
Step 4: Select a Download Method
Choose between Cloud download or Local reinstall. The Cloud download option pulls fresh Windows 11 installation files directly from Microsoft servers, which is highly recommended if your current system files are corrupted. The Local reinstall option uses the existing files already on your hard drive, which works well if you have a slow or unreliable internet connection.
Step 5: Review Additional Settings
Click Change settings to review optional configuration options. You will see a toggle for Clean data by erasing files. Leave this option turned off unless you are selling or donating the PC, as it runs a secure wipe that takes several hours. You can also adjust whether Windows reinstalls your apps after the reset, though leaving the default behavior is usually the safest choice.
Step 6: Confirm and Begin the Reset
Click Next to review your choices, then click Reset to begin the process. Windows will warn you that your PC will restart multiple times and may take up to an hour or longer depending on your hardware. Do not power off the device during this phase, as interrupting the installation can corrupt the operating system. Your screen may go black several times, and you might see a blue progress screen with a spinning circle while Windows rebuilds the system partition.
Pro Tip: If you selected Cloud download and the process fails at 99 percent, restart your PC and choose Local reinstall instead. This bypasses server connectivity issues and completes the reset using your existing system files.
Troubleshooting: Common Reset Failures
Even with a straightforward process, you may encounter a few roadblocks. Here is how to resolve the most frequent issues:
- Reset fails with error code 0x80070005: This permission error usually occurs when antivirus software blocks system file modifications. Temporarily disable your third-party antivirus, ensure Windows Defender is active, and restart the reset process.
- Cloud download fails or times out: If your internet connection drops during the file download, switch to Local reinstall. You can also try resetting your router or connecting via an Ethernet cable to stabilize the connection.
- PC gets stuck on the blue recovery screen: If the progress bar remains frozen for more than two hours, force a shutdown by holding the power button for ten seconds. Restart the PC and attempt the reset again, but choose Local reinstall this time.
Closing Tips for a Smooth Reset
- Write down your Wi-Fi password and two-factor authentication details before resetting, as you will need to re-enter them after the process completes.
- Reinstall your essential drivers after the reset, especially graphics and chipset drivers, to ensure full hardware compatibility.
- Run
Windows Updateimmediately after the reset to pull the latest security patches and feature improvements.
Once the reset finishes, Windows will guide you through the initial setup wizard. You can sign back into your Microsoft account, restore your backed-up files, and reinstall your favorite applications. Following this process gives you a clean, optimized Windows 11 environment while keeping all your important data safely intact.
Over to you: Have you ever needed to reset your PC, or does a clean install sound like something you would try?