Running a scheduled scan is convenient, but sometimes you need to take action immediately. Whether you downloaded a suspicious file, noticed unusual pop-ups, or your system started running slower than usual, a manual malware check gives you direct control over your system’s health. Windows Security (formerly Windows Defender) is built into Windows 11 and runs quietly in the background, but it also offers several powerful on-demand scan options. This guide walks you through every stage of a manual scan, from opening the correct menu to handling detected threats safely.
Before You Start: Make sure your PC is connected to the internet so Defender can download the latest virus definitions. If you are using Windows 11 Home, Pro, or Enterprise, the steps below are identical. Windows 10 users will find the same menu structure under Update & Security instead of Windows Security.
Step 1: Open Windows Security
Press Windows + I to launch Settings, then click System in the left navigation pane. You will see a list of configuration categories on the right side. Scroll down until you find Windows Security and click it. This action opens the dedicated security hub that houses Defender, firewall controls, and account protection tools. If you prefer a faster route, you can type Windows Security into the Start menu search bar and select the app from the results. The interface should load within a few seconds, displaying a large green shield icon at the top of the window.
Step 2: Navigate to Virus & threat protection
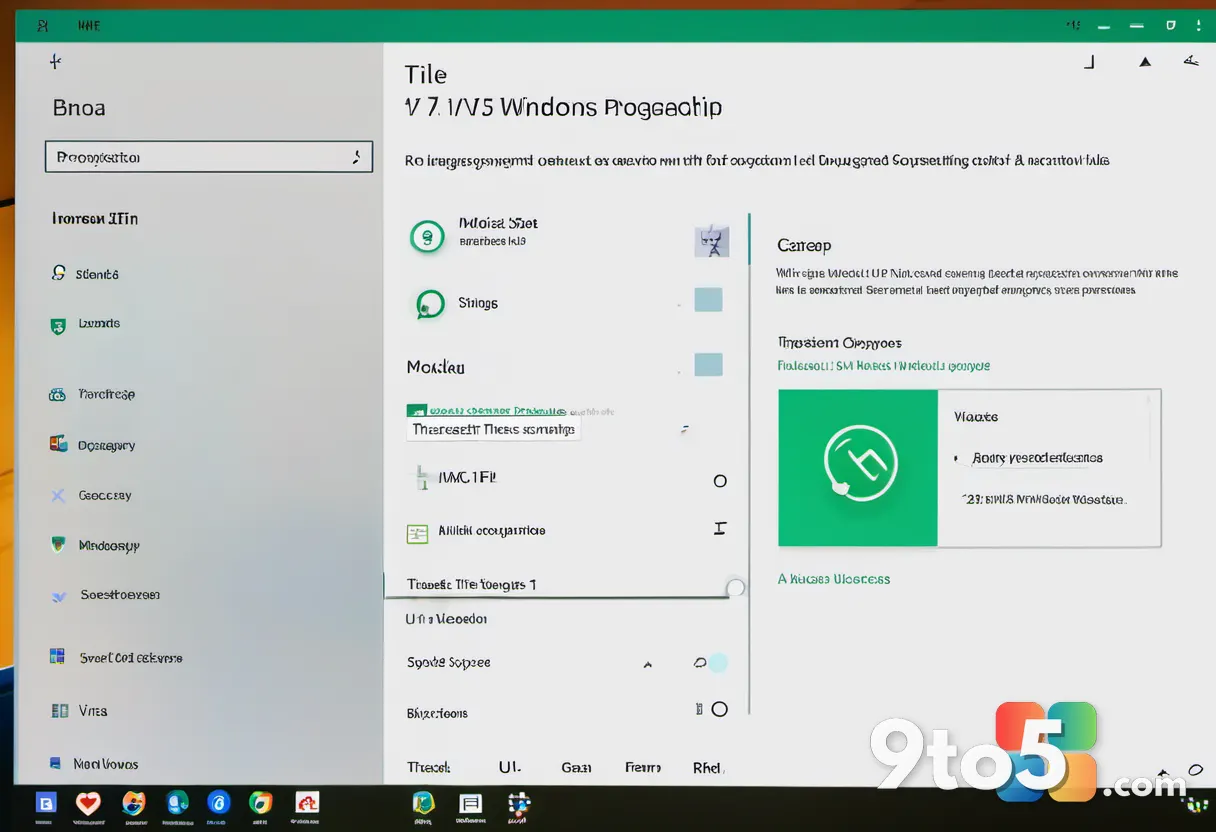
Click the Virus & threat protection tile in the main dashboard. You will be taken to a new page that shows your current protection status, recent scan history, and quick action buttons. Look for the Protection history link to see what Defender has caught recently, or focus on the Current threats area. This section is the command center for all manual scanning operations. If the page fails to load or shows a blank screen, restart the Windows Security service through Services.msc or run a quick system restart to clear any temporary glitches.
Step 3: Choose your preferred scan type
Under the Current threats heading, click the Scan options link. You will see a list of four distinct scanning modes. The Quick scan checks high-risk folders like C:\Windows\System32 and your desktop for known threats and typically finishes in under ten minutes. The Full scan examines every file on every drive, which takes longer but catches deeply hidden malware. The Custom scan lets you pick specific folders or external drives, which is useful when you suspect a particular download. The Microsoft Defender Offline scan restarts your PC and scans before Windows loads, bypassing active infections. Select the option that matches your current situation.
Step 4: Start the scan and monitor progress
Click the Scan now button at the bottom of the Scan options page. A progress bar will appear, and Defender will begin checking files against its cloud-assisted threat database. You can leave the window open to watch the percentage climb, or minimize it to continue working on less critical tasks. If you selected a full scan, expect the process to run for thirty minutes to several hours depending on your drive size and storage type. Should the scan freeze at a specific percentage for more than an hour, press Ctrl + Shift + Esc to open Task Manager, locate Windows Defender Antivirus Service, and restart it to resume the scan.
Step 5: Review and handle detected threats
When the scan finishes, Defender displays a Scan complete summary with a list of any identified threats. Each item shows the file path, threat name, and the recommended action. Click Show details next to any item to read a brief explanation of why Defender flagged it. By default, Windows will quarantine suspicious files, which moves them to a secure folder where they cannot execute. If you are certain a flagged file is safe, you can restore it from Protection history later, but you should never restore items from unknown sources. Click Close when you have reviewed the results.
Troubleshooting: Common Scan Issues
If your manual scan does not behave as expected, these targeted fixes address the most frequent failure points. First, if Defender refuses to start or shows error code 0x80070005, your account likely lacks administrative privileges. Right-click the Start button, select Terminal (Admin) or Command Prompt (Admin), and run net stop WinDefend followed by net start WinDefend to reset the service. Second, if a third-party antivirus is installed, Windows automatically disables its real-time scanning features. You will need to either uninstall the competing software or temporarily pause its protection to run a Defender scan. Third, if your scan completes but threats keep reappearing, your system might be infected with a rootkit. In that scenario, use the Microsoft Defender Offline scan option, which runs in a pre-boot environment before the malware can hide itself.
Pro Tip: You can schedule a weekly full scan directly from the Scan options page by clicking Manage settings under Scan options and toggling Run scans on a schedule. This keeps your system protected even when you forget to check manually.
Final Tips for Ongoing Protection
Manual scanning is a powerful safety net, but pairing it with consistent habits maximizes your security posture. Keep Windows Update enabled so Defender receives the latest threat intelligence automatically. Avoid disabling real-time protection unless a specific troubleshooting step requires it, as doing so leaves your system exposed for hours. If you frequently download software from alternative sources, consider running a custom scan on your Downloads folder before opening any new installers. You can also right-click any file in File Explorer and select Scan with Microsoft Defender for instant, on-demand checks without navigating through menus.
Have you ever caught a suspicious file while running a manual Defender scan? Share your experience in the comments below.
Over to you: Have you ever caught a suspicious file while running a manual Defender scan?