Whether you are a tech support professional or just the go-to person in your family, helping someone with their computer remotely can be a challenge. Verbal instructions often lead to confusion, especially when the person on the other end is not familiar with the interface. The solution lies in using the right remote PC help tools to demonstrate tasks visually and interactively.
Microsoft Windows 11 and the broader ecosystem offer a variety of options, ranging from built-in utilities to popular third-party applications. Depending on your needs—whether you need to take control of a machine or simply show someone how to perform a task—there is a tool designed for that purpose. Here is a breakdown of the most effective methods for remote assistance.
#1 Screen Sharing via Microsoft Teams or Zoom
For live, interactive assistance, screen sharing remains the gold standard. If you are working with colleagues, Microsoft Teams is likely already part of your workflow. Starting a call and sharing your screen is straightforward and provides real-time collaboration features.
When you initiate a screen share in Teams, you can choose to share your entire desktop, a specific application window, or even a PowerPoint presentation. The platform includes built-in annotation tools, allowing you to draw, highlight, or add text directly onto the shared screen. This is particularly useful when pointing out specific buttons or menus to a colleague who might be struggling to locate them.
Zoom offers similar capabilities and is often preferred for its reliability and ease of use in ad-hoc meetings. The process is comparable: start a meeting, click the “Share Screen” button, and select what you want to display. Both platforms allow you to control the level of detail, ensuring you can zoom in on critical areas without overwhelming the viewer with too much information at once.
What This Means for You: If you are already using Teams or Zoom for communication, leveraging their screen-sharing features is the path of least resistance. It requires no additional software installation and provides immediate visual context. However, be mindful of sensitive information on your screen, as everything you share will be visible to the other party.
#2 Quick Assist for Remote Control
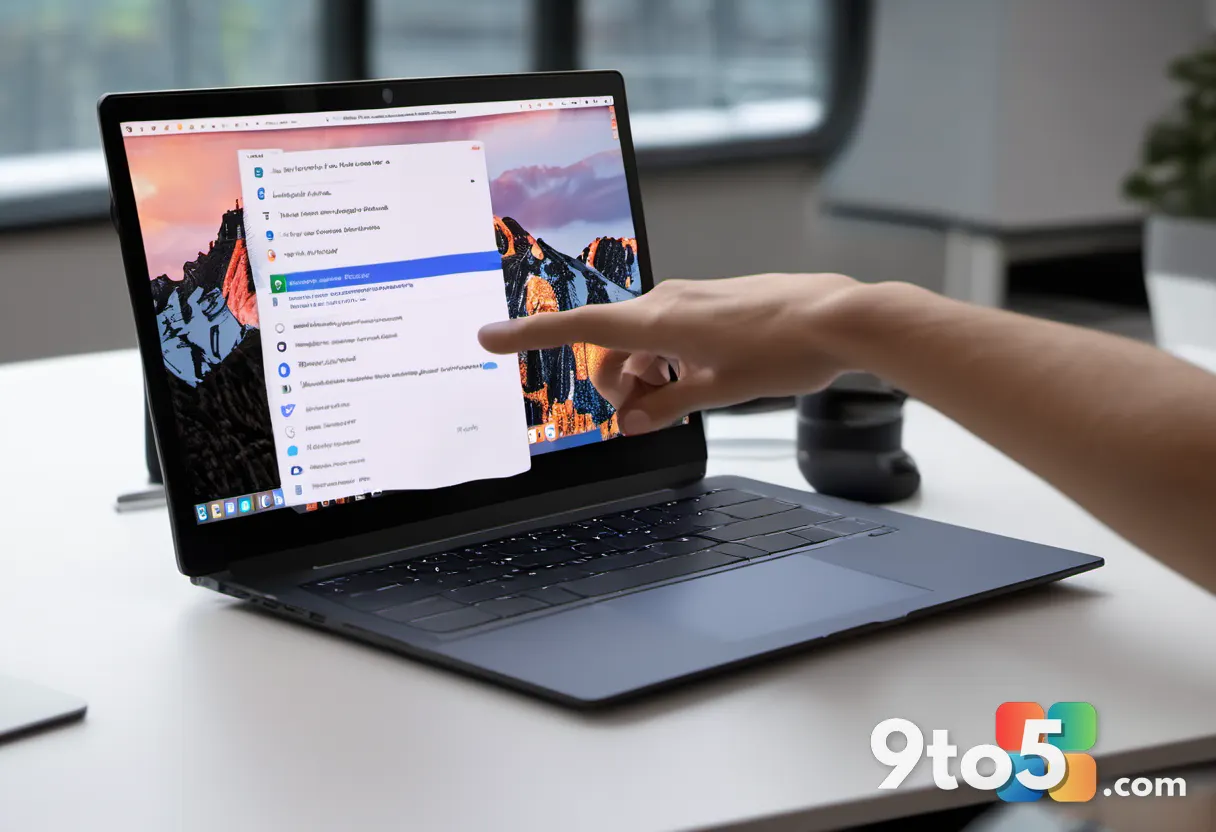
When a demonstration is not enough and you need to perform the task yourself on the user’s machine, Quick Assist is the native Windows solution. This built-in app allows you to remotely view and control another Windows PC in real-time, effectively replacing the older Remote Assistance tool.
To use Quick Assist, both parties need to have the app installed, which comes pre-installed on most Windows 11 systems. The process begins with the person providing help selecting “Help someone” and generating a six-digit security code. This code is shared with the person needing assistance, who then enters it into their Quick Assist app and selects “Help someone.”
Once connected, you can see the user’s screen and, with their permission, take control of their mouse and keyboard. This is invaluable for complex tasks where verbal instructions might be too slow or prone to misinterpretation. You can navigate menus, click buttons, and type commands directly, guiding the user through the process by doing it yourself.
What This Means for You: Quick Assist is ideal for one-on-one support scenarios where you need to take a more hands-on approach. It is secure, as it requires explicit permission from both parties, and it eliminates the need for third-party remote access software. Just remember to hand over control only when necessary and to release it promptly to avoid any confusion.
#3 Snipping Tool for Recorded Demonstrations
Not everyone can be available for a live call, which is where recorded demonstrations come in. Windows 11’s Snipping Tool has evolved beyond simple screenshots to include screen recording capabilities, making it a powerful tool for creating on-demand tutorials.
To record a screen capture, press Win + Shift + S to launch the Snipping Tool. From the toolbar, switch from the screenshot mode to the video recording mode. You can then define the area of the screen you want to record, whether it is a specific window or the entire desktop. Once you start the recording, you will see a countdown, followed by the capture of your actions.
The Snipping Tool allows you to record system audio and microphone input, enabling you to narrate your steps as you go. The resulting video is saved as an MP4 file, which can be easily shared via email, cloud storage, or messaging apps. This is particularly useful for creating reference materials that can be reused by multiple users over time.
What This Means for You: If you find yourself answering the same questions repeatedly, investing time in creating recorded demonstrations can save you hours in the long run. The Snipping Tool is free, built into Windows, and requires no learning curve, making it an accessible option for users of all skill levels.
#4 GIFs for Lightweight Sharing
Sometimes, a full video recording is overkill, especially for quick, repetitive tasks. In such cases, exporting your demonstration as a GIF can be a more efficient solution. GIFs are lightweight, loop automatically, and can be embedded directly into documents or emails.
The Snipping Tool offers an option to save your recording as a GIF. While the resolution may be lower compared to MP4 files, this is often sufficient for demonstrating simple UI interactions. GIFs are particularly effective for showing step-by-step processes, such as navigating settings or completing a form, without the need for audio narration.
Additionally, GIFs are easier to share across different platforms and devices. They do not require video players to view and can be quickly previewed in most web browsers and messaging applications. This makes them an excellent choice for quick, visual instructions that need to be accessible on the go.
What This Means for You: For short, repetitive tasks, GIFs offer a balance between visual clarity and file size. They are perfect for creating quick reference guides or sharing tips in team chats. Just be aware that for complex tasks requiring detailed explanation, a video recording might be more appropriate.
#5 Physical Demos with External Webcams
Sometimes, the task at hand is not purely digital. Whether you are helping someone set up a peripheral, troubleshoot a hardware issue, or demonstrate a physical workflow, showing the real-world context can be invaluable. External webcams designed for this purpose, such as the CA Essential Webcam Flex, can bridge this gap.
These webcams often feature a flexible design that allows you to angle the camera downwards, providing a clear view of your desk or workspace. This is particularly useful for demonstrating physical actions, such as connecting cables, assembling components, or organizing your setup. By combining the visual of your hands at work with the screen share, you provide a comprehensive view of the task.
This approach is especially helpful for users who are less tech-savvy and may struggle to follow instructions that are purely screen-based. Seeing the physical steps involved can make the process more tangible and easier to replicate. It also adds a personal touch to the interaction, making the support experience more engaging and less frustrating for both parties.
What This Means for You: If your support scenarios often involve hardware or physical setups, investing in a versatile webcam can enhance your remote assistance capabilities. It allows you to provide a more holistic demonstration that covers both the digital and physical aspects of the task.
How to Get It
Most of the tools mentioned here are already available on your Windows 11 system. Quick Assist and the Snipping Tool are built-in and can be accessed via the Start menu. Microsoft Teams and Zoom can be downloaded from their respective websites if you do not have them installed. For external webcams, you will need to purchase from a retailer, but they can significantly expand your remote support options.
By familiarizing yourself with these remote PC help tools, you can provide more effective and efficient support, regardless of your location. Whether you choose live screen sharing, remote control, or recorded demonstrations, the key is to select the method that best fits the task and the user’s needs.
Source: PCWorld
Over to you: Which remote help tool do you rely on most when assisting others with their PCs?