Windows 11 includes built-in protection through Microsoft Defender Antivirus, which runs scans automatically in the background. However, you might suspect an infection, notice unusual behavior, or want to verify your system’s safety. Running a manual scan gives you direct control over when and how your PC gets checked for threats.
This guide shows you how to access Windows Security, choose the appropriate scan type, and handle any malware the scanner finds. You do not need administrator privileges for most scan types, and the process works across Windows 11 Home, Pro, Enterprise, and Education editions.
Before You Start: Ensure your PC is connected to the internet. Some scan types, particularly the Full scan, download updated threat definitions before running. If you are using a third-party antivirus, Windows Defender may be disabled automatically, and you will need to re-enable it or use the other program instead.
Step 1: Open Windows Security
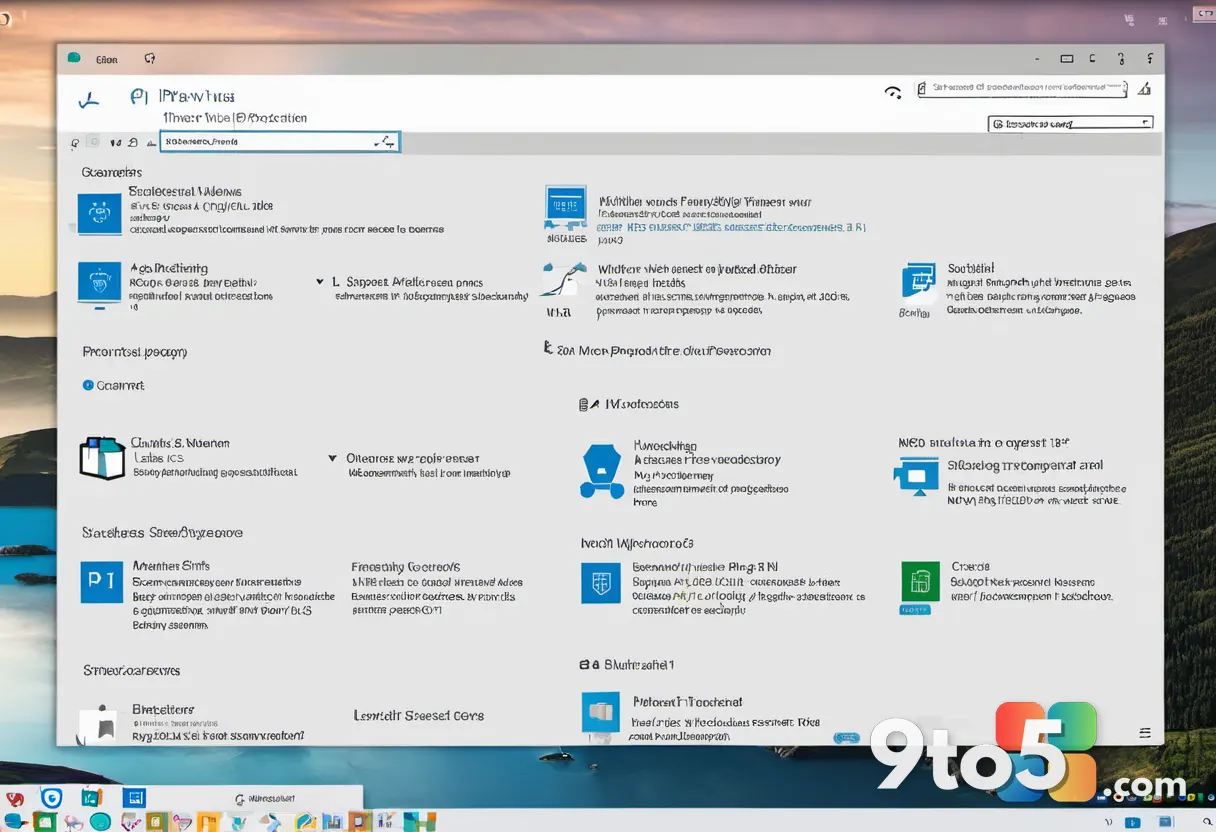
Press Windows + I to open Settings, then select System from the left sidebar. This launches the Settings app, which serves as the gateway to Windows Security. You will see a list of categories on the left, including Bluetooth, Display, and Notifications.
Scroll down the left sidebar until you find Windows Security. Click it to open the security dashboard. Alternatively, you can click the Start button, type Windows Security, and press Enter. The Windows Security window opens with four main tiles: Virus & threat protection, Account protection, Firewall & network protection, and App & browser control.
If you do not see the Windows Security tile, your system may be managed by an organization or you might have a third-party security suite installed. In that case, check your system tray for your antivirus icon or contact your IT administrator.
Step 2: Navigate to Virus & Threat Protection
Click the Virus & threat protection tile in the Windows Security window. This tile displays the current protection status, including whether real-time protection is active and when the last scan occurred. You will see a section labeled Current threats showing any issues detected recently.
Below the current threats section, look for the Quick scan button. This provides a shortcut to the most common scan type. However, clicking it skips the selection screen where you can choose between Quick, Full, Custom, and Microsoft Defender Offline scan options. To access all available scan types, click the Scan options link located just below the Quick scan button.
The Scan options page opens and displays a list of available scans with brief descriptions. Each scan type serves a different purpose, and choosing the right one depends on your situation and how much time you have available.
Step 3: Choose Your Scan Type
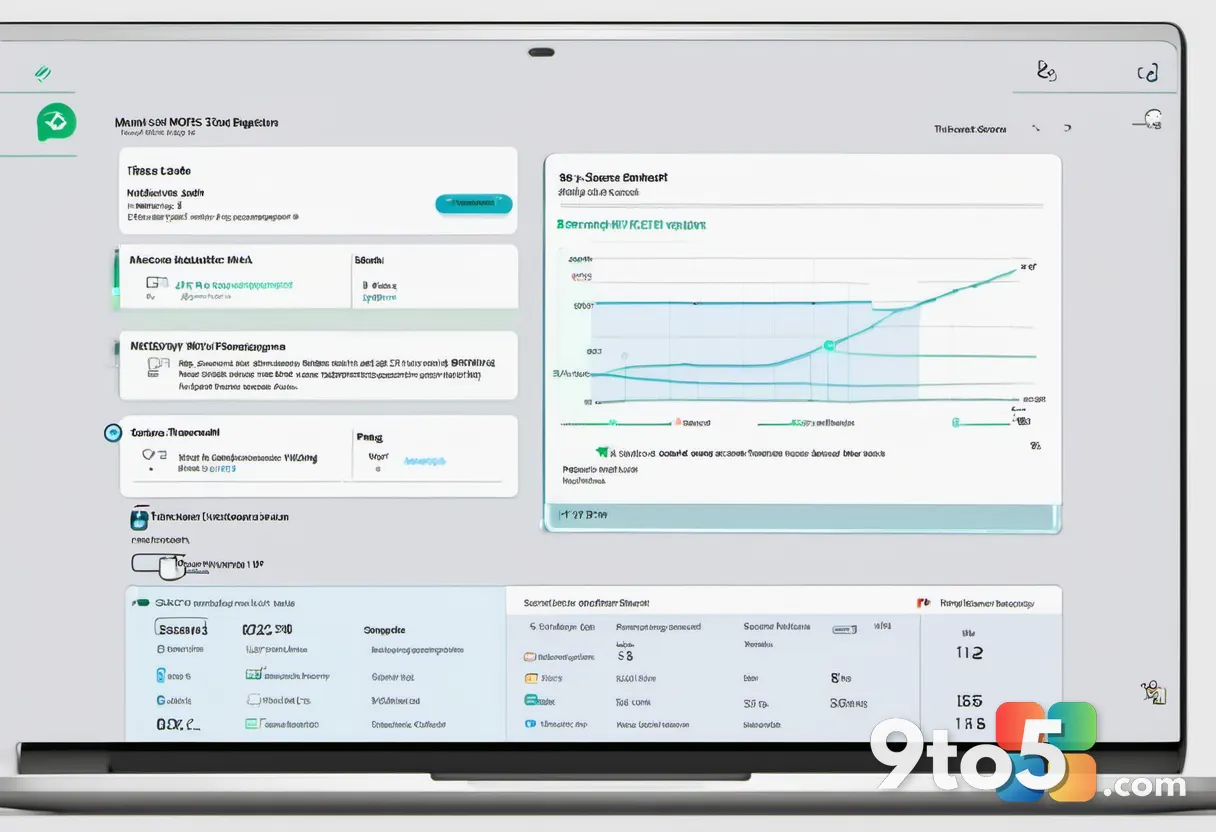
Select the scan type that matches your needs from the list of options. Windows Defender offers four primary scan types, each with different coverage and time requirements.
Quick scan checks the locations where malware is most likely to hide, including running programs, startup items, and system memory. This scan typically completes in 15 to 30 minutes and is suitable for routine checks when you suspect a recent infection.
Full scan examines every file and program on all your drives, including system files, installed applications, and user data. This process can take several hours depending on your drive size and speed. Choose this option if you want thorough coverage or if the Quick scan found nothing but you still suspect problems.
Custom scan lets you pick specific folders, drives, or files to check. Select this option if you downloaded a suspicious file, installed software from an untrusted source, or want to check only certain areas without scanning your entire system.
Microsoft Defender Offline scan restarts your PC and runs the scan before Windows loads. This method is useful for removing stubborn malware that protects itself by running in the background. The Offline scan takes longer to start but can catch threats that standard scans miss.
Pro Tip: If you are unsure which scan to run, start with the Quick scan. If it finds nothing but you still suspect an issue, follow up with a Full scan. Reserve the Offline scan for cases where malware persists after multiple standard scans.
Step 4: Start the Scan
Click the Scan now button at the bottom of the Scan options page. Windows Defender begins downloading the latest threat definitions if they are older than a few hours. You will see a progress indicator showing the status of the definition update.
Once the definitions are current, the scan starts automatically. You will see a progress bar and a status message indicating which area the scanner is currently checking. The Quick scan shows items like Scanning startup items or Scanning memory. The Full scan displays file paths as it works through your drives.
Do not close the Windows Security window while the scan is running. Closing it cancels the scan and may leave your system in an inconsistent state. You can minimize the window or switch to other applications, but keep Windows Security open in the background.
If you selected the Offline scan, your PC will restart automatically. You will see a blue screen with a progress bar while the scan runs. This process can take 20 to 40 minutes. Do not power off your PC during this time, as it may cause system instability.
Step 5: Review Scan Results
Wait for the scan to complete, then review the results displayed in the Virus & threat protection section. When the scan finishes, Windows Defender shows a summary screen with the number of threats found, items quarantined, and items allowed. If no threats were detected, you will see a message stating No threats found.
If threats were detected, click the View detailed results link to see a full list of items. Each entry shows the threat name, severity level, and the action taken. Threats are categorized as Critical, High, Medium, or Low severity based on the potential damage they could cause.
Click on any threat name to see additional details, including the file location, when it was detected, and the recommended action. This information helps you understand what the scanner found and whether the action taken was appropriate.
Step 6: Handle Detected Threats
Choose the appropriate action for each detected threat based on your assessment. Windows Defender automatically quarantines or removes most threats, but you may need to take manual action for certain items.
Quarantine moves the file to a secure location where it cannot run or cause harm. Choose this option if you are unsure whether the file is malicious or if it might be a false positive. Quarantined files can be restored later if needed.
Remove deletes the file permanently. Select this option for confirmed threats that you do not need. Removed files cannot be recovered, so only choose this for items you are certain are harmful.
Allow restores a file from quarantine and adds it to the exclusion list. Use this option only if you are certain the file is safe and was incorrectly flagged. Allowing threats without verification can leave your system vulnerable.
After handling all threats, click Close to return to the main Virus & threat protection screen. Your system is now protected from the detected threats.
Troubleshooting Common Issues
Windows Security won’t open or shows an error. If clicking the tile does nothing or displays an error message, try restarting your PC. If the issue persists, open PowerShell as administrator and run Get-AppxPackage Microsoft.SecHealthUI | Reset-AppxPackage. This reinstalls the Windows Security app. If you still cannot open it, check that Windows is activated and up to date.
Scan completes but threats remain. Some malware uses rootkit techniques to hide from standard scans. If you suspect an infection persists, run a Microsoft Defender Offline scan. If threats return after removal, your system may have multiple infection points. Consider using a dedicated malware removal tool like Malwarebytes for a second opinion.
Windows Defender is disabled and won’t turn on. If you installed a third-party antivirus, Windows Defender disables itself automatically. To re-enable it, uninstall the third-party program, restart your PC, and Windows Defender will activate. If you do not have another antivirus and Defender remains disabled, check Group Policy settings or contact your system administrator.
Scan takes too long to start. If the scan does not begin within five minutes, check your internet connection. Definition updates require connectivity. You can also manually update definitions by clicking Scan options > Update definitions before starting the scan.
Additional Tips for Ongoing Protection
Run a Quick scan weekly to catch new threats early. Schedule a Full scan monthly for comprehensive coverage. Keep Windows updated, as security patches close vulnerabilities that malware exploits. Enable real-time protection in the Virus & threat protection settings to maintain continuous monitoring.
Review the protection history regularly by clicking Protection history in the Virus & threat protection section. This log shows all detected and blocked threats, helping you identify patterns or recurring issues.
If you frequently download files from untrusted sources, consider adding those download folders to the exclusion list in Virus & threat protection settings > Exclusions. This prevents false positives while you maintain awareness of what you are installing.
Remember that no antivirus provides 100% protection. Combine Windows Defender with safe browsing habits, regular backups, and cautious email practices for the best defense against malware.
Have you run a manual malware scan with Windows Defender recently? What scan type did you choose, and did it find anything unexpected?
Over to you: Have you run a manual malware scan with Windows Defender recently? What scan type did you choose, and did it find anything unexpected?