Windows Defender runs quietly in the background, but there are moments when you need to take control. Maybe you downloaded a suspicious file, noticed unusual pop-ups, or your system is running slower than usual. Triggering a manual malware scan gives you immediate visibility into what is hiding on your drive. This guide walks you through the exact steps to run a full or targeted scan using the built-in Windows Security app on Windows 11.
Before You Start: Make sure you are signed in with an administrator account. You will also need an active internet connection so Defender can download the latest virus definitions before scanning. If you installed a third-party antivirus program, Windows Defender usually disables itself automatically, and you will need to use that app instead.
Step 1: Open Windows Security
Click the Start button and type Windows Security, then press Enter. You will see the Windows Security dashboard appear with four main tiles at the top. This app is the central hub for all your security settings, and it replaces the older Windows Defender interface. If you do not see the app in your search results, click the system tray arrow in the bottom-right corner of your taskbar and look for the shield icon.
Step 2: Navigate to Virus & Threat Protection
Click the Virus & threat protection tile on the Windows Security dashboard. The page will load with a status indicator showing whether your protection is currently active. You will notice a large green checkmark if Defender is running normally. This screen is where you will find all scan controls and recent protection history.
Step 3: Open the Scan Options Menu
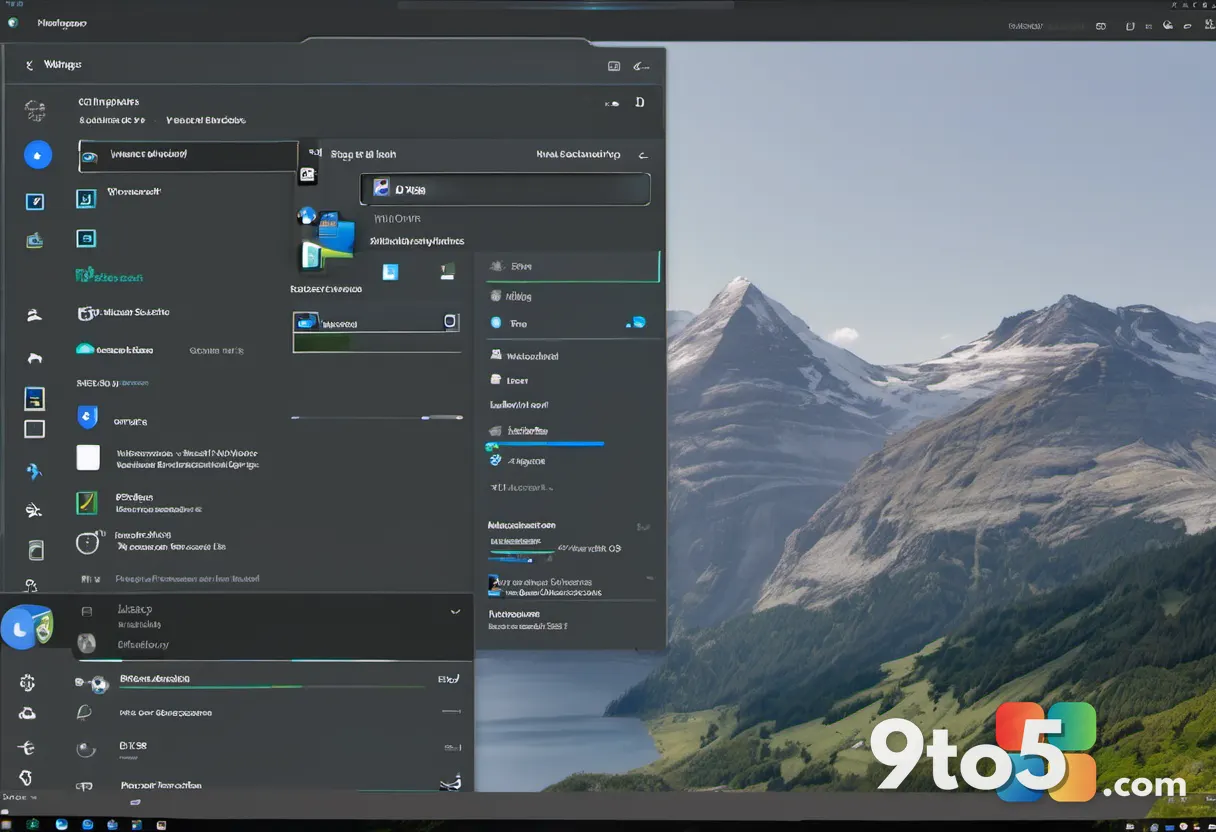
Scroll down to the Current threats section and click the Scan options link. You will be taken to a new page that lists every available scan type. Windows Defender organizes these scans by speed and depth, so you can pick the one that matches your current situation. The page will display brief descriptions for each option to help you decide.
Step 4: Select Your Preferred Scan Type
Choose between Quick scan, Full scan, or Custom scan based on your needs. The Quick scan checks startup folders, running processes, and common malware hiding spots, which usually finishes in under ten minutes. The Full scan examines every file and program on your active drive, which can take several hours but catches deeply hidden threats. The Custom scan lets you pick specific folders or drives to investigate. Select the radio button next to your chosen option before moving forward.
Step 5: Launch the Scan
Click the Scan now button at the top of the Scan options page. A progress bar will appear, and Defender will begin checking your system against its latest threat database. You can leave the app open to watch real-time results, or minimize it to keep working. If the scan stalls or shows no progress after five minutes, restart your PC and try again, as background updates may be blocking the process.
Step 6: Review and Manage Detected Threats
When the scan finishes, click the Scan history link to view the results. You will see a list of any threats found, along with their current status. Click the dropdown arrow next to each item to choose between Remove, Quarantine, or Allow. Removing a threat deletes the file permanently, while quarantining isolates it so you can restore it later if it was a false positive. If Defender reports no threats but you still suspect infection, run a Full scan or switch to Safe Mode before trying again.
Troubleshooting Common Issues
Windows Defender will not start or shows a grayed-out Scan options link. This usually happens when a third-party antivirus is active or Windows updates are pending. Open Settings, go to Update & security, and install any pending updates. Then check your installed apps list to see if another security program is running. Once Defender regains control, the scan buttons will become clickable again.
The scan runs but finds nothing despite clear signs of infection. Malware often hides in system memory or uses rootkit techniques to mask its files. Restart your PC and repeatedly press F8 or Shift + Restart to enter Safe Mode. Run the Full scan from there, since fewer background processes will interfere with Defender’s ability to detect hidden files. You can also run a Custom scan targeting your C:\Users\YourName\AppData folder, where many threats store their payloads.
Defender keeps blocking the scan or shows error code 0x80070005. This permission error typically points to corrupted security policies or group restrictions. Open cmd as an administrator and run net stop WinDefend, followed by net start WinDefend. If the error persists, check regedit at HKEY_LOCAL_MACHINE\SOFTWARE\Policies\Microsoft\Windows Defender and delete any DisableAntiSpyware entries. Restart your computer and try the scan one more time.
Pro Tip: If you deal with suspicious downloads frequently, open Virus & threat protection settings and turn on Real-time protection. You can also schedule a weekly Full scan by adding a task in Windows Task Scheduler, which keeps your system clean without requiring manual intervention.
Running a manual malware scan takes less than five minutes to set up, and it gives you complete control over your system’s safety. Keep your virus definitions updated, stay cautious with unknown downloads, and use these steps whenever your Windows 11 PC acts strangely. Have you ever caught a sneaky threat by running a manual Defender scan, or do you rely on a third-party security suite instead?
Over to you: Have you ever caught a hidden threat by running a manual Defender scan, or do you prefer a third-party antivirus suite?