Windows Defender (now branded as Microsoft Defender Antivirus) operates continuously in the background, but there are moments when automatic protection is not enough. You might notice unusual pop-ups, experience sudden performance drops, or want to verify your system after connecting to an untrusted network. Triggering a manual malware scan gives you immediate control over your system’s security posture. This guide walks you through the exact steps to run a quick, full, or custom scan using Windows 11’s built-in security tools.
Before You Start: Ensure your PC is connected to the internet, you are signed in with an administrator account, and you have at least 30 minutes of uninterrupted time for a full scan. If you are running Windows 10, the interface remains nearly identical, though minor label differences may appear. Enterprise users on Windows 11 Enterprise or Windows 11 Education will access the same Defender features, though organizational Group Policy settings may restrict certain configurations.
Step 1: Open the Windows Security app from your taskbar or Start menu.
Click the shield icon located in the system tray, or press Win + I to open Settings and navigate to System > Windows Security. This application serves as the central command center for all Microsoft Defender components, including real-time monitoring, firewall rules, and scan configurations. If the shield icon is hidden behind the system tray arrow, click the upward-facing chevron to reveal it. You will know you have reached the correct app when you see a dashboard displaying your current protection status and recent activity.
Step 2: Click on Virus & threat protection in the left sidebar.
Once inside Windows Security, select Virus & threat protection from the navigation pane on the left. The main panel will display your current protection status, a summary of your last scan, and a link to your threat history. Look for the Virus & threat protection settings section positioned near the middle of the page. This area stores all your scan preferences, exclusion rules, and quarantine logs. If you cannot locate this option, verify that you are logged in with a local administrator account or a properly configured Microsoft account.
Step 3: Select the scan type that matches your current needs.
Click the Scan options link to reveal three distinct scanning methods. A Quick scan examines high-risk locations like startup folders, memory, and active processes, typically completing in 15 to 20 minutes. A Full scan inspects every file on your primary drive and all connected storage volumes, which can take several hours depending on your disk capacity. A Custom scan allows you to manually select specific folders, external drives, or individual files for inspection. Choose the option that aligns with your urgency and click Scan now to begin.
Step 4: Wait for the scan to complete and review the results.
Windows Defender will display a progress bar along with an estimated time remaining. You can minimize the window and continue working, though background scanning may temporarily reduce system responsiveness. When the scan finishes, Defender will list any detected threats, assign a severity level, and recommend a course of action. Click Show results to open a detailed breakdown of each flagged item, including the file path and detection name. If the scan reports no threats, your system is currently clean according to Microsoft’s latest definition files.
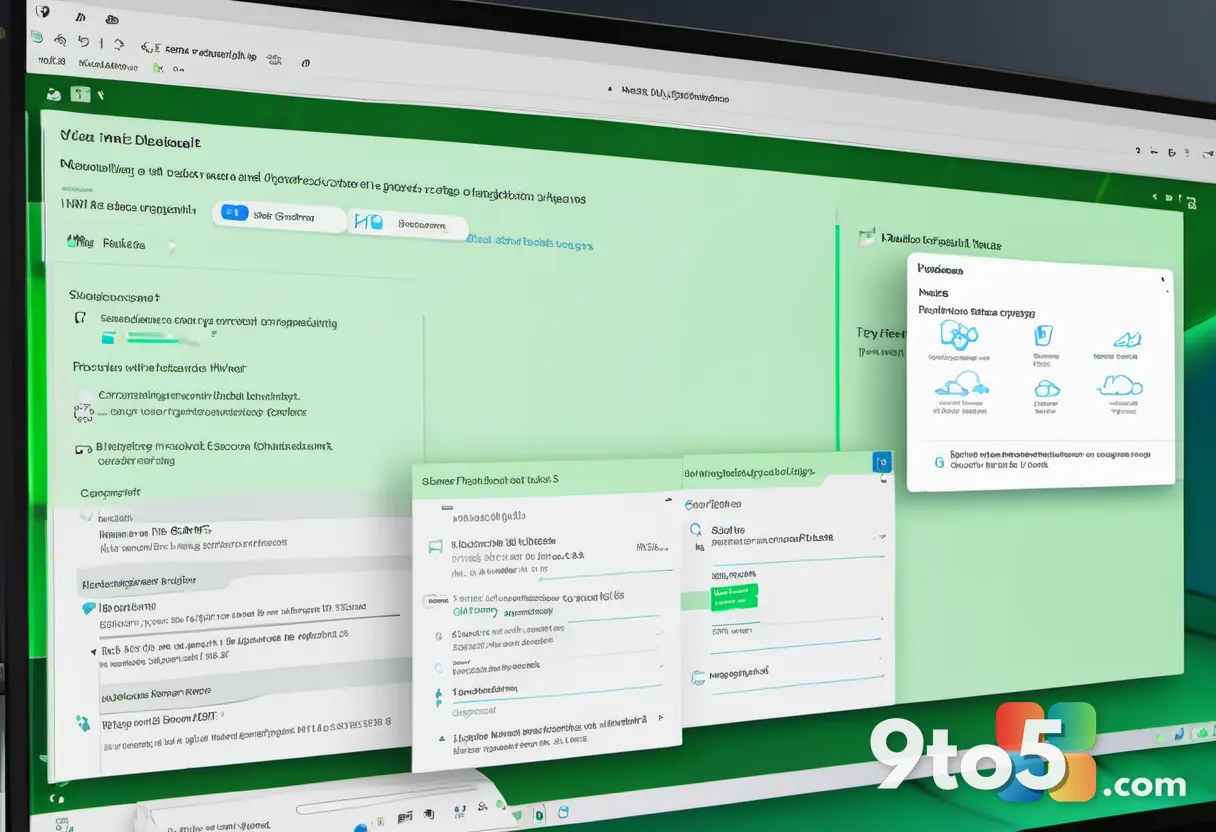
Step 5: Take action on detected threats or manage quarantine history.
For each detected item, choose Quarantine to isolate the file safely, Remove to delete it permanently, or Allow if you are certain the file is legitimate. Quarantined items are moved to a secure sandbox where they cannot execute or spread. If you previously quarantined items and need to recover them, click Protection history at the bottom of the Virus & threat protection page, locate the file, and select Restore. Always verify the file source and digital signature before allowing anything back onto your system.
Troubleshooting Common Issues
- Scan will not start or freezes: Open
services.msc, locateMicrosoft Defender Antivirus Service, right-click it, and selectRestart. Return to Windows Security and attempt the scan again. - Scans are disabled by policy: If you see a message stating that your administrator has turned off virus protection, contact your IT department. Home users can check
gpedit.mscunderComputer Configuration > Administrative Templates > Windows Components > Microsoft Defender Antivirusto verify local policy settings. - Conflicts with third-party antivirus: Windows Defender automatically disables itself when another antivirus program is active. Uninstall the competing software through
Settings > Apps > Installed apps, restart your PC, and allow Defender to re-enable automatically.
Final Tips for Ongoing Protection
Running manual scans is a reliable way to catch threats that slip past real-time monitoring, but you do not need to remember to do it constantly. You can configure Windows Defender to run a full scan on a schedule by navigating to Virus & threat protection settings > Scan options > Scheduled scan. Enable the toggle, choose your preferred frequency, and select the scan type. This ensures your system stays protected even when you forget to check manually.
Pro Tip: Keep your definition files updated by enabling Automatic sample submission and checking Update engine settings regularly. Outdated definitions are the most common reason manual scans miss newer malware variants.
Manual scanning gives you direct visibility into your system’s security state. Have you ever caught a hidden threat by running a full Defender scan, or do you rely entirely on automatic protection?
Over to you: Have you ever caught a hidden threat by running a full Defender scan, or do you rely entirely on automatic protection?