Windows Hello provides a faster and more secure way to sign in to your PC compared to traditional passwords. By using biometric data like your face or fingerprint, you can unlock your device with a glance or a touch. This guide walks you through the process of enabling these features on Windows 11, ensuring your account is protected while keeping daily access convenient.
Before You Start: Ensure your PC supports biometric authentication. Most modern laptops and many desktops come with built-in infrared cameras for face recognition or fingerprint readers. If you are using a desktop without these components, you may need external hardware that is compatible with Windows Hello.
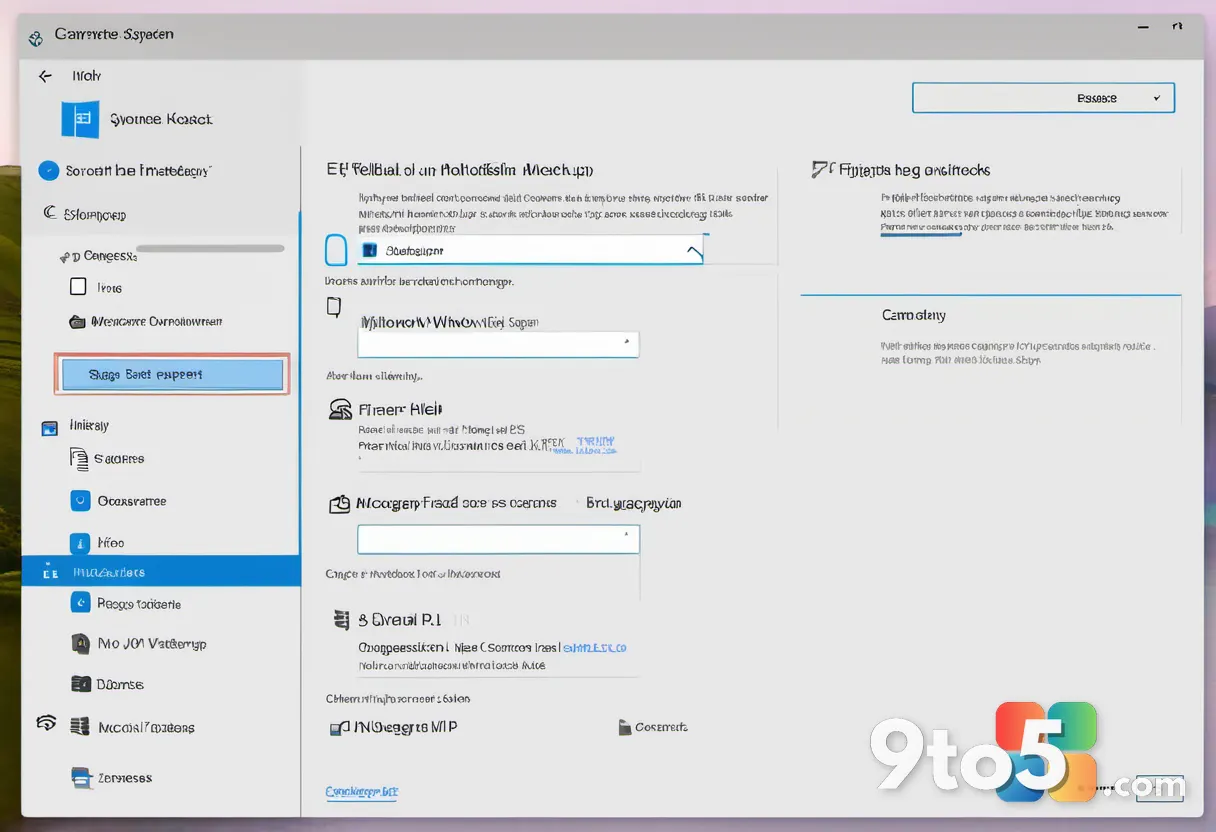
Step 1: Access the Windows Settings App
Open the Start menu and select the gear icon to launch the Settings application. Alternatively, you can press Win + I on your keyboard to open it directly. This is the central hub for all system configurations on Windows 11.
Step 2: Navigate to Accounts
Click on the Accounts option in the left sidebar. This section manages your user profile, email accounts, and sign-in preferences. It is the gateway to all authentication settings.
Step 3: Open Sign-in Options
Select Sign-in options from the list of accounts settings. Here, you will find various methods to verify your identity, including PIN, password, fingerprint, face, and other security keys.
Step 4: Set Up Windows Hello Face
Click on the Face recognition tile to begin setup. If your device has a compatible camera, you will see an option to get started. Click the Set up button. You may be prompted to enter your current PIN or password for security verification.
Follow the on-screen instructions to register your face. Position your face within the frame shown on the screen. The system will scan your features using the infrared camera. Move your head slowly as directed to capture all angles. Once completed, you can test the recognition by looking at the camera.
If the setup fails or is unavailable, check your camera permissions in the Privacy & security settings. Ensure that apps are allowed to access your camera. Also, verify that your device actually supports facial recognition hardware.
Step 5: Set Up Windows Hello Fingerprint
Click on the Fingerprint recognition tile. Similar to face setup, click the Set up button. You will need to enter your PIN or password to proceed.
Place your finger on the fingerprint reader as instructed. Lift and reposition your finger multiple times to ensure the sensor captures the full print. The system will store the biometric template securely on your device.
Test the fingerprint reader by placing your registered finger on the sensor. If it does not recognize your print, try cleaning the sensor or re-registering your fingerprint. Ensure your fingers are dry and clean for better accuracy.
Step 6: Configure Advanced Options
Review the additional settings for each biometric method. For face recognition, you can choose to require attention for sign-in, which means the system will verify you are looking at the screen. This adds an extra layer of security, especially in shared spaces.
For fingerprint recognition, you can enable Require PIN before fingerprint on the lock screen. This ensures that even if someone uses your fingerprint, they still need the PIN to access the desktop. Adjust these settings based on your security needs.
Pro Tip: If you frequently switch between users, consider setting up biometrics for each account individually. This allows multiple people to use the same device securely without sharing credentials.
Step 7: Test Your New Sign-in Method
Lock your PC by pressing Win + L. Use your face or fingerprint to sign back in. Verify that the process works smoothly and quickly. If you encounter issues, you can always fall back to your PIN or password.
Ensure your biometric data is backed up if you are using a Microsoft account. This allows you to recover access if your device is lost or damaged. Check your Microsoft account security settings for recovery options.
Step 8: Troubleshooting Common Issues
If Windows Hello is not available, check your device specifications. Some older or budget devices may lack the necessary hardware. You can also try updating your device drivers through Device Manager. Right-click the Start button and select Device Manager. Look for Biometric devices and update the drivers.
If face recognition fails to detect your face, ensure the environment is well-lit. Avoid wearing accessories that obscure facial features, such as hats or large glasses, unless you registered with them. You can re-register your face to improve accuracy.
If the fingerprint reader is unresponsive, clean the sensor with a soft, lint-free cloth. Ensure there is no moisture or debris on the reader. If the issue persists, try removing and re-adding your fingerprint. You can also check for Windows updates that might include driver fixes.
Step 9: Disable Biometrics if Needed
If you decide to stop using Windows Hello, you can disable it at any time. Return to Sign-in options and click Remove on the face or fingerprint tile. You will need to confirm your PIN or password. This will delete the stored biometric data from your device.
Consider keeping a PIN as a backup even if you use biometrics. A PIN is stored locally and provides a quick alternative if your biometric data is not recognized. It also adds security since it is tied to the specific device.
Step 10: Secure Your Account
Regularly review your security settings to ensure your account remains protected. Check for any unauthorized devices or sign-in attempts. You can view recent activity in your Microsoft account security dashboard.
Keep your Windows 11 updated to benefit from the latest security patches and features. Enable automatic updates in Settings > Windows Update. This ensures your biometric system remains secure and functional.
Conclusion
Setting up Windows Hello enhances both the security and convenience of your Windows 11 experience. By following these steps, you can quickly configure face recognition or fingerprint login to suit your needs. Remember to test your setup and troubleshoot any issues promptly. With Windows Hello, you can sign in with confidence and speed.
Quick Tip: If you travel frequently, consider using a hardware security key for added protection. Windows Hello supports FIDO2 security keys, which provide phishing-resistant authentication.
Over to you: Have you switched to Windows Hello for your daily sign-ins, or do you prefer the traditional password method?
You may also like
 Make Your Windows 11 Desktop Calmer: 7 Features to Disable Immediately
 How to Set Up Windows Hello Face Recognition or Fingerprint Login on Windows 11
 How to Set Up Windows Hello Face Recognition or Fingerprint Login on Windows 11
 How to Set Up Windows Hello Face Recognition or Fingerprint Login on Windows 11