Laptop battery dying faster than it used to? Before you blame the battery itself, find out which apps are eating your charge. Windows 11 tracks how much energy each program uses and displays it in one convenient place. This guide walks you through reading that data so you can spot the culprits and take action.
Before You Start: Keep in mind that Windows 11 collects battery data over time. The more days the system has been running, the more detailed the app breakdown becomes. If you just reset your laptop or freshly updated Windows, the usage numbers may look sparse until the system gathers more history. This method works on Windows 11 Home and Pro editions alike, and the same Power & battery screen appears on most laptops and 2-in-1 devices.
-
Step 1: Open Settings
Press Win + I to open the Settings app. This keyboard shortcut launches the modern Settings window, which loads faster than clicking the Start menu and scrolling through pinned tiles. You should see a list of categories displayed on the left side of the screen. If the shortcut does not respond, click the Start button, type “Settings,” and press Enter to launch it manually.
-
Step 2: Go to System > Power & battery
Click System in the left sidebar, then select Power & battery. This section lives under the System category and holds every power-related control Windows 11 offers. On a desktop PC without a battery, the screen is labeled “Power” instead, but the layout is nearly identical. The Power & battery page opens with your current battery percentage and connection status shown at the top.
-
Step 3: Scroll to the Battery usage section
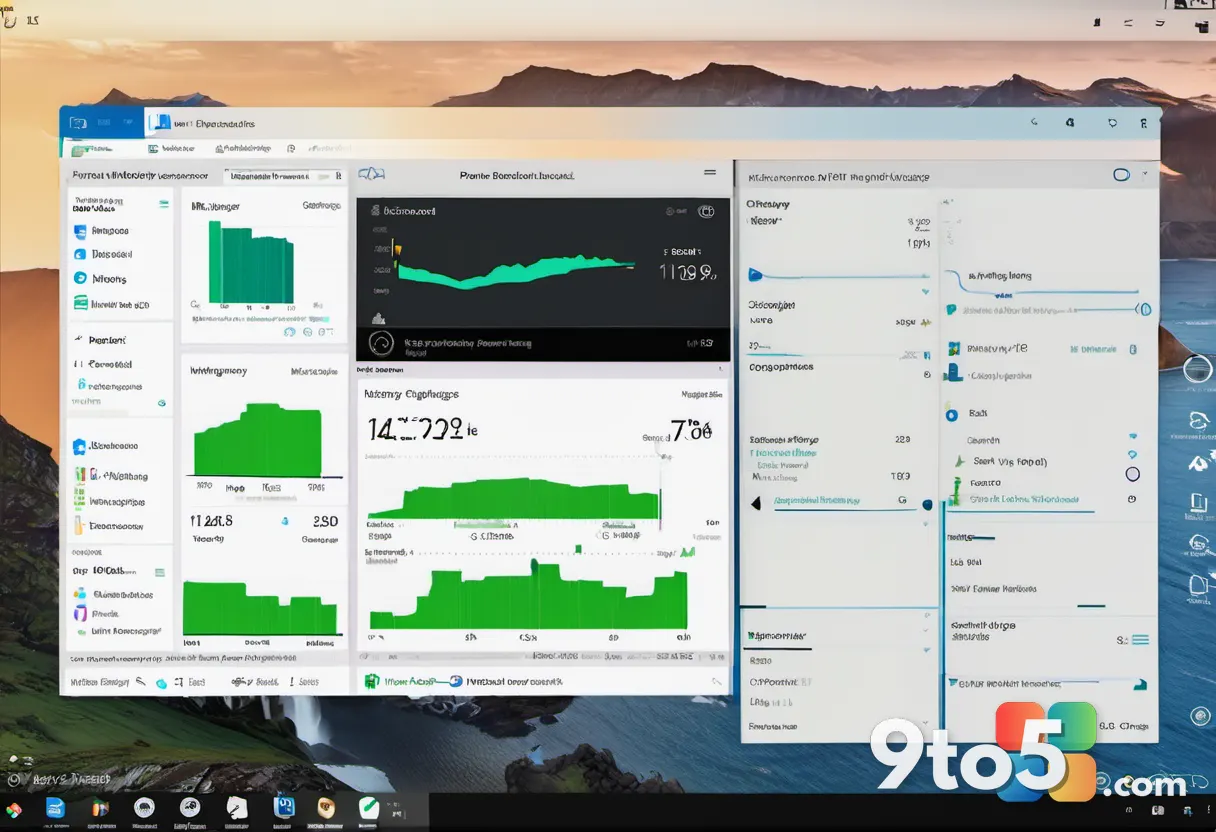
Scroll down until you reach the Battery usage section. This area sits below the brightness and screen settings and reports how energy was spent over recent periods. You will see a bar chart showing energy usage over the last 24 hours, plus a list of apps ranked by how much power they consumed. If you do not see this section at all, make sure you are on a laptop or a PC with a working battery installed.
-
Step 4: Change the app activity setting
Click the “Show app activity based on” dropdown and choose Energy usage. By default, Windows ranks apps by “Usage,” which counts how often you opened each program rather than how much power it actually drew. Switching to “Energy usage” reorders the list so the biggest power hogs appear at the very top. The list refreshes automatically to reflect your new choice, so you immediately see the real energy consumers.
-
Step 5: Read the app breakdown
Look at the ranked list to identify the apps using the most energy. Each entry shows the app name, an icon, and the percentage of total battery it consumed. Apps near the top of the list are the main drains on your charge. Tap or click an app to expand it and see additional details, such as how long it ran and whether it ran in the foreground or in the background while you were not using it.
-
Step 6: Adjust the time period
Use the time-period dropdown to view data from the last 24 hours, 7 days, 30 days, or 90 days. The default view covers only the last 24 hours, which is handy for spotting a single day’s problem. If you want to catch apps that drain power slowly over weeks, switch to a longer window. Longer periods show more history but spread the energy across more days, so individual percentages may look smaller than they did in the 24-hour view.
-
Step 7: Generate a detailed battery report
Open an elevated Command Prompt and run powercfg /batteryreport. Press the Win key, type “cmd,” right-click Command Prompt, and choose “Run as administrator.” Then type the command below and press Enter.
powercfg /batteryreport
Windows writes a detailed HTML report to your user folder, usually at C:\Users\YourName\battery-report.html. Open that file in your browser to see a full breakdown of app activity, battery capacity over time, and estimated battery life. This report goes deeper than the Settings screen and is especially useful for spotting long-term battery degradation on older machines.
-
Step 8: Check Task Manager for real-time usage
Press Ctrl + Shift + Esc to open Task Manager and sort by CPU. The Settings screen shows historical energy data, but Task Manager shows what programs are doing right now. Click the “CPU” column header to rank processes by how much processor power they are using at this moment. Any app stuck near the top of that list is actively drawing power and may be worth closing immediately.
Pro Tip: Turn on Power saver mode from the same Power & battery page to automatically limit background activity. This setting throttles performance slightly but can noticeably extend battery life when you are away from a charger, and it kicks in the moment you unplug the charger.
Troubleshooting common problems
If the data is missing or confusing, one of these issues is likely the cause.
Battery usage section is empty or blank. Windows needs time to collect energy data after a fresh install or update. Wait a day or two and reopen the page; the charts and app list should fill in. If the section stays blank on a machine with a known-working battery, restart the PC and check for pending Windows updates, which can fix power-management bugs that block usage tracking.
The battery report file does not open or is missing. Confirm the file path printed in Command Prompt matches where Windows saved it. The report name can vary, so look for any file ending in .html in your user folder. If the command returns an error, reopen Command Prompt as administrator and try again, since the tool needs elevated permissions to write the file to disk.
Apps still drain battery after you close them. Many power-hungry programs run tasks in the background even after you close their windows. Right-click the app in the Start menu, choose Advanced options, and toggle off “Allow background apps” where available. You can also disable background activity for individual apps under Settings > Apps > Installed apps, then the three-dot menu on each entry.
Keep your battery running longer
Once you know which apps are draining your laptop, a few changes can add meaningful time between charges.
- Turn down screen brightness, since the display is usually the single largest power drain.
- Disable Wi-Fi, Bluetooth, and location services when you do not need them.
- Limit background apps through the Advanced options menu for programs you rarely use.
- Set Power saver mode automatically when you unplug the charger from the Power & battery page.
Checking battery usage once a week helps you catch new culprits before they become a real problem. With this data at your fingertips, you can keep your laptop running longer without guessing which program is to blame.
Over to you: What app surprised you the most when you checked your battery usage? Let us know in the comments.