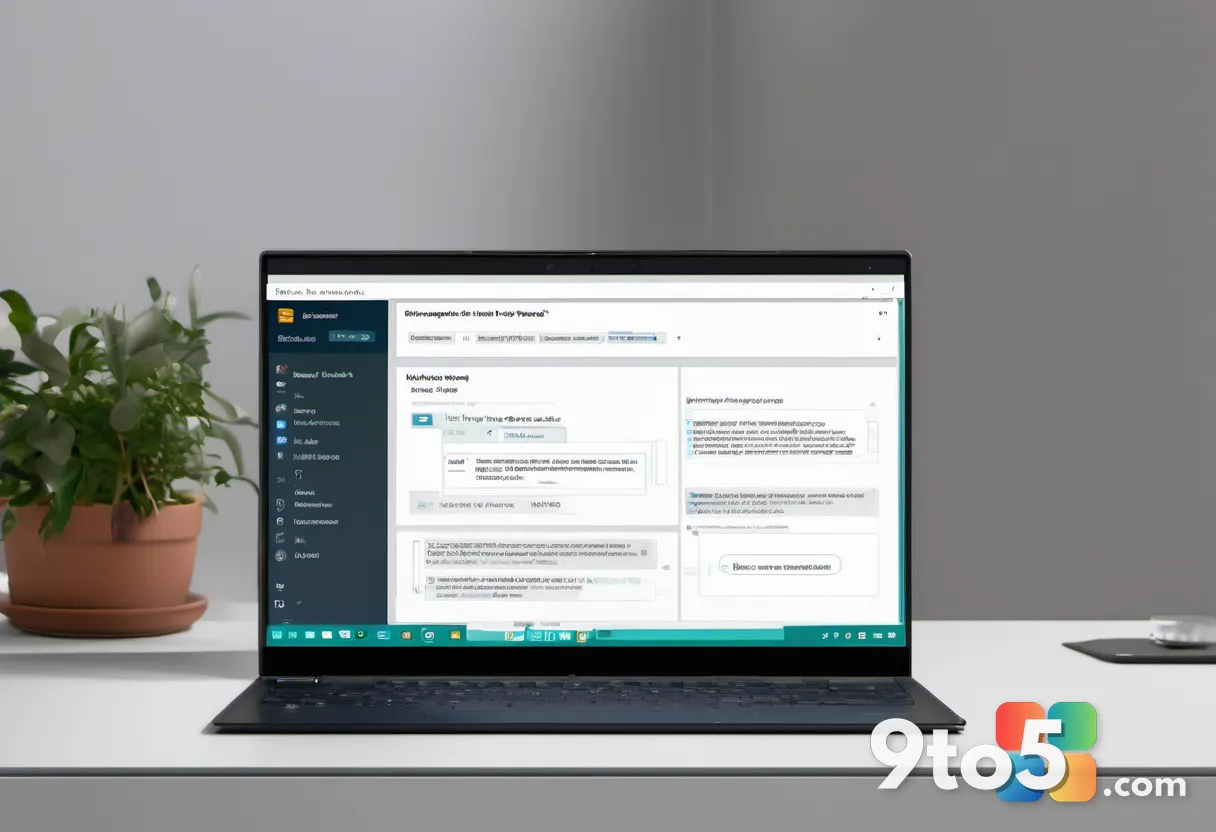
A power plan in Windows 11 controls how your computer distributes energy across its hardware. The default Balanced plan handles everyday tasks well, but a custom power plan lets you tune exactly how your machine behaves — keeping the processor at full speed for gaming, or stretching laptop battery life by delaying every sleep timer. Building your own plan takes a few minutes in the classic Control Panel, and you can always switch back to the defaults or delete the plan later.
Before You Start: Windows 11 hides most power-plan controls behind the modern Settings app, but the full Power Options interface still lives in Control Panel. Creating a custom plan does not harm your system — Windows keeps your existing plans intact and only adds the new one on top. On a laptop, keep the machine plugged into AC power while you adjust settings so battery levels do not skew your testing. Enterprise users on Windows 11 Pro, Enterprise, or Education can also push custom plans across a domain using Group Policy, but the manual method below works on every edition.
Step 1: Open Control Panel
Launch Control Panel by pressing Win + R, typing control, and pressing Enter. This opens the classic Control Panel window where the legacy Power Options still live. If you prefer, you can also right-click the Start button and choose Control Panel from the Power User menu. The Settings app cannot create new plans, so Control Panel is the only reliable route.
Step 2: Switch to icon view and open Power Options
Set the View by dropdown to Large icons or Small icons in the top-right corner. This reveals every Control Panel category as individual tiles instead of grouped sections. Scroll down and click Power Options. You will land on a page listing your active plans — typically Balanced and High performance — plus a short list of recommended actions on the left.
Step 3: Start the power plan wizard
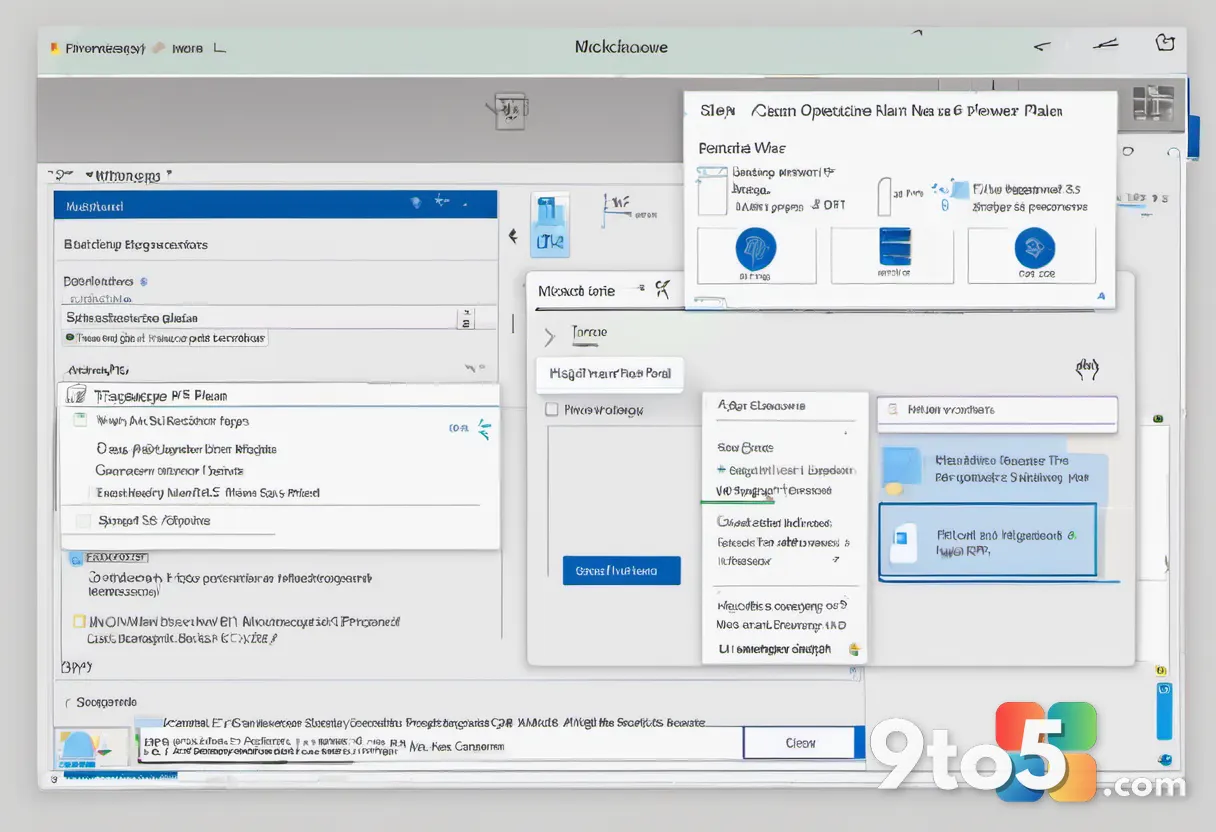
Click the Create a power plan link in the left sidebar to open the setup wizard. Windows presents a screen asking which existing plan you want to use as your starting point. Choosing a base plan means you inherit all of its default values and only change what you actually care about, rather than configuring dozens of options from scratch.
Step 4: Choose a base plan and name your new plan
Select Balanced or High performance as your template, then type a descriptive name in the Plan name field. A clear name like Gaming Full Power or Battery Saver makes the plan easy to spot later in the list. Leave the base plan selection as-is if you are unsure, since Balanced is the safest foundation for most custom tweaks. Click Next to move on.
Step 5: Adjust the basic display and sleep timers
Use the two dropdown menus to set how long the display stays on and when the computer sleeps. The first menu controls the On battery timing for laptops, while the second applies when plugged into wall power. Setting Never for sleep can help machines that stay on a desk, but it also raises the risk of a forgotten laptop draining its battery. Click Save changes when you are happy with the basic timing.
Step 6: Open advanced power settings for deeper control
Click Change advanced power settings to reveal the full settings dialog with expandable categories. This is where a custom plan earns its keep. You can expand Processor power management to set minimum and maximum processor state, disable USB selective suspend to keep external drives awake, or lower the hard disk spin-down timer. Each category shows separate values for battery and plugged-in modes, so your plan adapts automatically as you move between desktop and portable use.
Step 7: Save and activate your new plan
Click OK in the advanced dialog, then return to the Power Options page and click your new plan to select it. Selecting a plan makes it active immediately, so you will feel the difference the moment you launch a demanding game or close your laptop lid. Windows remembers your choice until you pick another plan, and you can switch plans at any time from this same page.
Step 8: Restore defaults or delete the plan (optional)
If your custom plan causes instability, click Restore plan defaults under the plan, or select it and click Delete this plan to remove it entirely. Deleting a plan is reversible only if you created a system restore point beforehand, so treat it as a permanent action. Restoring defaults keeps your plan name but resets every value to the base template, which is the safer first step when something behaves oddly.
Troubleshooting
Sometimes a newly created plan will not apply, or its settings appear to be ignored. Here are the most common failure points and how to fix them.
The new plan does not show up in the list. Refresh the Power Options page by clicking the Refresh link in the left sidebar, or close and reopen Control Panel. Windows occasionally takes a few seconds to register a freshly created plan, and a manual refresh forces it to appear.
Settings you changed seem to have no effect. Confirm the plan is actually selected by checking the radio button next to its name. Windows only applies the plan you have marked active, so an unselected plan changes nothing until you click it. On laptops, also verify you are looking at the correct battery versus plugged-in value, since each mode keeps its own settings.
Advanced options are missing or greyed out. Certain laptop manufacturers and OEM power utilities can override Windows power settings, hiding or locking specific categories. Disable any third-party power manager temporarily, or check the vendor’s own software, to regain access to the full Advanced settings list.
Pro Tip: Right-click the power button on the Start menu and choose Power Options to jump straight to this page without hunting through Control Panel categories. Pin the page in your browser for quick access whenever you need to switch plans.
Closing Tips
- Keep plan names specific so you can tell at a glance which scenario each one targets.
- Test a plan under real-world conditions before relying on it daily, since idle numbers rarely match actual usage.
- Write down the values you changed, especially in advanced settings, so you can reproduce the plan on another machine.
- On shared or work computers, confirm your organization does not enforce a power policy through Group Policy before expecting your changes to stick.
What is the most unusual or creative power plan you have ever set up, and what scenario does it handle?
Over to you: What is the most unusual or creative power plan you have ever set up, and what scenario does it handle?