Keyboard shortcuts can cut minutes off your day, and Windows 11 ships with a large set of them built in. You do not need to memorize every one. Learning a handful of the most useful combinations is enough to feel faster around your PC, whether you are on Windows 11 Home, Pro, or Enterprise.
This guide covers the shortcuts that give the biggest payoff for the least effort. Follow the steps in order, and try each one on your own keyboard so it sticks. By the end, you will have a small toolkit of shortcuts you actually use every day.
Before You Start: These shortcuts work on most standard Windows keyboards, including laptops. The Win key is the one with the Windows flag logo, usually between Ctrl and Alt. If your keyboard has a different layout, look for that flag icon. Enterprise and education editions of Windows 11 support every shortcut below with no extra setup.
Step 1: Open Settings instantly with Win + I
Press and hold the Win key, then tap I. This opens the Settings app directly, skipping the need to click Start and scroll through the list. You will see the Settings window with the System page loaded by default. Use this whenever you need to change wallpaper, volume, or Wi-Fi without hunting through menus.
Step 2: Lock your PC in a flash with Win + L
Press and hold the Win key, then tap L. Your screen locks immediately and returns to the sign-in page, which protects your privacy when you step away from a shared desk. This is the shortcut to reach for before leaving your desk, in a coffee shop, or handing your laptop to someone. If it does not lock, make sure your PC is not already locked or set to a lock screen that ignores the key.
Step 3: Snap windows to halves and quarters with Win + Arrows
Select a window, then press Win plus an arrow key. Pressing Win + Left or Win + Right moves the active window to fill half the screen. Press the arrow again to snap it into a quarter, then click another window to fill the remaining space. This is the fastest way to work with two apps side by side, and it works the same on Windows 11 Pro and Enterprise.
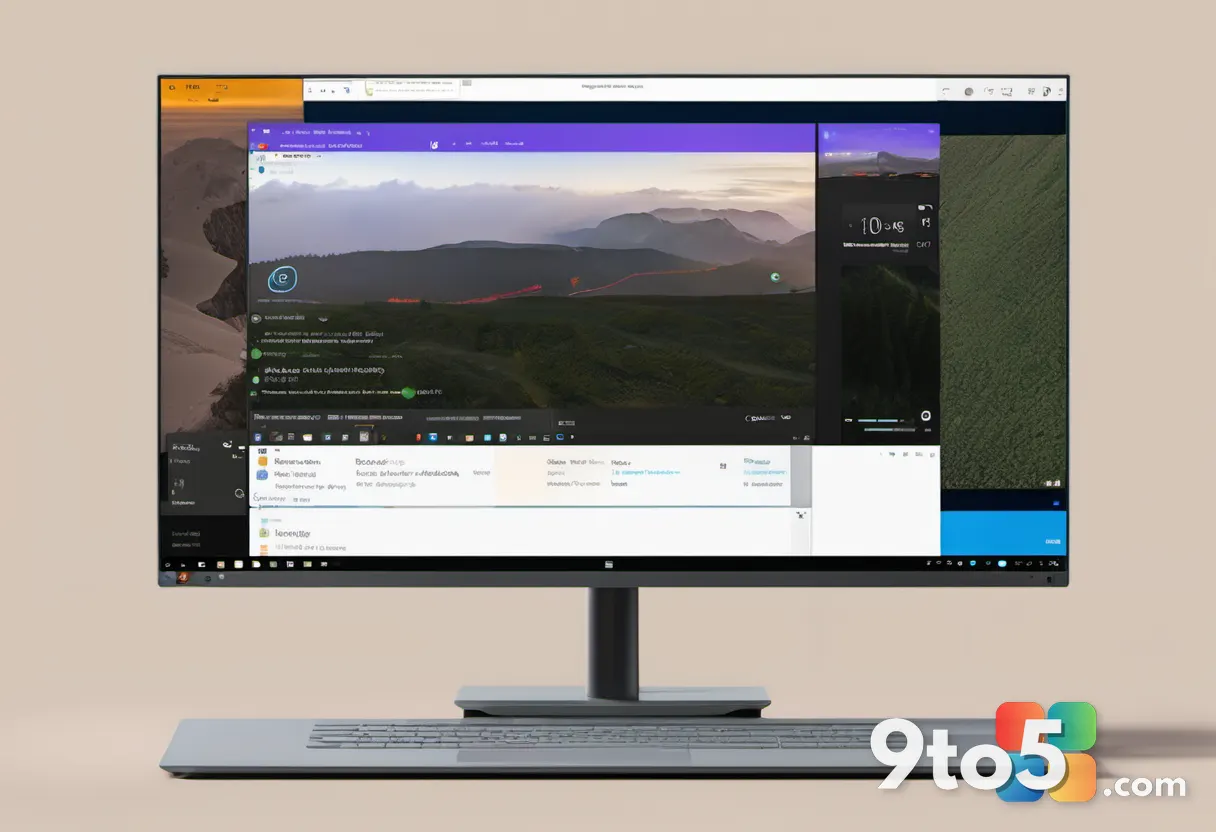
See below: snapping a window to the left half of the screen.
Step 4: Switch between open apps with Alt + Tab
Hold Alt and tap Tab to cycle through open windows. Keep holding Alt and keep tapping Tab to move the highlight across each open app, then release to switch to the highlighted one. Press Alt + Tab again to jump back to your previous app. If the switch does not happen, confirm a window is actually open and visible, since hidden or minimized apps may not appear in the switcher.
Step 5: Access the Power User menu with Win + X
Press and hold the Win key, then tap X. A menu pops up at the bottom-left corner with quick links to Task Manager, Device Manager, Disk Management, and other tools. This menu is especially handy on Windows 11 Pro and Enterprise, where those utilities matter most. If the menu does not appear, make sure no other program has captured the Win + X combination.
Step 6: Take a screenshot with Win + Shift + S
Press and hold Win, Shift, and S together. The screen dims and a small toolbar appears so you can drag to capture a rectangle, a freeform shape, a full window, or the whole screen. The image copies to your clipboard, and a notification lets you edit or save it. If nothing happens, check that the Snipping Tool is enabled in Settings under Bluetooth and devices > screen & capture.
Step 7: Copy and paste anything with clipboard history (Win + V)
Press and hold the Win key, then tap V. A panel opens showing a history of everything you have copied, so you can paste an old item instead of re-copying it. You may need to turn it on the first time by clicking Turn on in the panel. Once enabled, it remembers items across apps, which saves real time when moving text between documents.
Step 8: Insert emojis and symbols with Win + period
Press and hold the Win key, then tap the period (.) key. An emoji picker opens in whatever text box is active, from messages to search bars. Tap the tabs to find symbols, emojis, and even gibberish text for fun. If the picker does not show, confirm you are typing inside a text field first, since the shortcut only works when a box is ready to receive input.
Step 9: Show the desktop with Win + D
Press and hold the Win key, then tap D. All windows minimize at once to reveal the desktop, and pressing it again restores them exactly as they were. This is the cleanest way to grab a file from the desktop or check your wallpaper without closing anything. If windows stay put, try Win + M instead, which minimizes everything but does not restore with a second press.
Step 10: Open File Explorer with Win + E
Press and hold the Win key, then tap E. File Explorer opens right away, letting you reach folders and files without clicking Start. This shortcut works everywhere, including on Windows 11 Enterprise machines. If it opens a different app, confirm the default handler for File Explorer has not been changed in your settings.
Step 11: Manage virtual desktops with Win + Ctrl + D and Win + Tab
Press Win + Ctrl + D to add a virtual desktop, and Win + Tab to view them all. Virtual desktops let you separate work, browsing, and entertainment into clean spaces, which is a favorite feature on Windows 11 Pro and Enterprise for multitaskers. Hold Win + Ctrl and tap the Left or Right arrow to flip between desktops without clicking anything. If the switch feels sluggish, close heavy apps first, since each desktop keeps its windows running in memory.
Step 12: Force-quit frozen apps with Ctrl + Shift + Esc
Press Ctrl + Shift + Esc at the same time. Task Manager opens directly so you can end a frozen program without waiting for the usual options. Right-click the app and choose End task, then watch the desktop return to normal. If Task Manager itself will not open, restart Windows Explorer from the File menu, or hold the power button for a few seconds as a last resort.
Step 13: Jump to Quick Actions with Win + A
Press and hold the Win key, then tap A. The Quick Actions panel drops down with toggles for Wi-Fi, Bluetooth, Night Light, and Focus Assist, plus sliders for brightness and volume. Toggling these here is faster than digging through Settings. If the panel is sparse, open Settings > System > Quick Actions to add or remove the tiles you want to see.
Step 14: Choose a display mode with Win + P
Press and hold the Win key, then tap P. A projection menu appears with options like PC screen only, Duplicate, Extend, and Second screen only, which is perfect for presentations or dual-monitor setups. This shortcut is fully supported on Windows 11 Enterprise multi-monitor deployments. If the menu does not appear, confirm an external display is connected or that your graphics driver is up to date.
Pro Tip: Practice one shortcut per day until it becomes muscle memory, then add another. Trying to learn all fourteen at once usually leads to forgetting them all, while steady repetition builds real speed over a couple of weeks.
Troubleshooting common problems
Even a straightforward set of shortcuts can misfire. Here are the three issues that come up most often and how to fix them.
- Shortcuts do nothing at all: Restart your PC first, since a stuck process can block key combinations. Then check Settings > Accessibility > Keyboard to make sure features like Sticky Keys or Filter Keys are turned off, because these can swallow or delay key presses.
- Win key combos conflict with games or apps: Some gaming keyboards and software remap the Win key for macro buttons. Open that software’s settings and confirm the Win key is set to its normal function, or press the combos using the physical Win key on a second keyboard.
- Some shortcuts work but others do not: A background program may have claimed the failing combination. Open Task Manager with Ctrl + Shift + Esc and review recently started apps, or boot into Safe Mode to see if a third-party tool is the culprit.
Closing tips to make these stick
Start with the five you will use most: Win + I, Win + L, Win + arrows, Alt + Tab, and Win + Shift + S. Once those feel natural, layer in the rest at your own pace. Keep this list open the first few days and test each shortcut as a natural moment arises, like snapping windows while working with two documents. Over time, the ones you reach for daily will become automatic, and the rest will stay in your back pocket for when you need them.
Windows 11 keeps adding new shortcuts with updates, so revisit this list occasionally to discover fresh time savers. The goal is not to become a shortcut expert but to spend less time clicking and more time doing your actual work.
Quick Tip: Type Win on your keyboard to see a small overlay of available shortcuts on some keyboards, which can help you find combos you forgot.
Which Windows 11 keyboard shortcut changed the way you work the most? Share your favorite in the comments below.
Over to you: Which Windows 11 keyboard shortcut changed the way you work the most?