When Windows 11 refuses to load, your first instinct might be to panic. Before you reach for a recovery drive or contact support, you can still reach the recovery environment that holds the tools needed to diagnose and repair your system. Accessing Advanced Startup options gives you direct control over system restore, safe mode, command-line utilities, and startup repair without wiping your data.
Before You Start: Connect your laptop to a power source or ensure your desktop has a stable UPS connection. The recovery process requires uninterrupted power, and a sudden shutdown during repair can corrupt the system partition. If you have a previously created Windows 11 installation USB or recovery drive, keep it nearby for the third method.
Step 1: Force a Hard Shutdown Three Times to Trigger Automatic Repair
Hold the physical power button until the machine powers off completely, then press it again to turn it on. You will see the Windows logo or manufacturer emblem appear on the screen. The moment that logo shows up, hold the power button down again until the system cuts off. Repeat this exact sequence two more times. On the third attempt, allow the computer to run normally. Windows detects the repeated failed boot attempts and automatically launches Automatic Repair. This built-in safety mechanism scans for corrupted boot files, missing drivers, or failed updates that prevented normal startup.
You will know the process worked when the screen changes to a blue background displaying a spinning circle and text that reads “Preparing Automatic Repair.” If the screen stays black or loops back to the login screen without triggering repair, wait five minutes, then repeat the cycle. Sometimes the timing window varies slightly depending on your hardware speed.
Step 2: Navigate the Recovery Environment to Advanced Options
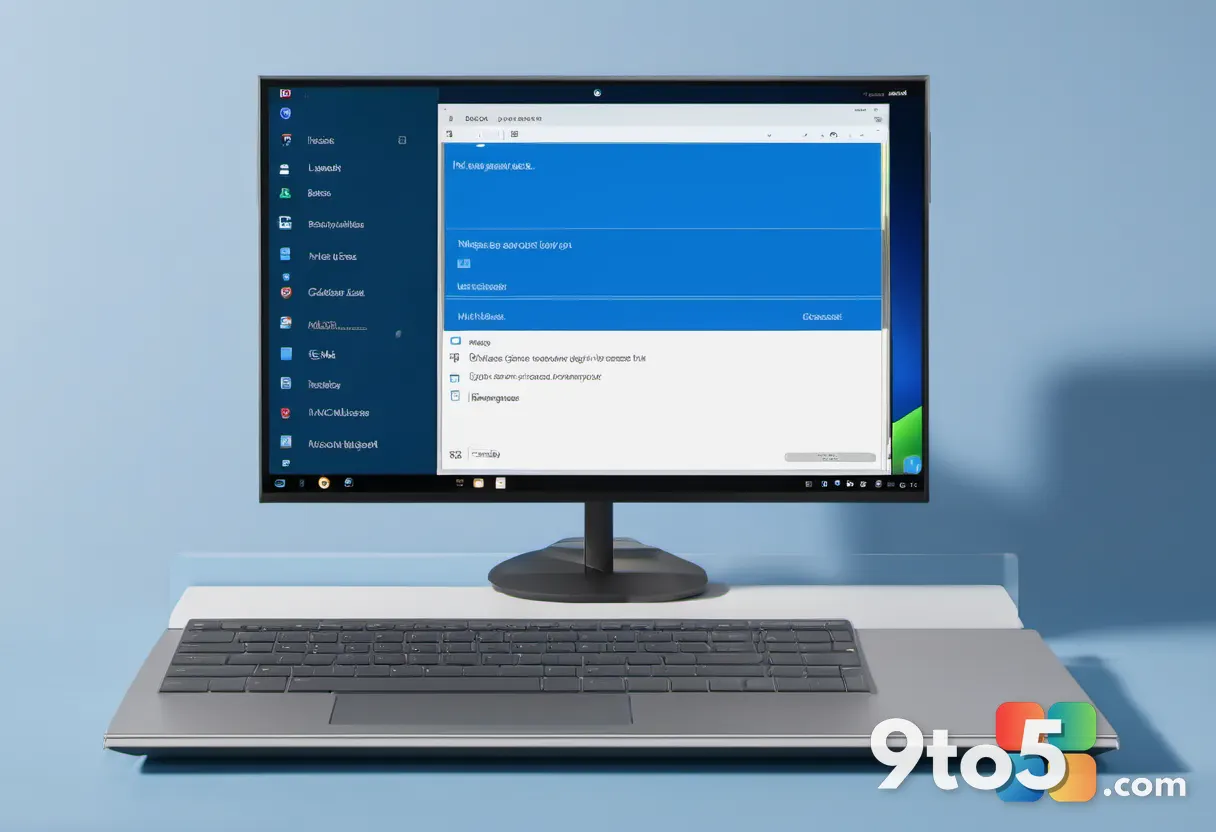
Once Automatic Repair finishes scanning, click the Advanced options button on the blue recovery screen. The system will display a menu titled “Choose an option.” This screen acts as a gateway to the Windows Recovery Environment (WinRE). You will see several tiles including System Restore, System Image Recovery, Uninstall Updates, Command Prompt, and Startup Repair. Locate and click the Advanced options tile to expand the full list of recovery tools.
If you only see the “Restart” and “Turn off your PC” buttons, your system did not fully enter WinRE. Return to Step 1 and ensure you interrupt the boot sequence exactly when the manufacturer logo appears, not when the Windows spinning dots show. The timing window is typically two to three seconds.
Step 3: Use the Shift + Restart Method If You Reach the Login Screen
If your PC boots to the Windows sign-in screen but fails to load the desktop, hold the Shift key while clicking the Power icon and selecting Restart. Keep holding Shift until the blue recovery screen appears. This method bypasses the normal startup sequence and forces Windows to boot directly into WinRE. It is the fastest path to Advanced Startup when your system can display the login interface but crashes afterward.
Release the key only after the blue screen loads. If you accidentally let go too early, Windows will continue into the desktop as usual. You will need to repeat the process. This approach also works if you are signed in but experience frequent crashes or blue screens before reaching the desktop.
Step 4: Boot from a Windows 11 Installation USB When Internal Recovery Fails
Insert a bootable Windows 11 installation USB, restart the computer, and enter your BIOS or UEFI boot menu to select the drive. You can usually access the boot menu by repeatedly pressing F12, F2, Del, or Esc during startup, depending on your manufacturer. Once the installation media loads, select your language and click Next. Instead of clicking Install now, choose Repair your computer at the bottom left of the setup window.
This path launches the recovery environment directly from external media. It is especially useful when your internal recovery partition is corrupted or missing. If the installation USB does not appear in your boot menu, verify that Secure Boot is disabled in your firmware settings, or switch your storage mode from RAID to AHCI temporarily.
Step 5: Confirm You Are Inside Advanced Startup and Select a Tool
Look for the blue screen displaying “Choose an option” and click Advanced options to reveal the full toolkit. You will now see System Restore, Command Prompt, Startup Settings, UEFI Firmware Settings, and System Image Recovery. Click Startup Settings to reboot into a menu where you can enable Safe Mode, disable driver signature enforcement, or turn off automatic restart on failure. Use Command Prompt if you need to run disk checks, rebuild the boot configuration, or reset network stacks.
If the Advanced options menu shows only a few items or appears grayed out, your recovery partition may be damaged. Proceed to the troubleshooting section below to repair WinRE or recreate it using installation media.
Troubleshooting Common Issues
The screen stays black with no response after forcing shutdowns. This usually indicates a hardware-level power issue or a completely dead CMOS battery. Disconnect all external peripherals, remove the power source, hold the power button for thirty seconds to drain residual charge, then reconnect and try again. If the problem persists, your motherboard may require professional diagnostics.
Automatic Repair loops endlessly without reaching Advanced options. Windows is detecting a critical failure but cannot resolve it. Boot from an installation USB, open Command Prompt, and run bootrec /fixmbr, followed by bootrec /fixboot and bootrec /rebuildbcd. These commands rebuild the master boot record and scan for active Windows installations. After running them, type exit and restart.
The recovery screen shows “Recovery your PC needs to be repaired” with no buttons. Your WinRE partition is missing or corrupted. Use the installation USB method from Step 4, open Command Prompt, and run reagentc /enable. This command reactivates the recovery agent. If it returns an error, you will need to recreate the partition using reagentc /disable followed by reagentc /enable /target C:\Windows.
Pro Tip: Create a system image or recovery drive while Windows is running normally. Having a bootable recovery USB ready saves hours of troubleshooting when startup failures occur unexpectedly.
Final Tips for Recovery
Keep your recovery tools organized in a dedicated folder on an external drive. Document any error codes you encounter before attempting repairs, as they point directly to the failing component. If you successfully reach Advanced Startup, run Startup Repair first, then move to System Restore if the issue began recently. Always back up critical files to cloud storage before making registry or partition changes. These recovery environments are designed to preserve your data, but preventive backups remain the safest approach.
Over to you: Which method worked best for your system, or are you still stuck on a specific error code?