Windows Defender runs automatic background scans by default, but there are moments when you need to take control. Maybe you downloaded a suspicious file, noticed unusual system behavior, or you are preparing a secondhand PC before handing it to someone else. Running a manual malware scan gives you immediate visibility into what is hiding on your drive. This guide shows you exactly how to scan for malware manually using the built-in Windows Security app, which ships with Windows 11 and Windows 10.
Before You Start: Make sure your PC is connected to the internet. Windows Defender downloads the latest definition updates automatically, but a fresh connection ensures you are scanning against the most current threat database. If you are using Windows 11 Enterprise or Education, the interface may show slightly different naming, but the scan workflow remains identical.
Step 1: Open Windows Security
Press Win + I to open Settings, then select System and Windows Security. You will see a grid of blue tiles representing different protection categories. Click the Windows Security tile to launch the dedicated security dashboard. This app is the central hub for all Microsoft Defender features, and it replaces the older Windows Defender Security Center layout from previous Windows versions.
Once the app opens, you will notice a clean interface with status indicators for Firewall, Account Protection, and Device Performance. The top of the window displays a green checkmark if your core protections are active. If you see a yellow warning or red alert, click the notification to address the underlying issue before running a scan. Running a malware scan while another protection layer is disabled can lead to incomplete results.
Step 2: Navigate to Virus & threat protection
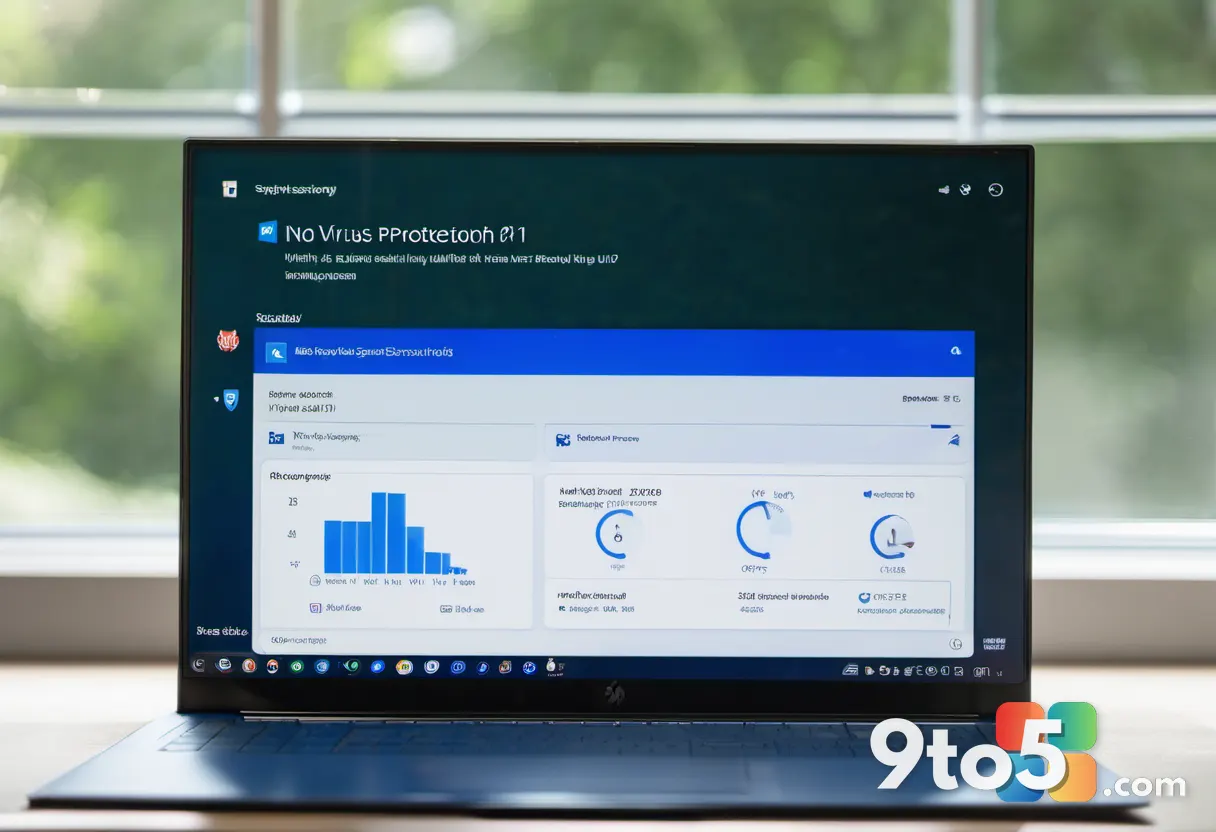
Click the Virus & threat protection tile in the Windows Security dashboard. The page loads with a summary of your current protection status, recent action history, and a prominent Scan options section. This is where Windows Defender stores all manual scan controls, definition update history, and cloud-delivered protection settings.
You will see a line that reads “Virus & threat protection: Up to date” along with the date of your last automatic scan. If you have installed a third-party antivirus, Windows Defender may gray out certain options and display a message stating that another security provider is active. In that case, you must configure your third-party suite instead, since Windows disables its own scanner to avoid conflicts. If you are certain Defender should be running, open Settings and navigate to Windows Security to toggle the protection back on.
Step 3: Choose Your Scan Type
Click the Scan options link under the Scan now button to reveal three distinct scanning modes. Windows Defender offers Quick scan, Full scan, and Custom scan. Each mode targets different areas of your system and takes a different amount of time to complete.
The Quick scan checks high-risk locations where malware typically hides, including your desktop, startup folders, system memory, and active processes. This option usually finishes in five to fifteen minutes and works well for routine checks. The Full scan examines every file on every drive connected to your PC, including system files, program folders, and hidden directories. This process can take one to three hours depending on your storage capacity and drive speed. The Custom scan lets you pick specific folders, drives, or files to investigate. Use this option when you suspect a particular download or external drive is compromised.
Click the radio button next to your preferred scan type. If you choose Custom scan, a file browser window appears. Navigate to the target folder or drive, select it, and click Choose folder. Keep in mind that scanning large external drives or network shares may slow down your system temporarily. You can continue working, but background processes will run at a lower priority.
Step 4: Run the Scan and Monitor Progress
Click the Scan now button to begin the process. A progress bar appears at the top of the Virus & threat protection page, showing the percentage completed and an estimated time remaining. Windows Defender will display a brief description of what it is checking, such as “Scanning system memory” or “Checking startup programs.” You can minimize the window and continue using your PC while the scan runs in the background.
If the progress bar stalls at a certain percentage for more than twenty minutes, do not force-close the app. Windows Defender sometimes pauses while it performs deep file analysis or waits for cloud-based reputation checks. Leave the window open and let the process finish. If the scan genuinely freezes, press Ctrl + Shift + Esc to open Task Manager, locate MsMpEng.exe under the Details tab, and end the task. Restart Windows Security and try the scan again after a quick restart.
Step 5: Review and Handle Detected Threats
Once the scan finishes, click the Scan results link to view a detailed list of findings. Windows Defender categorizes detections by severity, including Critical, High, Medium, and Low. Each entry shows the file path, the threat name, and the recommended action.
For each detected item, you will see three buttons: Quarantine, Remove, and Allow. Quarantine isolates the file so it cannot execute while keeping it available for future review. Remove deletes the file permanently from your system. Allow marks the item as safe and excludes it from future scans, which you should only do if you are certain the file is legitimate. Click the appropriate button for each threat. After handling all detections, Windows Defender will display a confirmation message and update your protection status to reflect the changes.
Troubleshooting Common Scan Issues
The scan will not start or shows an error code. This usually happens when definition files are corrupted or the security service is stuck. Open Settings, navigate to Windows Update, and click Check for updates. Install any pending quality updates, then restart your PC. After rebooting, return to Windows Security and try the scan again. If you see error code 0x80070005, your account lacks administrative permissions. Sign in with an administrator account or run Windows Security as an administrator by right-clicking the app icon and selecting Run as administrator.
Windows Defender appears disabled or grayed out. Group policy settings, registry modifications, or certain system optimization tools can disable built-in protection. Open regedit and navigate to HKEY_LOCAL_MACHINE\SOFTWARE\Policies\Microsoft\WindowsDefender. If you see a DisableAntiSpyware DWORD set to 1, change it to 0 or delete the value entirely. Restart your PC and re-enable Defender through Windows Security settings. Enterprise deployments often manage this remotely, so contact your IT department before making registry changes.
The scan finishes but suspicious behavior continues. Windows Defender may classify a file as a PUP (Potentially Unwanted Program) rather than a true malware threat. Open the scan results and look for items labeled PUP or Adware. Quarantine or remove these entries, then run a second Quick scan to confirm the system is clean. If problems persist, consider running an offline scan by clicking the Windows Defender Offline scan option, which restarts your PC and scans before Windows loads.
Pro Tip: Enable Cloud-delivered protection and Automatic sample submission in the Virus & threat protection settings. These features send suspicious file hashes to Microsoft for real-time analysis, which dramatically improves detection rates for zero-day threats without slowing down your scans.
Running a manual malware scan takes only a few minutes for routine checks and a couple of hours for deep system inspections. Keep Windows Security updated, review scan results regularly, and pair manual scans with the default automatic protection schedule. If you follow these steps, you will catch hidden threats before they cause data loss or system instability.
Over to you: Have you ever caught a suspicious file before it caused problems on your PC?