Windows Defender, now branded as Microsoft Defender Antivirus, runs silently in the background to block threats before they reach your desktop. Even with real-time protection active, you will occasionally want to run a manual scan to investigate suspicious downloads, verify system cleanliness after unusual behavior, or clear out hidden adware that slipped past automated filters. Running a scan yourself gives you direct control over which files Defender inspects and how thoroughly it searches your drives.
Before You Start: Ensure your PC is connected to the internet so Defender can download the latest threat definitions. Open Settings > Windows Update and install any pending updates, then restart your computer if prompted. Outdated definition files will cause scans to fail or return incomplete results.
Step 1: Open Windows Security
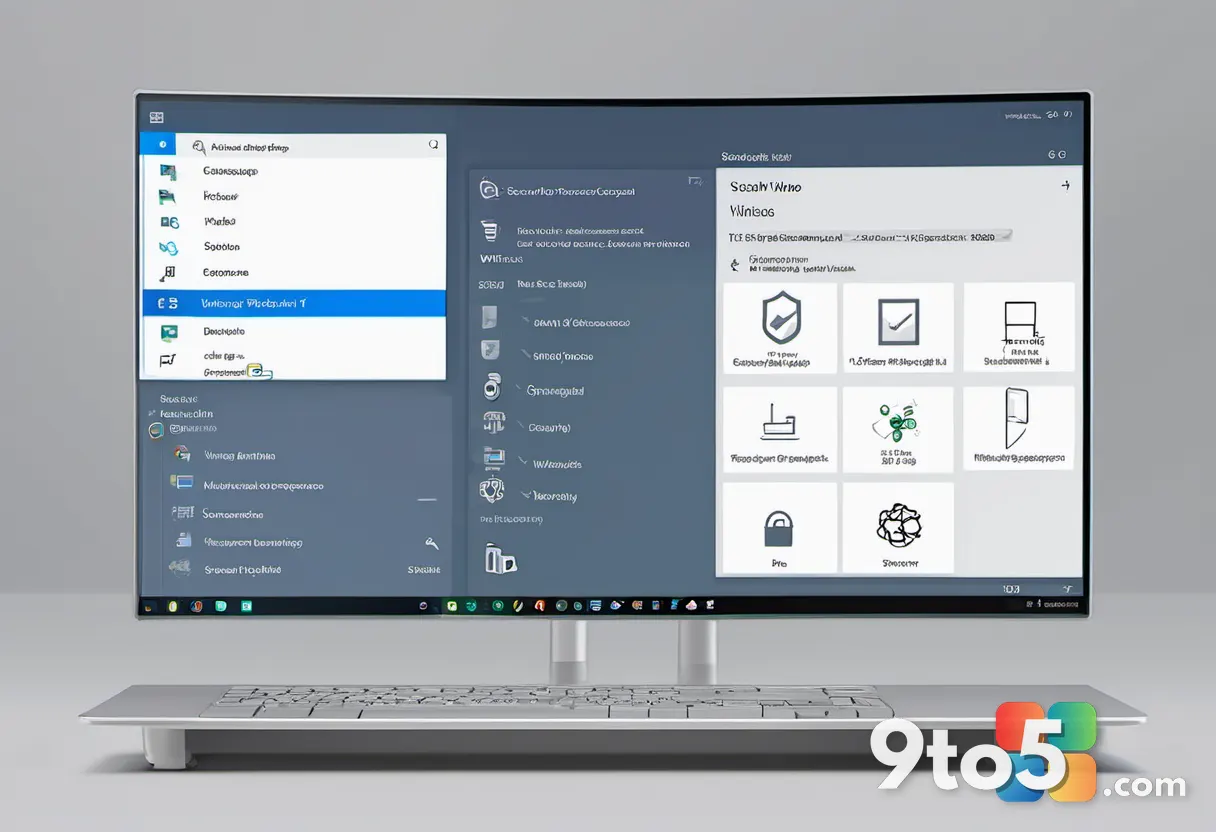
Press Windows + I to launch Settings, then click System in the left navigation pane and select Windows Security from the main panel. This central hub consolidates all of Microsoft’s built-in protection tools into one interface. You will see a grid of icons representing different security categories, with Virus & threat protection positioned in the top left corner.
If the Windows Security icon does not appear in your Start menu, type Windows Security into the search bar and select the app from the results. The interface loads instantly and requires no additional permissions to access.
Step 2: Navigate to Virus & Threat Protection
Click the Virus & threat protection tile, which displays a shield icon and a green checkmark if your device is currently protected. This section acts as the control panel for all malware scanning operations. You will notice a status banner at the top confirming whether real-time protection is active, followed by a Scan options link positioned directly below the protection status.
Real-time protection continuously monitors files and apps as they open. If that green checkmark is missing, click Turn on under the Real-time protection heading before proceeding with any manual scan.
Step 3: Select Your Preferred Scan Type
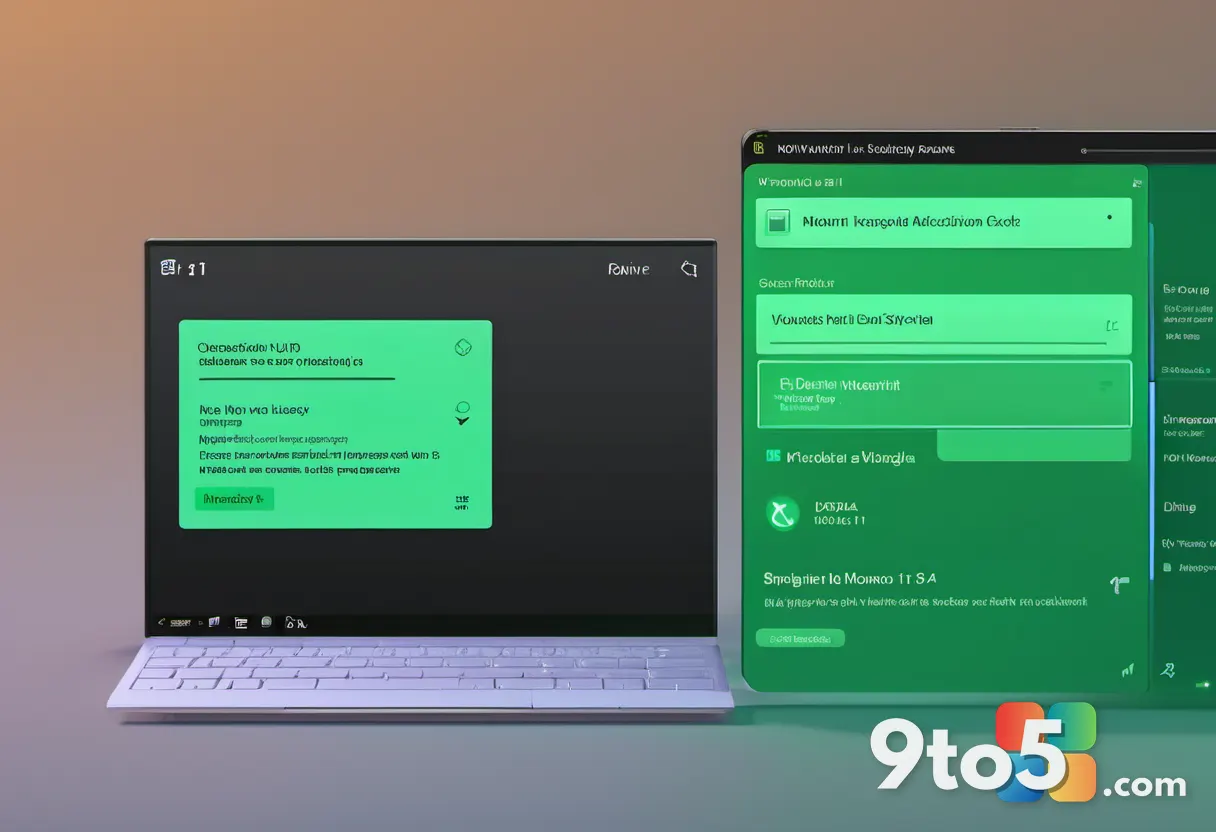
Click the Scan options link to reveal three distinct scanning methods: Quick scan, Full scan, and Custom scan. Each option serves a different purpose depending on how thoroughly you need to inspect your system. The Quick scan checks only the locations where malware typically hides, including your desktop, startup folders, and system memory.
The Full scan examines every file and running program on all connected drives, which takes significantly longer but catches deeply embedded threats. The Custom scan lets you pick specific folders, drives, or files to inspect, giving you precise control over the search area. Choose the option that matches your current suspicion level and click Scan now.
Step 4: Monitor the Scanning Process
Wait for the progress bar to fill while Windows Defender indexes your selected files and compares them against its cloud-delivered threat database. You will see a live percentage counter and an estimated time remaining displayed beneath the progress bar. During this phase, Defender quarantines suspicious files automatically and logs every detected item in its protection history.
If your system feels unusually slow while a Full scan runs, that behavior is normal. Defender temporarily pauses background tasks to prioritize threat detection, and performance will return to normal once the scan finishes. You can minimize the window and continue working, though heavy disk usage may cause occasional stuttering.
Step 5: Review Results and Take Action
When the scan completes, click View protection history to see a detailed log of every file Defender inspected or flagged. Any detected threats will appear with a red warning icon and a description of the threat type. You can click Quarantine to isolate suspicious files, Remove to delete confirmed malware, or Allow on device if Defender mistakenly blocked a legitimate program.
Review the list carefully before taking action. If you are unsure whether a flagged file is safe, search the exact threat name in a trusted security database before allowing it to run. Quarantined items can be restored later if you discover a false positive.
Troubleshooting Common Scan Issues
Scan fails to start or shows an error code: Restart your computer and ensure Windows is fully updated. Open Settings > Windows Update and install any pending updates, then try the scan again. Outdated definition files frequently block new scan operations. If the error persists, open cmd as administrator and run msdtc -resetlog to clear corrupted Windows Update caches.
Defender shows no detected threats but you still suspect infection: Switch to a Custom scan and manually include your C:\Users\[YourUsername]\AppData and C:\Windows\Temp folders. Some adware and potentially unwanted programs hide outside standard detection zones. You can also enable Cloud-delivered protection in the Virus & threat protection settings to push suspicious files to Microsoft for deeper analysis.
Scan runs extremely slowly or freezes: Close unnecessary applications and temporarily disable third-party antivirus software. Two security programs running simultaneously will conflict and throttle system performance. Re-enable your alternative antivirus after the Defender scan finishes. If freezing continues, check your hard drive health by running chkdsk C: /f in an elevated command prompt.
Pro Tip: Schedule automatic weekly scans by navigating to Virus & threat protection settings > Manage scheduled scans. Enabling this feature ensures your system stays protected even when you forget to run a manual check.
Running a manual malware scan gives you direct control over your system’s security posture. Use Quick scans for routine checks, reserve Full scans for suspected infections, and rely on Custom scans when you need to investigate specific folders. Keeping Defender active alongside your regular browsing habits creates a reliable first line of defense against emerging threats.
Over to you: Have you ever caught a suspicious file with a manual Defender scan? Let us know which scan type you rely on most.