Windows 11 is designed to utilize all available system memory for caching and performance. However, if you need to simulate a lower-spec machine for testing or troubleshooting, there is a built-in way to cap the amount of RAM the OS can access.
This feature lives inside the legacy System Configuration tool (msconfig). It is not intended for daily performance tuning, as artificially restricting memory will likely slow down your system. Instead, it serves developers and testers who need to verify software behavior under constrained resources without physically removing hardware.
How to limit RAM in Windows 11
To restrict the available memory pool, follow these steps:
- Open the Start menu and search for System Configuration (or type
msconfig). Select the top result to launch the utility. - Navigate to the Boot tab. If multiple OS installations are listed, ensure your current Windows installation is selected.
- Click the Advanced options button at the bottom of the window.
- In the Advanced Options dialog, check the box next to Maximum memory.
- Enter your desired limit in megabytes. Common values include 4096 for 4GB, 8192 for 8GB, 16384 for 16GB, or 32768 for 32GB.
- Click OK to close Advanced Options, then click Apply and OK in the main System Configuration window.
- Restart your computer for the changes to take effect.

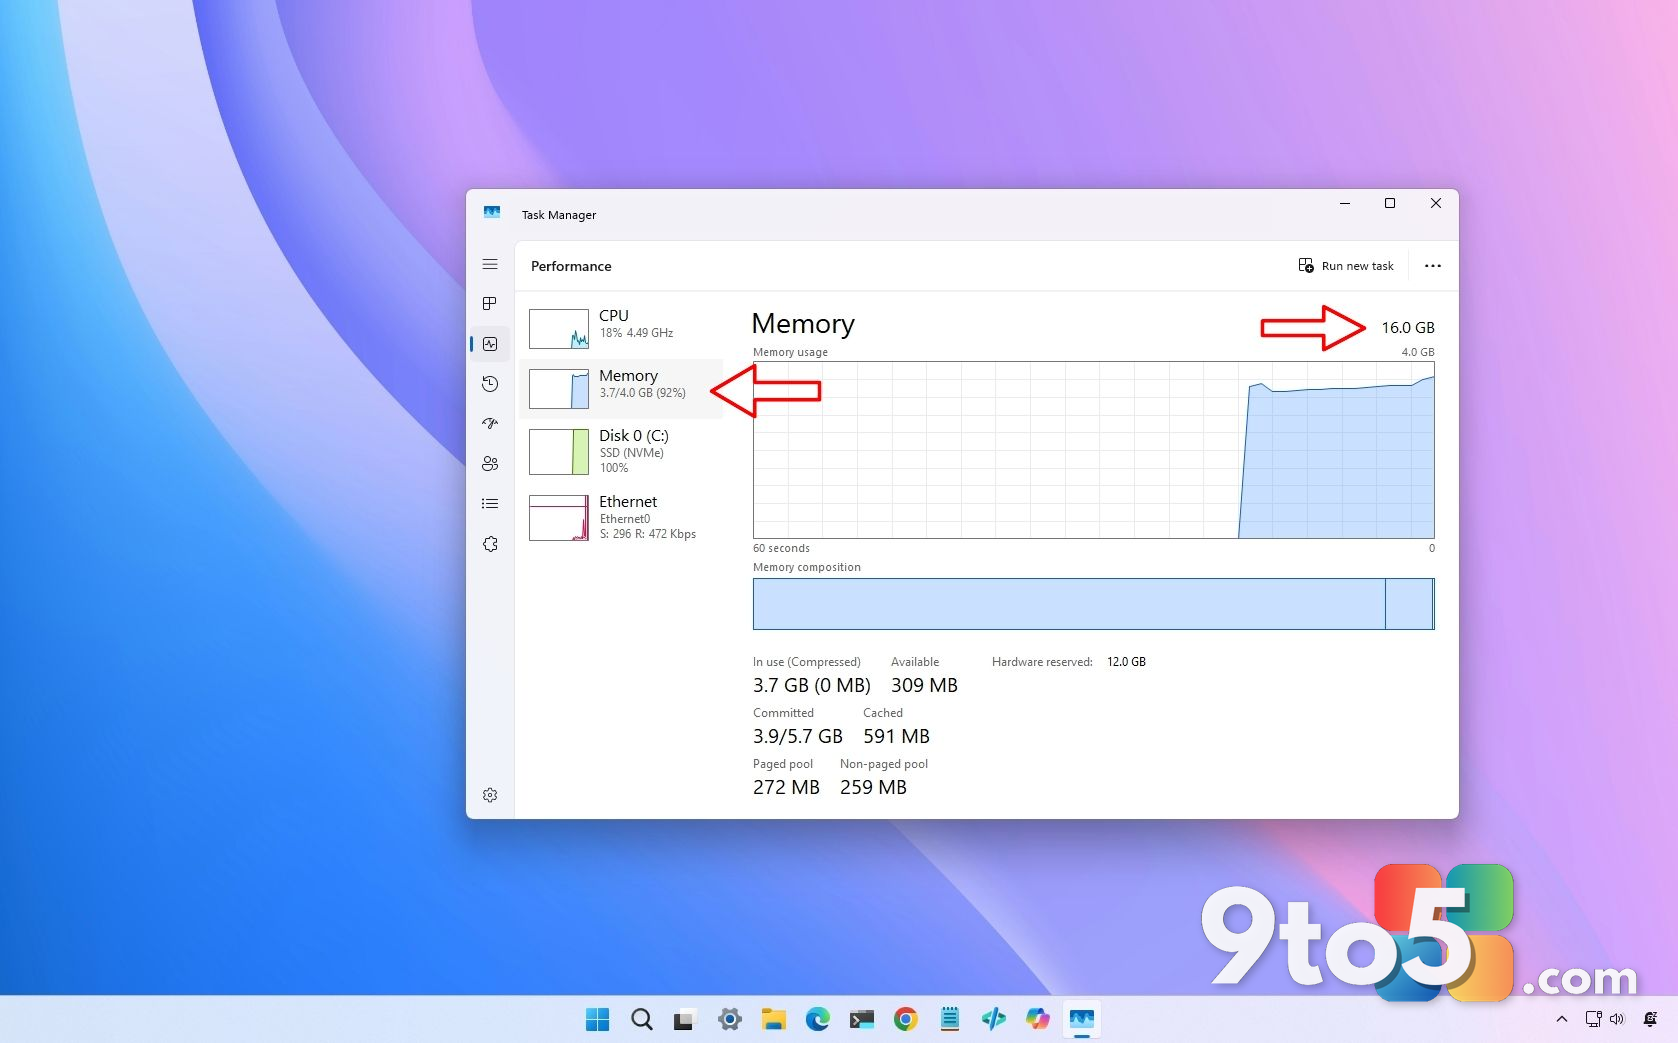
After rebooting, Windows 11 will ignore any physical RAM installed beyond your specified limit. Note that Task Manager may show slightly less than your set value because part of the address space is reserved for hardware components and system firmware.
Why the setting might be grayed out
On many modern PCs, particularly those with UEFI firmware and Secure Boot enabled, the Maximum memory option may be unavailable or ignored. This is a security feature designed to prevent boot-level tampering.
If you cannot enable the limit, you may need to temporarily disable Secure Boot in your motherboard’s firmware settings:
- Go to Settings > System > Recovery.
- Under Advanced startup, click Restart now.
- Select Troubleshoot > Advanced options > UEFI Firmware settings, then restart.
- In your BIOS/UEFI menu, locate Secure Boot and set it to Disabled.
Warning: Disabling Secure Boot reduces protection against bootkits and malware. Only do this temporarily for testing purposes, and re-enable it immediately after configuring msconfig.
How to restore full RAM access
To return your system to normal operation, you must remove the memory cap:
- Open System Configuration (
msconfig) again. - Go to the Boot tab and click Advanced options.
- Uncheck the Maximum memory box.
- Click OK, then Apply, and restart your PC.
Your system will once again detect and utilize all installed RAM modules.
What this means for you
This tool is strictly for diagnostic or development scenarios. It does not free up RAM for other apps; it simply shrinks the total pool available to everything running on your machine. If you are experiencing high memory usage, limiting RAM will likely cause stuttering, crashes, or slow response times rather than solving the underlying issue.
For everyday users, managing background startup apps or upgrading physical hardware remains the best approach to handling memory constraints. Use msconfig only if you have a specific reason to simulate low-memory conditions.
Over to you: Have you ever used msconfig to troubleshoot hardware issues, or do you prefer virtual machines for testing?