When you work with Microsoft Copilot to draft a business document, you usually face a choice: edit the AI’s output immediately, or keep prompting it to refine the text. With Copilot Pages, you can stop choosing. The feature turns a Copilot response into a persistent, editable document that lives in its own window right next to your Copilot chat, so you can tweak the text by hand while still asking the assistant to revise it.
The Pages tool lives inside the M365 Copilot app, which you reach at microsoft365.com (the older office.com portal works too). It is available to anyone with a paid Microsoft 365 plan, and notably it does not require a separate Microsoft 365 Copilot add-on license. That distinction matters: enterprise users who have a base Microsoft 365 subscription but no Copilot license can still build and share pages.
There is a wrinkle. Microsoft also offers a lower-end, free Copilot app for people without an M365 account, and it ships its own basic Pages tool. But that free version lacks several of the features found in the M365 Copilot app, so the full experience described here assumes you are using the paid product. This guide walks through everything from creating your first page to exporting it as a Word document or PDF.
#1 Create a Copilot page
Getting started is deliberately simple. Open the M365 Copilot app at microsoft365.com and you will see the Copilot Chat interface front and center. Type in your request exactly as you normally would, whether you are asking Copilot to draft an outline for a marketing plan or pull together a list of action items from a set of notes.
Once Copilot returns a result you want to keep, scroll to the bottom of that result and click the pencil icon labeled Edit in Pages. Depending on your specific M365 subscription tier, the pencil may not appear directly; in that case, click the three-dot icon and choose Edit in Pages from the menu that pops up.
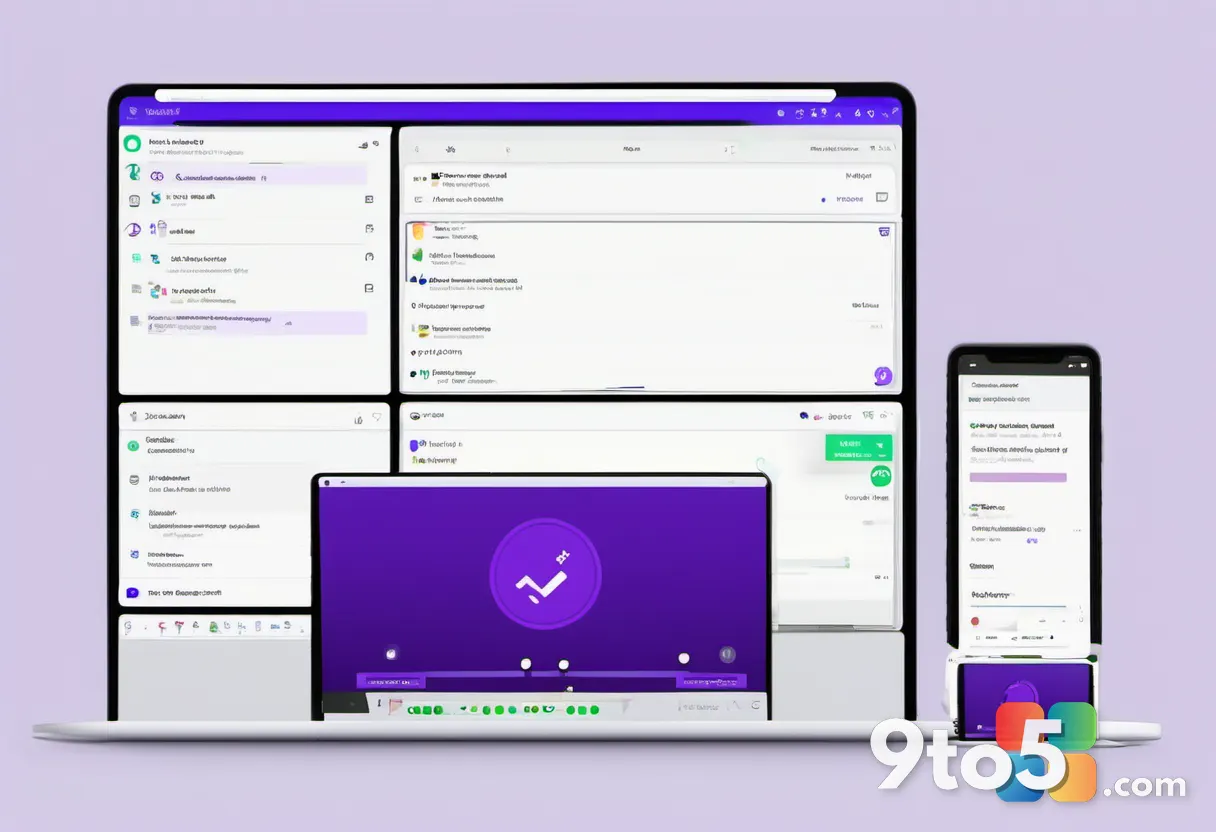
The screen then splits into two windows. Your ongoing chat with Copilot takes up the left side, while a blank document canvas—your new page—opens on the right, pre-filled with the generated text. Before you do anything else, move your pointer to the upper-left corner of the page. The first few words of your original prompt appear inside a text box; click that box and type in a proper name for the page so you can find it later in the Library.
#2 Edit your Copilot page
Once your page is open, it helps to understand one core idea: every text item on the canvas—a paragraph, a heading, a bulleted list item—is a separate, movable element. Treat them as building blocks, and you can rearrange the document freely. Here is how each edit works.
Add or edit text: Click inside any text element and start typing. To select a single word, double-click it; to select an entire line, triple-click. Format text: Select the text you want to change and a formatting toolbar appears, letting you adjust font style (bold, italic, underline), structure (headline, list), and color.
Move a component: Hover the pointer over the element until a small icon showing six dots in a grid appears to its left. Click-and-hold that icon, drag the component up or down the page, and release where you want it. Copy or delete a component: Click the six-dot icon and pick Copy (which saves a duplicate to your clipboard) or Delete.
Add a component: Place your cursor at the end of a text element and press Enter. A “Just start typing…” field appears on the next line; type your new text there, which defaults to paragraph formatting. Alternatively, hover over a component and click the + icon (labeled Click to insert below), or just type a forward slash (/) to summon a menu of components. The ones under the General category are the most useful for work: Table, Checklist, Bulleted list, Numbered list, Date, Callout, and Table of contents.
#3 Revise and expand Copilot Pages with AI
What makes this feature more than a plain text editor is that you can keep leaning on Copilot from inside the page itself. From the document canvas, there are two ways to have the assistant rewrite text.
Rewrite a text component: Highlight the passage you want changed, then click Ask Copilot on the formatting toolbar (or click the six-dot icon to the left of the component and choose Ask Copilot from its menu). A text box opens where you describe how you want the change made—asking Copilot to make the text more concise, or give it a more professional tone, for example.
Rewrite the entire page: If you want a broader rewrite, click the backwards “S” icon in the lower-right corner of the canvas to open the Copilot shortcuts mini-toolbar. It offers three groups of one-click options:
- Adjust content: Rewrite the page to be more concise or detailed, or reshape it as an email or a blog post.
- Change tone: Four selections adjust the overall tone of the page.
- Style page: Add section headers if they are missing, or write an introduction or conclusion paragraph.
The two approaches are complementary. Use the component-level Ask Copilot when you want surgical changes to one section, and the full-page shortcuts when you want to restructure or re-tone the whole document at once. You can also keep chatting with Copilot in the left window while the page stays open on the right. In your prompt, tell Copilot to add its new text to your open page, and it will insert it where your cursor is sitting. Or, at the bottom of any fresh Copilot response in the chat, click the + icon (labeled Add to page) to append that text to the end of your document.
#4 Share and collaborate on your Copilot page
Beyond working alongside the AI, Copilot Pages lets real people collaborate on the same document. Click the Share button—an icon of an arrow over a square—at the upper-right corner of the page, and you will see two options.
- Page link: Generates a shareable link you can paste into an email or chat so others can open the page.
- Copy component: Creates a different kind of link that embeds your page into a Word document, Outlook email, OneNote note, or Microsoft Teams chat as a Microsoft Loop component. Loop components are live, syncable blocks that update everywhere they are shared, so collaborators editing the embedded version see the same content as the original page.
After either link is created, a confirmation panel appears. Click Settings on that panel to control access permissions before you distribute the link. Here you decide who can open the page—co-workers in your organization, specific invited people, or, if your company’s policies allow it, anyone at all—and whether they can edit it. You can also set an expiration date after which the link stops working, plus a password that visitors must enter to reach the page.
For teams with edit access, the collaboration is fairly full-featured: collaborators can add, move, and delete text elements, tag other people, and add comments. Note that they will see only the page itself, not your underlying Copilot chats. If a collaborator has their own Copilot license, they can also use the assistant to edit the page directly.
Tag a person: Put your cursor inside a component and type @ followed by a name. If they are in your Microsoft 365 contacts, their name should pop up for you to select. They receive an email notification when tagged. Add a comment: You can start a comment three ways—double-click or highlight text and click the speech-balloon Comment icon on the toolbar, click the six-dot icon to the left of a component and choose the speech balloon, or right-click the component and pick the speech balloon from the menu. Comments also support tagging via @.
#5 Export your Copilot page
When the document is finished, you can hand it off in a familiar format. Click the three-dot button in the upper-right corner of the page, select Export, and then choose either Document (Word) or PDF.
The two choices behave differently. Exporting to Word opens the file in the Word web app in a new browser tab, so you can keep working on it in a full document editor. Exporting to PDF instead downloads a static file straight to your PC, which is handy when you need a fixed-format copy to email or archive.
#6 Manage your Copilot pages
Every page you create from a Copilot chat is saved automatically and shows up in the Library section of the M365 Copilot app. To reach it, click the Expand navigation icon in the upper-left corner to open a sidebar, then click the Library icon. Both pages you have created and pages you have been invited to edit will appear in the main window.
Click a page’s name to re-open it in the document canvas, or move your pointer over its name, click the three-dot icon on its right, and select Delete to remove it. This gives you a single place to find, reuse, or clean up the documents you have generated over time.
What This Means for You
The biggest practical shift is that Copilot Pages blurs the line between generating content and editing it. Rather than copying AI output out of a chat and pasting it into Word, you now have a living document that stays connected to the assistant. You can ask it to tighten a paragraph, then manually reorder a list, then ask it to re-tone the whole thing—all in one place, without losing your place.
For teams, the Loop component integration is the more consequential piece. Because an embedded page stays live and synced, collaborators no longer chase stale document versions; edits made in one location ripple to every Word, Outlook, OneNote, or Teams copy. The permission controls—expiration dates and passwords—mean you can share externally without handing over open editing rights.
The licensing detail is worth underlining: because Copilot Pages does not require a separate Microsoft 365 Copilot license, organizations that already pay for Microsoft 365 can let more employees use the feature without buying an add-on for everyone. That is a genuine cost consideration for IT buyers evaluating how far an existing subscription already reaches.
How to Get It
To start using Copilot Pages, sign in to microsoft365.com (or office.com) with your paid Microsoft 365 account. No separate Copilot license is needed. From there, start a Copilot chat, generate a result you like, and click Edit in Pages—or the three-dot menu if the pencil icon is not visible. If you instead want the free, limited Pages tool, that ships inside the standalone free Copilot app, but with a noticeably smaller feature set.
One heads-up for newcomers: the exact placement of the Edit in Pages button (direct pencil versus three-dot menu) can vary slightly by subscription tier, so if you do not see the icon at first, look for the three-dot menu. Microsoft continues to evolve the M365 Copilot app, so keep the feature in mind as updates land.
Source: Computerworld
Over to you: Will you start building documents in Copilot Pages, or do you prefer pasting Copilot output straight into Word?