Is your Windows 11 laptop dropping into sleep mode mid-download, mid-meeting, or mid-render even though it is plugged into wall power? This is a common frustration, and the fix lives in your power settings. By default, Windows 11 sleeps after a short time even when running on AC power, which can interrupt long tasks, paused builds, or streaming renders. In this guide, you will learn three reliable ways to stop Windows 11 from sleeping when plugged in, from the quick Settings menu to the advanced command line.
Before You Start: Make sure your PC is running Windows 11 and that you have administrator access. The steps below work on Windows 11 Home and Pro, and they also apply to Windows 11 Enterprise and Education editions. If you are on a work-issued laptop, your IT department may lock some power settings, so keep the troubleshooting section handy before you start.
Step 1: Open the Settings app
Press the Win + I keyboard shortcut to open Settings. This combination works instantly from the desktop or any open app, so you do not need to hunt through the Start menu. Once Settings opens, you will land on the System page by default, which is exactly where you want to be. If that shortcut does nothing, click the Start button and type Settings, then press Enter on the top result.
Step 2: Navigate to the Power settings
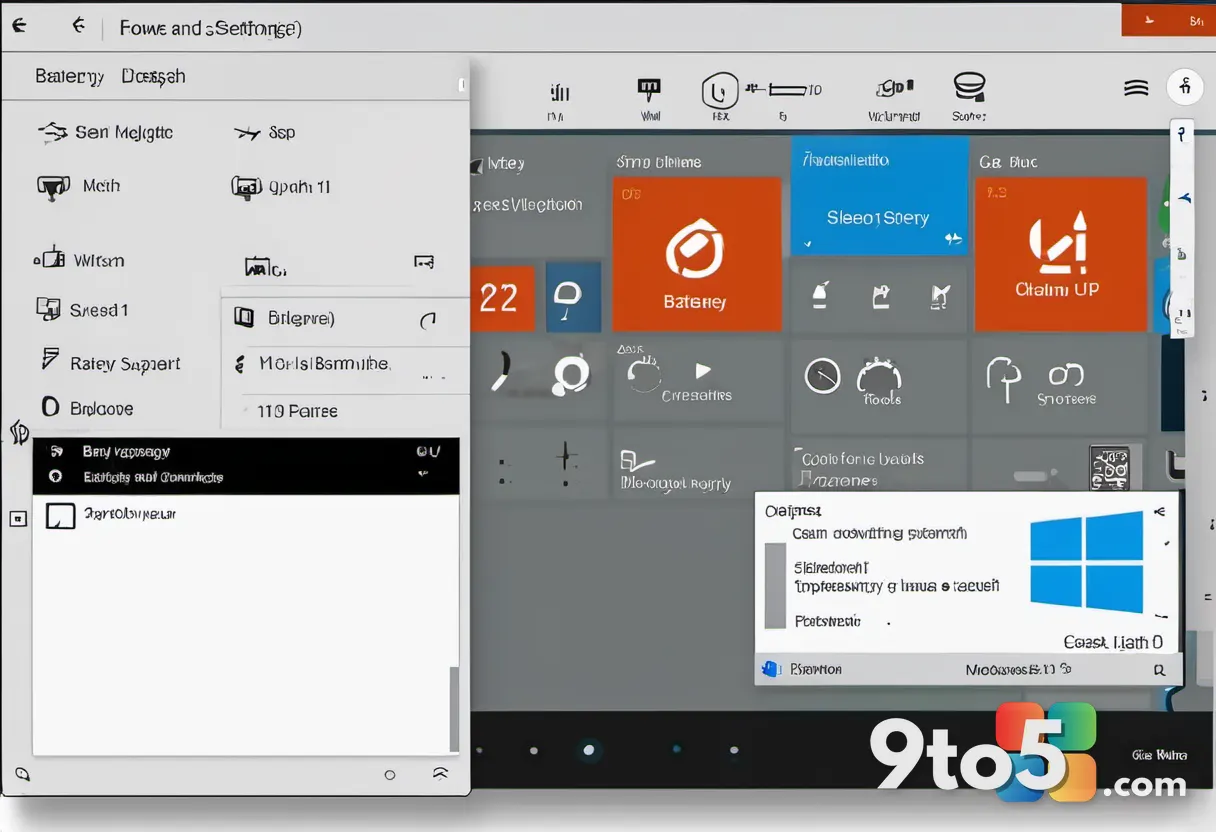
Click System in the left sidebar, then select Power from the right pane. On most Windows 11 builds this option is labeled Power & battery, while desktop PCs may show it as Power. You should now see a page with sections for battery usage, screen brightness, and sleep timing. Look for the section titled Screen and sleep, which holds the two timers you need to adjust.
Step 3: Locate the plugged-in sleep timer
Find the dropdown labeled When plugged in, go to sleep after. This is the exact setting that controls whether your PC sleeps while connected to wall power. By default it is often set to 5 or 10 minutes, which is why your machine drops asleep during long tasks. Click the dropdown to reveal the list of available time intervals, including a Never option at the bottom.
Step 4: Set the timer to Never
Choose Never from the dropdown menu. Selecting Never tells Windows to keep the computer awake indefinitely while it stays plugged in, so downloads, file transfers, and background jobs will not be interrupted. You will see the value update immediately, with no restart required. Leave the battery-powered option alone unless you also want to change sleep behavior on the go.
Step 5: Verify your screen timeout (optional)
Check the When plugged in, turn off my screen after dropdown if you want the display to stay on too. Remember that this is a separate setting from sleep, so turning off the screen does not stop your PC from running tasks. If you only care about keeping the computer awake, you can leave the screen timer at its default to save a little power. Scroll down the page to confirm your changes are saved automatically.
Alternative Method: Use Control Panel Power Options
Type Control Panel in the Start search, open it, and click Power Options. This classic interface gives you finer control and is useful if the Settings app is missing options on your build. From here, click Change plan settings next to your active plan, then Change advanced power settings. In the small window that appears, expand Sleep and set Sleep after to 0 (which means Never) for the Plugged in option, then click Apply and OK.
Alternative Method: Use the Powercfg command line
Open an elevated Command Prompt and run a single powercfg command. Press Start, type cmd, right-click Command Prompt, and choose Run as administrator. Then type powercfg /setacvalueindex SCHEME_CURRENT SUB_SLEEP SLEEP_ALLOW_TIMER 0 and press Enter. The 0 value disables the sleep timer while plugged in (AC power), and the command reports success if it works. This method is handy for scripting or when the menus refuse to respond.

Troubleshooting
If your PC still sleeps when plugged in after making these changes, one of these common issues is likely responsible.
- Your power plan is not active: If you edited a plan but did not select it as active, Windows ignores your changes. Open Power Options and confirm your plan is highlighted before applying settings.
- A driver or update forced sleep: Sometimes a graphics driver or Windows update resets your timers. Reapply your settings after any major update, and check Device Manager for driver warnings.
- Modern Standby overrides the timer: Many modern laptops use Modern Standby (S0), which can sleep even when plugged in regardless of your setting. Check this by running
powercfg /ain Command Prompt; if it lists Modern Standby, accept that sleep behavior and rely on the screen-off setting instead.
Quick Tip: If your laptop lid closes and you still want it to stay awake, open the same Sleep settings and set When I close the lid to Do nothing while plugged in.
Pro Tip: Create a dedicated High performance power plan if you frequently run long tasks. Copy your current plan in Power Options, name it, and set its sleep timer to Never so you always have a reliable profile ready without digging through menus each time.
Once you set the plugged-in sleep timer to Never, your Windows 11 machine will stay awake for downloads, renders, and background work without waking you with unexpected pauses. Test it by leaving a large file copying in the background and walking away for an hour; if it is still running when you return, your settings are working correctly. For best results, pair this change with a stable power source so an unexpected battery drain does not interrupt your work.
What has been your biggest headache with Windows 11 sleep settings, the Settings menu or the Control Panel options?
Over to you: What has been your biggest headache with Windows 11 sleep settings, the Settings menu or the Control Panel options?