Windows 11 includes a built-in safety mechanism called System Restore that captures your current system configuration before you make changes. When you install a new graphics driver, tweak advanced settings, or prepare for a major feature update, generating a restore point gives you a reliable rollback option. If an update breaks your network adapter or a driver causes blue screens, you can return to this exact moment without losing personal files. This guide walks you through the complete process so you can modify your system with confidence.
Before You Start: You will need administrator privileges on your Windows 11 PC. System Restore only functions on NTFS-formatted drives, which covers nearly every internal storage device in modern computers. External hard drives, USB flash drives, and SD cards cannot host restore points. Make sure your PC is plugged into a power source if you are using a laptop.
Step 1: Open the System Protection settings
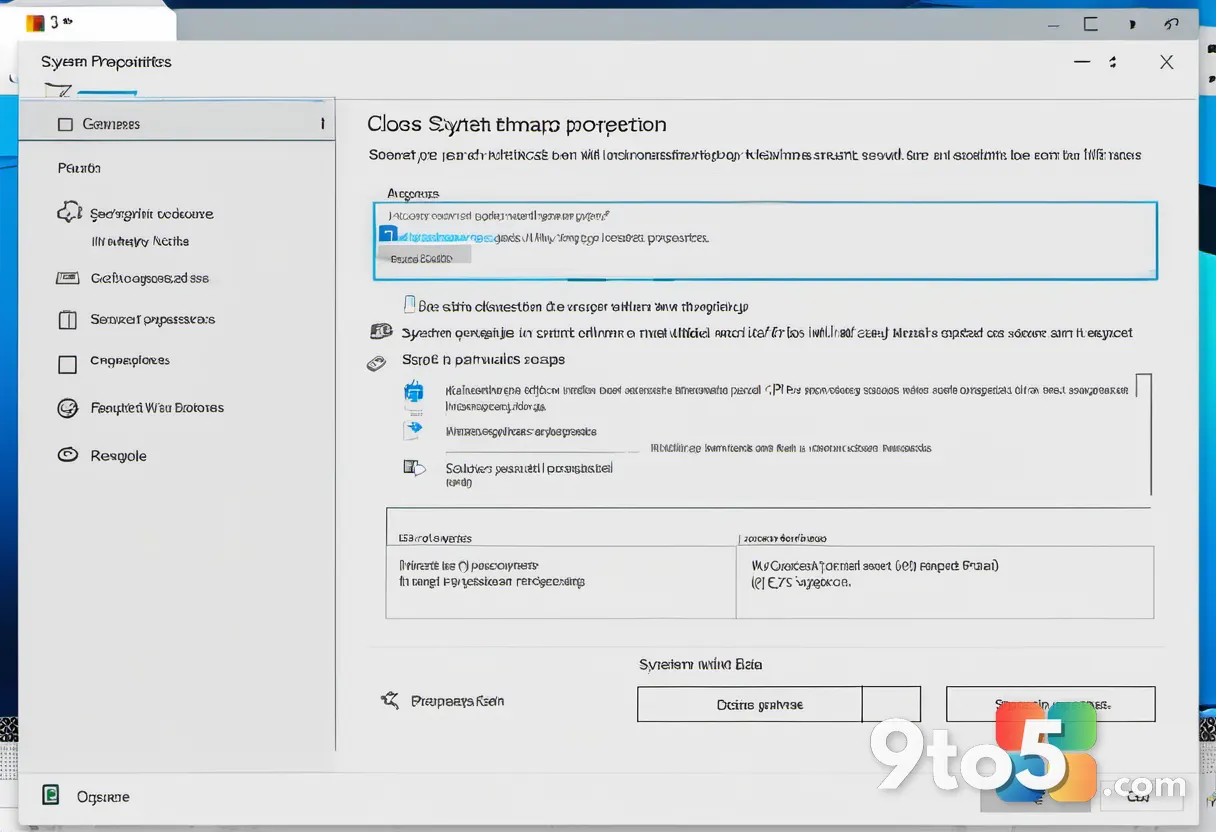
Press Win + R to launch the Run dialog box. Type sysdm.cpl and press Enter or click OK. This command opens the System Properties window directly to the correct tab, bypassing the Settings app navigation. You will see a dialog box with several tabs across the top. If the window lands on a different tab, click the System Protection tab to reveal the drive list. Using this shortcut saves you from hunting through multiple menus and guarantees you reach the exact control panel you need.
Step 2: Select your main system drive
Look at the list under the System Protection heading and locate your primary drive, typically labeled (C:). Click once to highlight it. Windows stores all restore point data on the drive that hosts your operating system, so selecting the correct partition is critical. If you do not see your main drive in the list, your system protection might already be disabled or the drive uses an unsupported file system. You can verify your drive letter by opening File Explorer and checking the left navigation pane.
Step 3: Enable system protection for the drive
Click the Configure button located directly below the drive list. A new window appears with radio buttons for drive protection options. Select Turn on system protection from the available choices. This action activates the Volume Shadow Copy service, which records file and registry changes over time. If the Configure button appears grayed out, you are likely not running with administrator rights. Right-click the Start button, choose Terminal (Admin) or Settings (Admin), and repeat this step.
Step 4: Configure disk space allocation
Move the slider under Disk Space Usage to choose how much drive space Windows can use for storing restore points. The default setting usually reserves around five to ten percent of your total drive capacity. You can slide it higher if you plan to create multiple restore points or if you are working with a large solid-state drive. Windows automatically deletes the oldest restore points when the allocated limit is reached. If you leave the slider at the absolute minimum, Windows might refuse to generate new points once the space fills up.
Step 5: Apply the protection settings
Click OK at the bottom of the Configure window. Windows will display a brief progress message while it initializes the protection service and prepares the drive for shadow copies. Click OK again to return to the System Properties window. You should now see a small status label under your drive name that reads On. This confirms that the drive is actively recording system changes. If the status still shows Off, close the window and restart your PC before continuing to the next step.
Step 6: Create the restore point
Click the Create button near the bottom of the System Properties window. A prompt will appear asking you to enter a description for this restore point. Type something recognizable like Before GPU driver update or Pre-feature-update backup. Click Create and wait for the confirmation dialog to appear. Windows will now snapshot your system files, registry keys, and installed programs. This process typically takes two to five minutes depending on your drive speed and system complexity. If you receive an error stating the operation failed, check that your drive has at least 400 MB of free space and that your antivirus software is not blocking the process.
Troubleshooting Common Issues
Even with a straightforward process, Windows 11 can occasionally throw roadblocks. Here are the most frequent failure points and how to resolve them.
- Restore points will not create: This usually happens when the Volume Shadow Copy service is stopped. Press
Win + R, typeservices.msc, and press Enter. Locate Volume Shadow Copy in the list, right-click it, and select Start. Set the Startup type to Automatic before closing the window. - Insufficient disk space error: System Restore requires a minimum of 300 MB of free space to function. Open Settings, navigate to System > Storage, and free up space by running Disk Cleanup or deleting temporary files. You can also click the Clean up button in the System Protection window to remove old restore points.
- Restore point disappears after a few days: Windows automatically purges old points when the allocated disk space is full. Increase the slider in Step 4 to allocate more room, or manually delete older points to make space for new ones.
Pro Tip: Always pair system restore points with a separate backup of your personal files. System Restore only protects installed programs and system settings, not your documents, photos, or downloads. Use File History or a cloud service for your important data.
Final Tips Before You Make Changes
Once your restore point is ready, you can proceed with your driver installation, registry tweak, or Windows update. Keep the description you chose handy so you can identify the correct point later if you need to roll back. To restore your system, open the Start menu, type Create a restore point, and select System Restore from the results. Choose the restore point you just created and follow the on-screen prompts. Your PC will restart and return to the exact state it was in when you created the point.
System Restore is not a replacement for a full disk image backup, but it is an excellent first line of defense against broken updates and incompatible software. By following these steps, you give yourself a reliable safety net that costs nothing and takes only a few minutes to set up.
Over to you: Have you ever used a restore point to recover from a failed Windows 11 update?