If you suspect your Windows 11 PC is running slower than usual or you noticed unfamiliar pop-ups, a manual malware scan is the fastest way to verify your system’s health. Windows Defender, now called Microsoft Defender Antivirus, comes built into every modern Windows installation and provides robust protection without requiring third-party software. This guide walks you through the exact steps to trigger a manual scan, choose the right scan type for your situation, and interpret the results correctly.
Before You Start: Make sure your PC is connected to the internet so Defender can download the latest virus definitions. You will also need administrator privileges on your account, which standard home users typically have by default.
Step 1: Open Windows Security
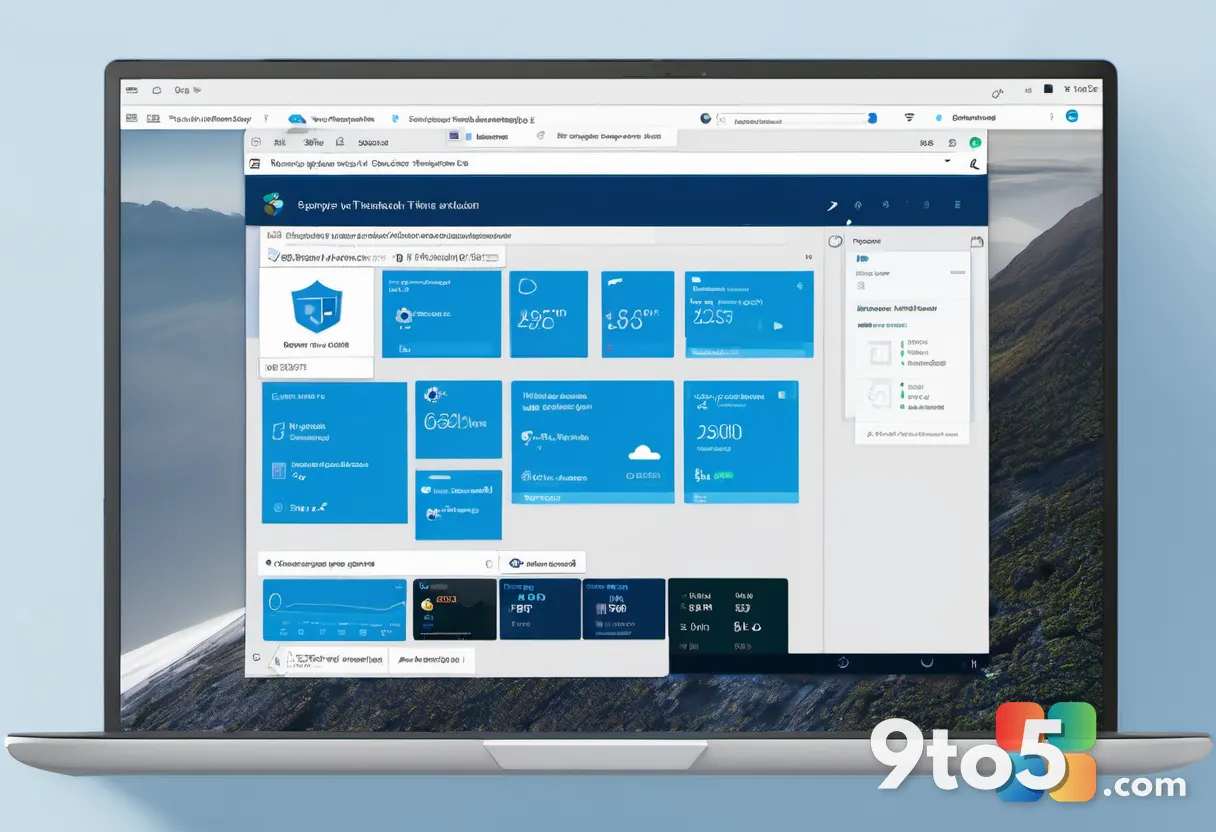
Press Windows + I to launch the Settings app, then click on System in the left navigation pane. The Settings interface serves as the central hub for all modern Windows configuration panels. Once you land on the System page, look toward the bottom of the left sidebar for a link labeled Windows Security and click it. This action opens the dedicated security dashboard where Defender manages all threat detection and protection settings.
Step 2: Navigate to Virus & threat protection
Locate and click the Virus & threat protection tile on the Windows Security dashboard. This tile sits near the top of the main panel and features a distinctive shield icon. Clicking it expands the threat management interface, revealing your real-time protection status, cloud-delivered protection toggle, and the core scanning controls. You will notice a green checkmark if your baseline protections are active and functioning correctly.
Step 3: Choose your preferred scan type
Scroll to the Current threats section and click the Scan options link. Windows Defender offers three distinct scanning methods, and selecting the right one saves time while addressing your specific concerns. The Quick scan checks only the folders and processes most likely to harbor malware, such as your desktop, startup items, and memory. The Full scan examines every file on every drive, which takes considerably longer but provides the deepest inspection. The Custom scan lets you pick specific folders, drives, or files to investigate, which is useful when you suspect a particular download or external drive.
Step 4: Start the scan
Click the Scan now button located at the bottom of the Scan options page. Windows Defender will immediately begin analyzing your selected files and display a progress bar with an estimated time remaining. Keep your PC plugged into power and avoid running heavy applications while the scan runs, as background processes can slow down file access and extend the scan duration. If the scan appears frozen, do not force quit the process; Defender often pauses briefly while checking large files or waiting for disk access.
Step 5: Review the results and take action
Once the progress bar disappears, read the scan report carefully and follow the on-screen prompts. If Defender found no threats, the report will confirm that your PC is protected and up to date. If threats were detected, you will see a list of affected files along with recommended actions like Quarantine or Remove. Click the recommended action, then press the Clear all button to finalize the cleanup. You can also click View history to see past scan results and previously blocked items.
Troubleshooting: Common scan issues
- Scan will not start or shows an error code: Open the Windows Security app, go to Virus & threat protection, and click Scan options. Look for a link labeled Check for updates and run it to refresh your virus definitions. If the error persists, restart your PC and try again. Enterprise environments using Microsoft Defender for Endpoint may require a Group Policy update from your IT department before manual scans are permitted.
- Scan runs extremely slowly or crashes: Disconnect any external hard drives or USB flash drives before starting the scan, as faulty hardware can cause Defender to hang. Make sure your system drive has at least 10 percent free space, since Defender needs temporary storage to process quarantine files. If crashes continue, run the System File Checker by opening
cmdas administrator and typingsfc /scannowto repair corrupted Windows components. - Defender refuses to update or scan: Verify that Tamper Protection is not blocking legitimate background tasks. Navigate to Virus & threat protection settings and toggle Tamper Protection off temporarily, run your scan, and then turn it back on. Third-party antivirus software will automatically disable Windows Defender, so you must uninstall the competing program first to restore manual scanning capabilities.
Pro Tip: Schedule a weekly Quick scan through the Scan options page to catch new threats before they spread. You can also enable Cloud-delivered protection in the same settings menu to allow Microsoft to analyze suspicious files in real time.
If you manage multiple devices in a home or small office, consider enabling the Send file samples option in Virus & threat protection settings. This allows Microsoft to analyze suspicious files in a secure sandbox and update protection for all connected PCs. Always restart your computer after making changes to security policies or installing new software to ensure Defender initializes correctly.
Running a manual malware scan takes only a few minutes for a Quick scan and up to an hour for a Full scan, but it gives you complete visibility into your system’s security posture. Keep your virus definitions updated, stay cautious with email attachments, and you will maintain a secure Windows 11 environment without constant interruptions.
Over to you: Which scan type do you rely on most when checking your PC for threats?