Game Mode is one of the most useful built-in features in Windows 11 for anyone who plays games on a PC. When turned on, it tells the operating system to prioritize your game over background tasks, dynamically allocating CPU and GPU resources to reduce stuttering and keep frame rates more stable. In practice, this means fewer hitches during intense scenes and a smoother experience overall.
The good news is that Game Mode is available on virtually every edition of Windows 11, including Home, Pro, Enterprise, and Education. It is enabled by default on most systems, but knowing how to toggle it manually and troubleshoot it when it misbehaves is still worth your time. This guide walks you through enabling Game Mode step by step, plus a few optional tweaks that pair nicely with it.
Before You Start
Before you change any settings, make sure you are signed in with an account that has administrator rights. Game Mode is a system-level feature, so a standard or guest account may not be able to change it. You will also want to close any resource-heavy applications you are not using, so you can notice the real effect Game Mode has on your frames. No extra software or downloads are required—everything lives inside the built-in Settings app.
Step 1: Open the Settings app
Press the Windows key + I on your keyboard to open Settings. This keyboard shortcut launches the Settings app immediately, which is faster than hunting through the Start menu or typing a search. You should see the main Settings window open with a list of categories on the left side. If that shortcut does not respond, click the Start button, type “Settings,” and select the app from the results.
Step 2: Go to the Gaming section
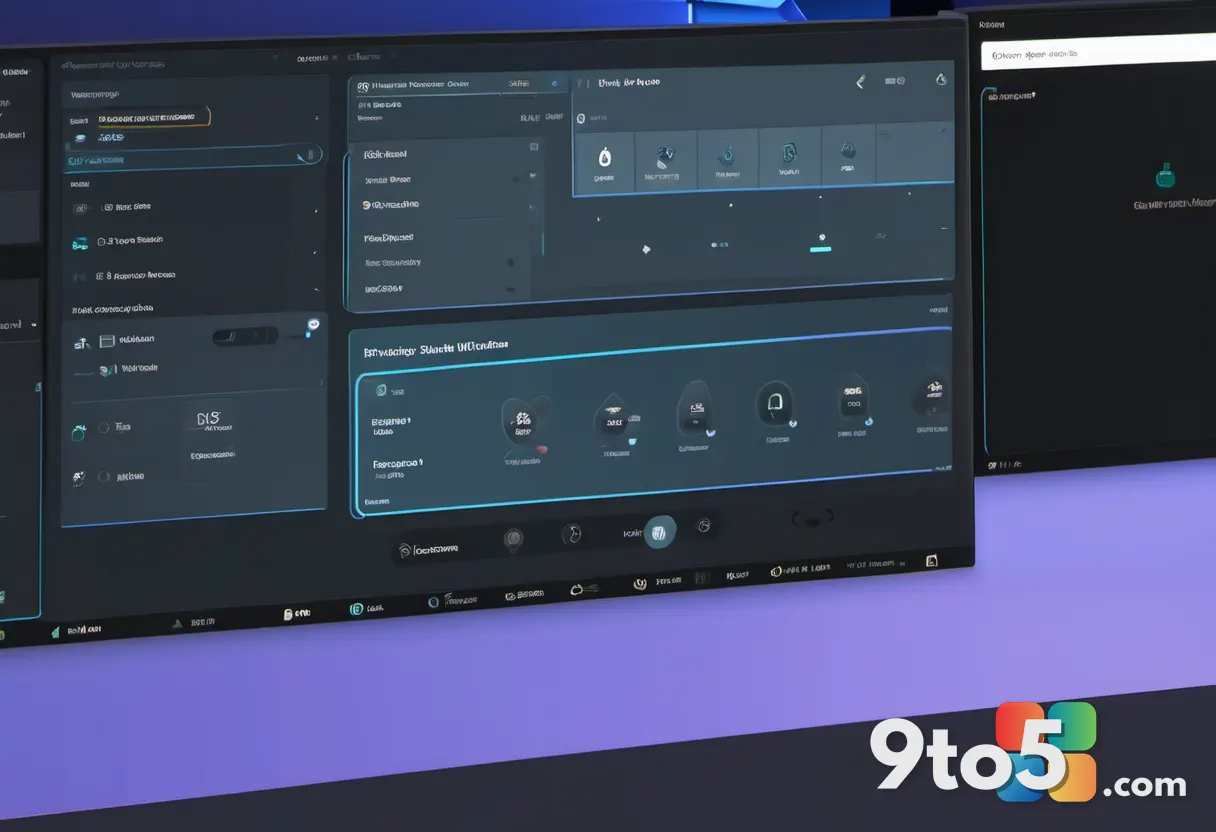
Click the Gaming option in the left sidebar of Settings. This groups together everything related to gameplay, including Game Mode, the Xbox Game Bar, and Game DVR. You will land on a page that shows several toggles and options related to gaming. On some builds of Windows 11, you may need to click “Game Mode” as a sub-item at the top of the page rather than seeing it directly in the sidebar.
Step 3: Turn on Game Mode
Find the “Game Mode” switch and turn it on. Look for the toggle next to the words “Game Mode” near the top of the Gaming page and switch it to the on position. When it is enabled, the toggle turns blue and a note appears explaining that Game Mode optimizes your PC for play. If the toggle is already blue, Game Mode is already active and you can skip ahead to the optional steps.
Once enabled, Windows will automatically detect when you launch a game and shift resources toward it. You do not need to keep this window open—Game Mode works in the background the whole time you are playing, and it turns off on its own when you exit the game.
Step 4: Configure the Xbox Game Bar (optional)
Scroll down and click “Xbox Game Bar” to adjust its settings. The Game Bar is the overlay you use to capture clips, check performance, and reach friends while playing. You can open it during a game by pressing the Windows key + G. If you prefer a cleaner experience, this is where you can disable the overlay or change which keys open it.
Step 5: Set up Game DVR for recordings (optional)
Click “Game DVR” to control how Windows records your gameplay. Game DVR lets you capture clips and screenshots of what you are playing, and it works alongside Game Mode. Here you can adjust recording quality, set a maximum clip length, and decide whether games record automatically. Turn these off entirely if you want to free up disk space and reduce any background recording overhead.
Pro Tip: Enable the “Record in the background while I am playing a game” option if you want Windows to continuously buffer the last few minutes of gameplay. This lets you save a clip of a great moment after the fact, rather than planning your recording in advance. Remember that this feature uses a small amount of disk space for the buffer, so leave some free space on your drive if you keep it on.
Step 6: Enable Game Mode for a specific game (optional)
Press Windows key + G to open the Xbox Game Bar, then activate Game Mode from the overlay. When the Game Bar overlay appears, look for the performance widget or the Game Mode button and click it to turn it on for the active game. This gives you a quick way to toggle Game Mode without leaving your game or returning to Settings. It is especially handy if you want to compare performance with Game Mode on versus off in the same session.
See the results
After enabling Game Mode, launch your favorite game and pay attention to how it runs. You should notice fewer sudden drops in frame rate during busy scenes, and background tasks such as Discord or a web browser should take a back seat while you play. If your frames feel smoother and your game responds more quickly, Game Mode is doing its job. Give it a few games to test before drawing conclusions, since the effect varies from title to title.
Troubleshooting
If Game Mode does not seem to be helping, or if you cannot turn it on, work through these common issues before assuming something is broken.
- Game Mode will not turn on: Make sure you are signed in with an administrator account. If the toggle is grayed out, sign in with your Microsoft account or a local admin account, then try again. A restricted or guest account cannot change system-level gaming settings.
- Game Mode is on but performance has not improved: Game Mode optimizes resource allocation, but it cannot create hardware that does not exist. If your PC is struggling, the bottleneck is likely your CPU, GPU, or not enough RAM. Check Task Manager (Ctrl + Shift + Esc) while playing to see which component is maxed out, and consider lowering in-game graphics settings.
- Games still lag even with Game Mode enabled: Close unnecessary background apps, update your graphics drivers from NVIDIA, AMD, or Intel, and make sure Windows is up to date. Outdated drivers are one of the most common causes of gaming performance problems, and they will undermine any optimization feature.
- Game Mode keeps turning off: Some third-party optimization software or “gaming” utilities can override Windows settings. Temporarily disable any such programs and see if Game Mode stays on. You may also want to check your power plan—switch to “Best performance” in the Control Panel so your hardware runs at full speed.
Final Tips
Keep in mind that Game Mode is designed to work automatically, so you rarely need to touch it once it is enabled. Pair it with a solid power plan, updated drivers, and a clean background for the best results. If you play on a laptop, make sure it is plugged in, because running on battery can limit performance no matter what settings you change. And remember that Game Mode complements good hardware—it is a helpful tool, not a magic fix for an underpowered machine.
Over to you: Have you noticed a difference in your frame rates after turning on Game Mode? Tell us about your experience in the comments.