Microsoft Edge ships with a built-in password manager that stores your login credentials, autofills them when you sign in, and syncs them across every device where you use your Microsoft account. Using it means you no longer have to remember a string of weak passwords or risk reusing the same one everywhere. This guide walks you through turning on syncing, saving, viewing, editing, and removing passwords, plus checking whether any of your accounts have been exposed in a data breach.
Before You Start: This guide targets Windows 11 and the Chromium-based version of Edge. You will need a working Microsoft account, because password syncing depends on it. Enterprise users on Microsoft Edge Enterprise Channel or Microsoft Edge for Business can manage some of these settings through group policy, but the manual steps below still apply to individual accounts.
Step 1: Open Microsoft Edge and sign in with your Microsoft account
Launch Edge and look at the top-right corner of the window for a profile icon. If you see an avatar, you are already signed in and can skip ahead. If you see a generic person icon or the word “Sign in,” click it and choose your Microsoft account, then enter your credentials.
Signing in is the foundation of everything here, because Edge stores passwords against your Microsoft account and uploads them to the cloud so they can reach your phone, tablet, or second computer. If the sign-in option is greyed out, check that you are running an up-to-date version of Edge by opening the three-dot menu and choosing Help and feedback about Microsoft Edge.
Step 2: Open the Passwords settings page
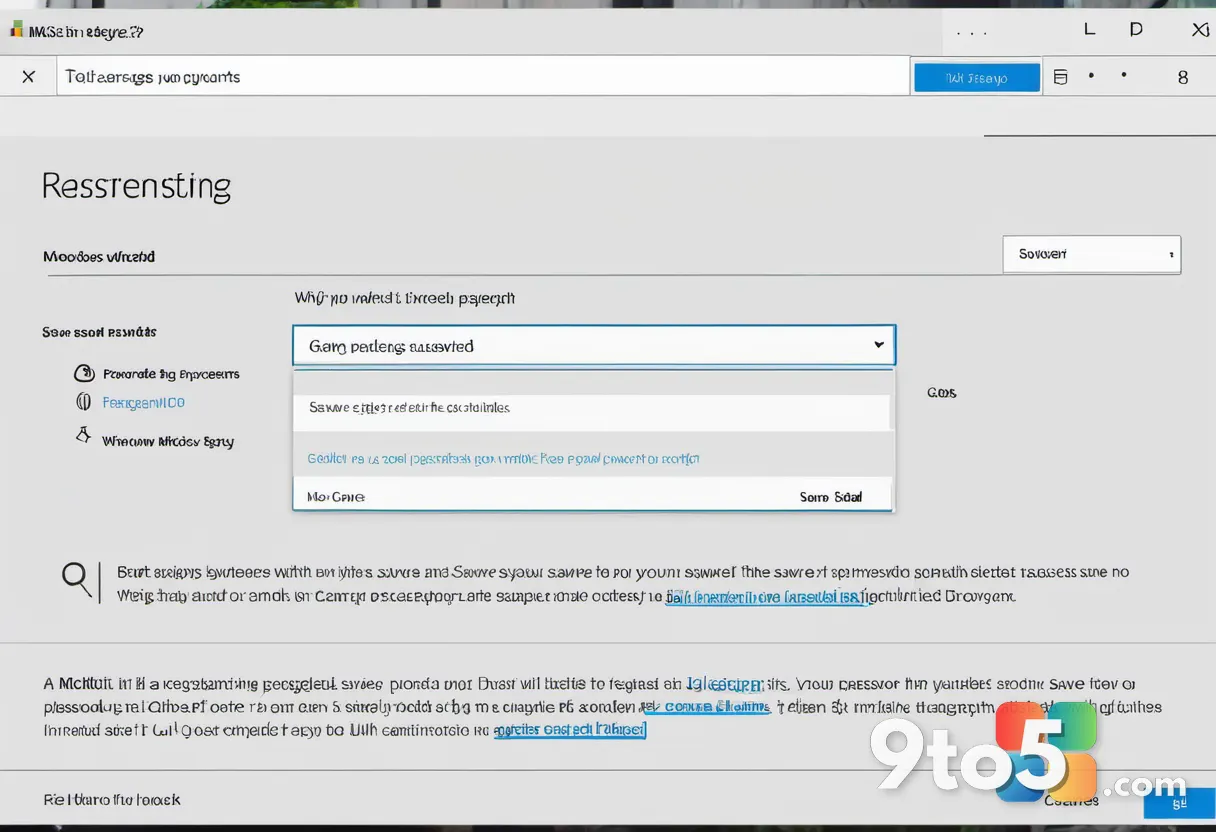
Click the three-dot menu (…) in the top-right corner, then select Settings from the dropdown. In the left sidebar, click Profiles, and scroll down until you see the Passwords section. You can also jump straight there by typing edge://settings/profiles in the address bar and pressing Enter, or edge://settings/passwords to land directly on the password screen.
This is the command center for your credentials, and it is split into a few areas: the toggles that control saving and syncing, the list of saved passwords, a Password health checker, and an import tool. Take a moment to scan the page so you know where each feature lives before you start making changes.
Step 3: Turn on password syncing
On the Profiles page, find the Sync section and make sure the main Sync toggle is on. Then confirm that the Passwords option is checked within the list of sync categories. Once enabled, Edge uploads your saved passwords to your Microsoft account and downloads them onto any other device where you sign in with the same account.
Without this toggle on, your passwords stay locked to a single machine, which defeats most of the point of a password manager. If you sign in on a second computer and your passwords do not appear, return here and verify that Sync is enabled on both devices and that Passwords is selected as a synced category.
Step 4: Enable automatic password saving
Back in the Passwords section, turn on the toggle labeled Offer to save passwords. You can also switch on Auto sign-in, which lets Edge fill your stored credentials into login forms automatically. With saving enabled, the next time you submit a new login on a website, Edge prompts you to store that username and password.
This is what removes the friction from creating strong, unique passwords for every site, because Edge remembers them for you. If the save prompt never appears after you log in, open the site, click the small key icon on the right side of the address bar, and confirm that saving is allowed for that specific website.
Pro Tip: Keep Auto sign-in enabled so Edge fills logins for you, but pair it with a Windows PIN or Windows Hello sign-in on your PC. That extra lock means anyone who opens your computer still cannot reveal your saved passwords without your fingerprint, face, or PIN.
Step 5: View your saved passwords
Scroll to the Saved passwords area and click View saved passwords. Windows will ask you to verify your identity with your PIN, password, fingerprint, or face recognition before showing anything. This authentication step is intentional, because it stops anyone with physical access to your unlocked PC from reading your credentials.
After you verify, a new window opens listing every site you have saved, each shown with its username. You will not see the actual password yet, only masked dots, which keeps things safe if someone glances over your shoulder. Look through the list to confirm that the accounts you expect are present.
Step 6: Add a new password manually
In the Saved passwords window, click the Add link near the top of the list. Fill in the Website or URL field, the Username field, and the Password field. You can also add a note, such as a recovery email or a hint about what the account is for, then click Save.
Manually adding an entry is useful when a site does not trigger the normal save prompt, or when you want to store a credential you created on another device. If the Save button stays disabled, double-check that the Website field contains a valid address that starts with https:// or http://.
Step 7: Edit or update a saved password
Find the entry you want to change in the Saved passwords list and click the three-dot menu to its right, then choose Edit. The fields open for you to change the username, password, or note. After making your changes, click Save to store the update.
Editing is the cleanest way to keep a credential current after you change a password on the website itself, so Edge always fills the right value. If your changes do not stick, sign out of Edge and back into your Microsoft account to refresh the local profile, then try editing again.
Step 8: Delete passwords you no longer need
Locate the entry you want to remove and click the three-dot menu next to it, then choose Delete. Edge asks you to confirm the removal before it erases the credential from your list. Confirm to finish the process.
Removing old or unused entries keeps your list tidy and reduces the chance that a stale password for an abandoned account gets used by accident. Deleted passwords are removed from the local device, but keep in mind that a synced copy may linger on other devices until their next sync cycle completes.
Step 9: Reveal and copy a saved password
In the Saved passwords window, click the eye icon next to the entry you need. Windows will prompt you to verify with your PIN or biometrics again before the real password appears. Once revealed, click the copy icon to place it on your clipboard, then paste it wherever you need it.
Requiring verification each time you reveal a password is a deliberate security feature that blocks accidental exposure. After copying, clear your clipboard and avoid pasting the password into public or shared screens, since that can leave it visible to others.
Step 10: Check your password health
On the Passwords settings page, find the Password health section and click View details. Edge scans your saved passwords and flags any that are weak, reused, or exposed in a known data breach. Each flagged entry shows a warning and a link to change the password on the actual website.
This checker is one of the most valuable parts of the manager, because it tells you where you stand after years of collecting logins. Click through the flagged items and update those passwords on the corresponding sites, then return here to confirm they clear the list.
Step 11: Import passwords from another browser
Return to Settings and click Profiles, then choose Import browser data. Pick the browser you are moving from, such as Chrome or Firefox, and check the box next to Passwords. Click Import, and Edge copies those credentials into your manager.
Importing makes switching browsers painless, since you do not have to retype every login by hand. If the source browser does not show up in the list, confirm that it is installed and closed, then reopen the import screen.
Troubleshooting
Sync is not updating across devices. Open Settings on each device, confirm you are signed in with the same Microsoft account, and verify that Sync and the Passwords toggle are both on. Sometimes the fix is as simple as waiting a few minutes for the next sync cycle, or signing out and back in to force a refresh.
Passwords are not being saved. Make sure the Offer to save passwords toggle is on in the Passwords section. Some sites block saving, so check the key icon in the address bar and ensure that site is not on your block list. Clearing your browsing data can also reset a stuck prompt, so try clearing cookies and cached files, then log in again.
You cannot reveal a saved password. If the verification prompt fails, your Windows PIN or Windows Hello may need a reset. Try signing out of Windows and back in, or set a new PIN through Settings > Accounts > Sign-in options. As a fallback, you can still reset the password directly on the website without needing Edge to reveal it.
Closing tips
Use a password generator to create long, unique passwords for each site, and let Edge store them so you never have to memorize them. Turn on Password health checks regularly to catch credentials that leak into future breaches, and keep Windows updated so the security features behind the password manager stay current. If you travel between a Windows PC and an Android phone, installing Edge on both and enabling sync gives you your passwords right where you need them.
Quick Tip: Add a strong master note in the Notes field of a critical account, like where you stored a recovery key, so you can find essential details later without searching your hard drive.
Over to you: Do you rely on Edge’s password manager, or do you prefer a separate password app?