Accidental deletions, corrupted documents, and sudden hardware failures happen far too often. Windows 11 File History provides a reliable, built-in solution that continuously saves copies of your personal files to an external drive without requiring third-party software. This feature tracks version history for your Documents, Pictures, Music, Videos, Desktop, and Downloads folders, giving you the ability to roll back to a previous state whenever you need it.
Before You Start: You will need a USB external hard drive or flash drive with enough free space to hold your current file size. File History does not back up system files, installed applications, or files stored in the C:\Windows directory, so keep that limitation in mind before you begin.
Step 1: Connect Your External Drive
Plug your external storage device into an available USB port on your Windows 11 PC. Wait a few seconds for the system to recognize the drive, then open File Explorer to confirm it appears under This PC. If the drive does not show up, you may need to initialize it through Disk Management or try a different port. File History requires a drive formatted in NTFS or exFAT to store versioned backups properly.
Step 2: Open the File History Settings
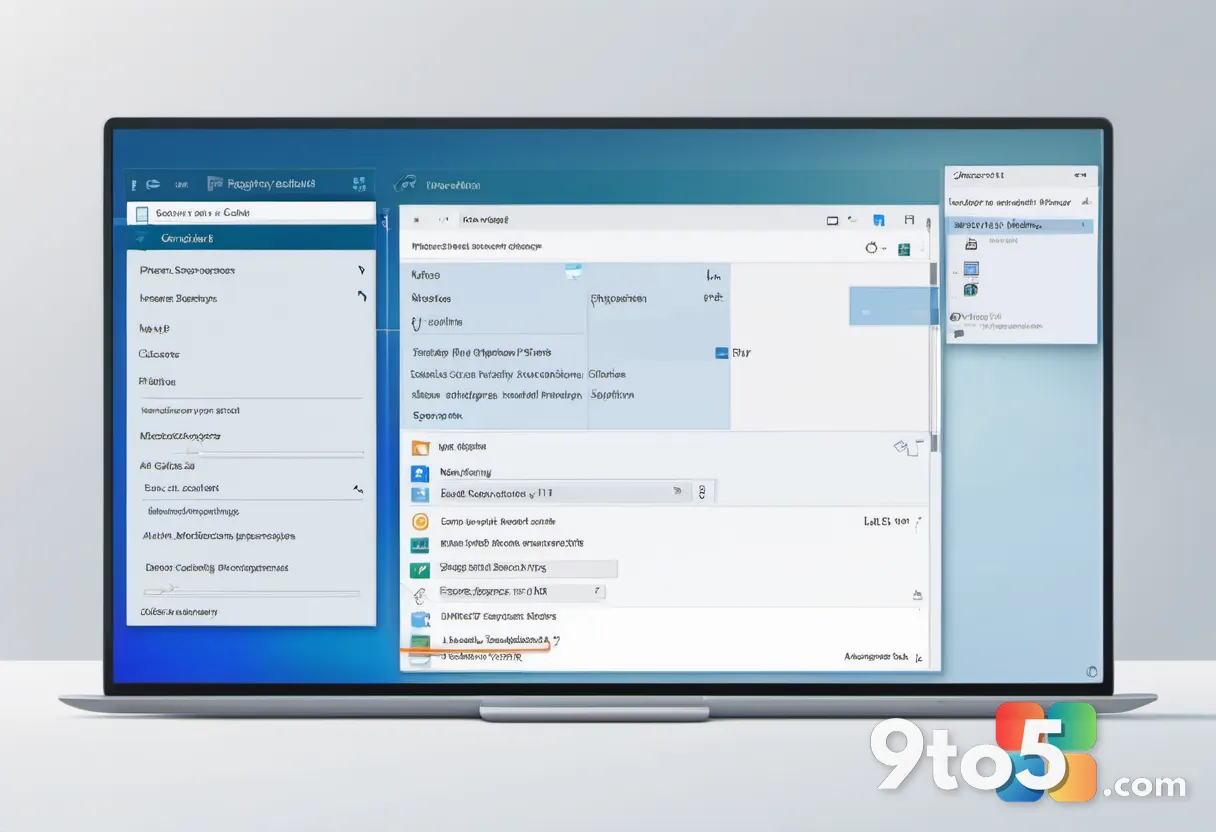
Navigate to the File History control panel by pressing Win + R, typing control filehistory, and pressing Enter. You will see a legacy window titled File History with a large Enable button in the center. This older interface remains the most reliable way to configure the feature in Windows 11, even though the modern Settings app only offers a shortcut link to it. If you receive an error here, run Windows Update to ensure your system files are current.
Step 3: Select Your Backup Drive
Click the Choose drive link located near the top of the File History window. A dropdown menu will display all connected storage devices that meet the format requirements. Select your external drive from the list and confirm your choice.
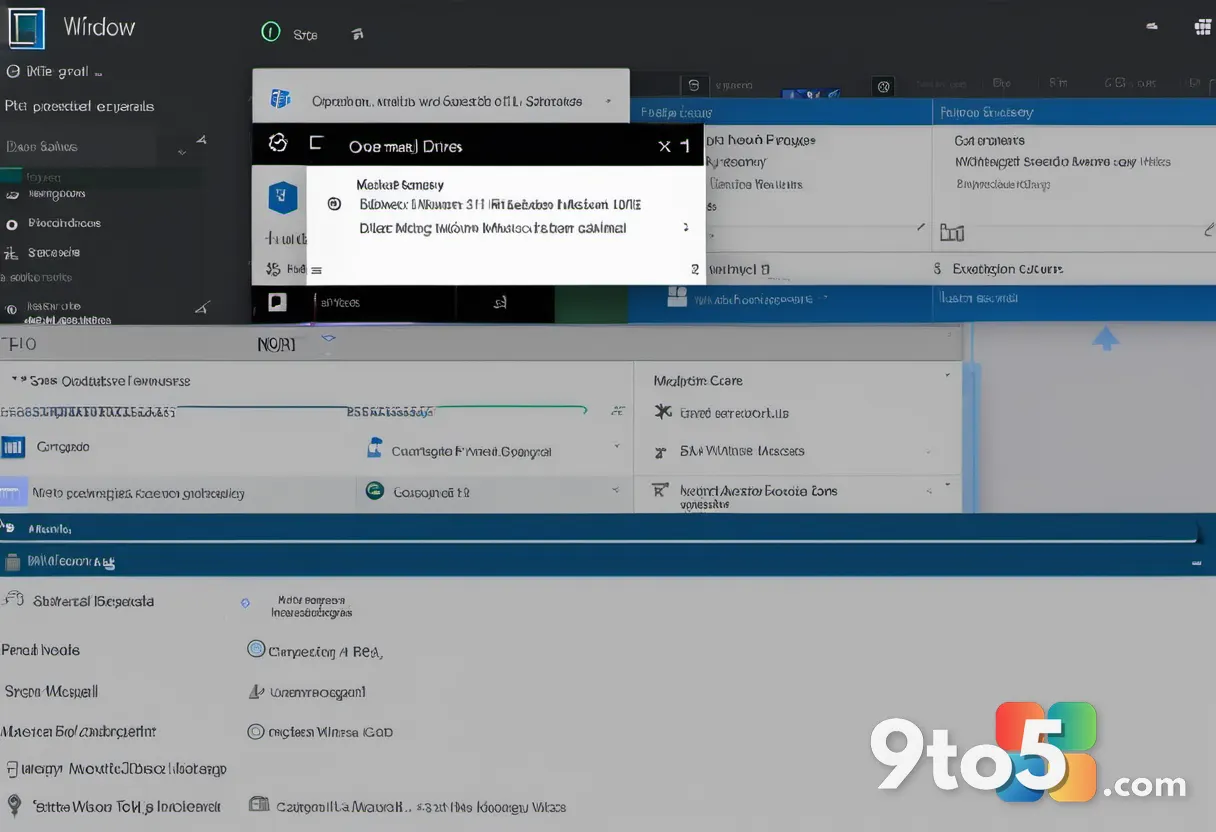
If your drive does not appear in the dropdown, verify that it is powered on, properly connected, and formatted correctly. You can also click Configure to add additional drives to the rotation, which helps distribute write load and extends drive lifespan. Always wait for the confirmation prompt before closing the dialog.
Step 4: Configure Backup Frequency and Retention
Click the Advanced settings link at the bottom of the File History window to adjust how often copies are saved. You will see a dropdown menu for Save copies of files where you can choose between every 10 minutes and once a day. For most users, saving every 30 minutes provides a solid balance between data safety and drive wear. Below that, you can set how long old versions are kept by selecting Keep saved versions: Until deleted or Only the last month. Adjust these values based on how much storage space you want to dedicate to version history.
Step 5: Start Your First Backup
Return to the main File History window and click the large Enable button to begin the initial backup process. Windows will now scan your selected folders and copy everything to the external drive. You will see a progress indicator in the status bar at the bottom of the window. The first backup takes longer than subsequent ones because it copies the entire dataset. If the process stalls, pause File History by clicking Pause now, wait five minutes, and resume it.
Step 6: Restore Files When Needed
Open File Explorer, navigate to the folder containing the missing or corrupted file, and click the History button on the ribbon. A timeline view will appear showing every saved version of that file. Use the left and right arrows to browse through dates, select the version you want to recover, and click the green Restore button to place it back in its original location.
If you need to recover an entire folder rather than a single file, right-click the folder in the timeline view and choose Restore. You can also click Restore to to save the recovered items to a different directory, which prevents overwriting any current work you have been doing.
Troubleshooting Common File History Issues
Drive Not Detected or Missing from Dropdown: Open diskmgmt.msc to verify the drive is online and formatted as NTFS or exFAT. If it shows as Unallocated, right-click and choose New Simple Volume to format it. Never format a drive containing important data without backing it up first.
Backup Stuck at a Certain Percentage: Press Ctrl + Shift + Esc to open Task Manager, locate Windows File Protection or svchost.exe processes related to File History, and end them. Restart the File History window and click Pause now, then Resume to clear the hang. Corrupted files in your source folders can also block the process, so check your Documents folder for flagged items.
Restored Files Overwrite Current Versions: Always use the Restore to option instead of the default Restore button when recovering important work. This saves the historical version to a new folder rather than replacing what you currently have open. You can then compare both versions side by side before deciding which one to keep.
Pro Tip: Label your external drive with a permanent marker or a custom name like FileHistory_Backup. Windows will remember the drive, but a clear label prevents confusion when you swap between multiple storage devices.
Final Tips for Reliable Backups
Keep your external drive connected whenever your PC is powered on, as File History only runs when the backup target is available. Schedule a monthly check to verify that new files are actually appearing on the drive by browsing its root folder. If you ever switch to a new drive, use the Configure option to add it and remove the old one, which migrates your version history without losing data. Pairing File History with OneDrive personal folder backup gives you both local versioning and cloud redundancy for maximum protection.
Over to you: Have you ever lost important files because you skipped a backup routine?