If your Windows 11 PC is acting sluggish, crashing after a driver update, or showing strange behavior following a software installation, rolling back to a known-good state is often the fastest fix. System Restore lets you revert core system files, registry settings, and installed programs to a previous checkpoint without touching your documents, photos, or media. This guide walks you through locating an existing restore point, applying it safely, and recovering if the utility itself refuses to launch.
Before You Start: Make sure your PC is plugged into a power source if you are using a laptop. The restoration process rewrites critical system partitions, and a power interruption can corrupt your operating system. You will also need administrator privileges on the machine, since System Restore modifies protected Windows folders.
Step 1: Open the System Restore Utility
Press Windows + R to launch the Run dialog, type sysdm.cpl, and hit Enter. This keyboard shortcut opens the System Properties window directly, bypassing the need to navigate through multiple menus. Click the System Protection tab at the top of the window, then select the System Restore… button near the bottom. Windows will prompt you for administrator approval via User Account Control; click Yes to proceed. If the button is grayed out, your system protection settings are disabled, and you will need to enable them first through the same tab.
Step 2: Review Available Restore Points
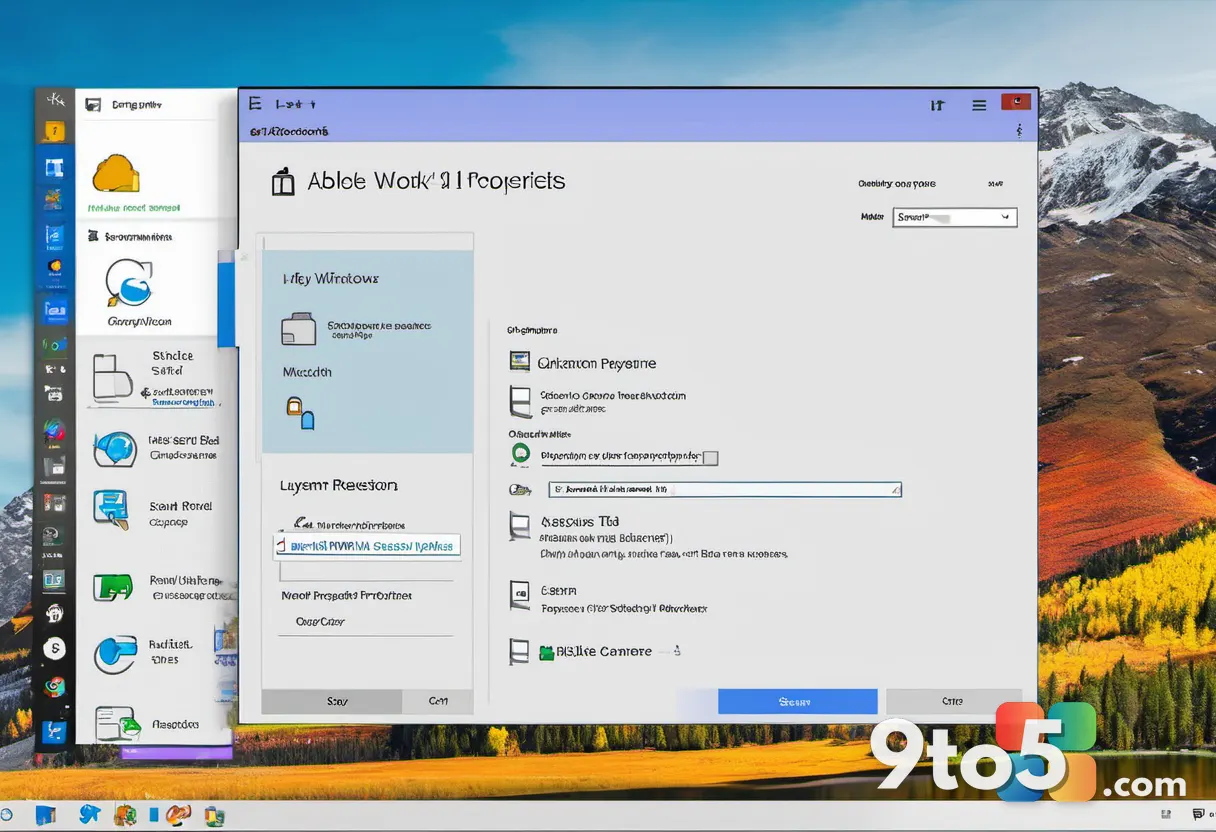
Click the Select a different restore point link to view the chronological list of saved checkpoints. Each entry displays a date, time, and brief description such as Manual or Before Driver Installation. Windows automatically generates restore points when it installs updates or drivers, but you can also create them manually by clicking Create… before making changes. Scroll through the list and mentally note which checkpoint aligns with the timeframe before your issues began. If you do not see any entries, Windows has not created a restore point yet, and rolling back will not be possible.
Step 3: Select a Target Restore Point
Click the restore point you want to use, then press the Next button at the bottom of the window. The utility will load the selected checkpoint and prepare a summary screen showing exactly what will change. Take a moment to read the description carefully, as it lists the programs and drivers that will be removed or restored to earlier versions. If you are unsure which checkpoint to pick, choose the most recent one that predates the problem you are trying to fix. Click Next again once you have confirmed your selection.
Step 4: Scan for Affected Programs
Click the Scan for affected programs link to see a detailed list of software that will be impacted. This optional step opens a new window that categorizes affected items by type, such as applications, drivers, and Windows settings. Review the list to understand what will disappear or revert, then close the window when you are finished. This scan does not change the restoration process; it only provides transparency about what your installed software will look like after the rollback completes.
Step 5: Confirm and Begin the Restoration
Click Finish on the confirmation screen to start the system restore process. Windows will display a warning stating that the operation cannot be interrupted once it begins. Click Yes to confirm, and the utility will immediately begin replacing system files and registry entries with the saved checkpoint data. Your screen may flicker, and the PC will restart automatically one or more times during the procedure. Do not force a shutdown or unplug the power cord while the progress bar is moving.
Step 6: Wait for Windows to Restart
Allow Windows to complete the configuration phase and log you back into your desktop. You will see a notification stating that System Restore completed successfully, along with a link to view a detailed report. Click the report link if you want to verify which programs were removed or restored. Log in with your standard account credentials, and your desktop, files, and browser data will remain exactly as they were. If you notice missing programs, refer to the report to identify what needs to be reinstalled.
Troubleshooting Common Issues
System Restore window refuses to open or shows error 0x80004005. This usually indicates corrupted system files or a blocked restore service. Open Command Prompt as an administrator and run sfc /scannow to repair protected Windows files. After the scan finishes, restart your PC and try opening System Restore again. If the error persists, run DISM /Online /Cleanup-Image /RestoreHealth to fix the component store, then retry the restore process.
No restore points appear in the list. Windows creates checkpoints automatically only when system protection is enabled for your drive. Go back to sysdm.cpl, select your main drive under Protected Drives, click Configure, and toggle Turn on system protection. Set a reasonable disk space allocation (usually 5-10 percent of your drive), then click Apply. You can manually create an immediate restore point by clicking the Create… button while you are in this menu.
Restore fails with a generic error message after 10 minutes. Third-party antivirus software or a failing storage drive often causes this. Temporarily disable your antivirus real-time protection, ensure your hard drive or SSD passes a health check using chkdsk /f /r, and then restart the restore process. If the drive shows bad sectors or SMART warnings, back up your personal files immediately and consider replacing the storage hardware before attempting another rollback.
Closing Tips and Best Practices
System Restore is designed for system-level issues, not for recovering deleted personal files. Keep a separate backup strategy using File History or an external drive for your documents and photos. Regularly check your restore point schedule by revisiting the System Protection tab, and adjust the frequency if you install software frequently. Creating a checkpoint before major changes gives you a reliable safety net for future troubleshooting.
Pro Tip: Save a text file or screenshot of your current Control Panel > Programs and Features > View installed updates list before running a restore. This makes it much faster to identify which Windows update triggered the instability you are trying to roll back.
Have you successfully used System Restore to fix a stubborn Windows 11 issue, or do you prefer resetting the PC instead? Share your experience in the comments below.
Over to you: Have you successfully used System Restore to fix a stubborn Windows 11 issue, or do you prefer resetting the PC instead?