If your Windows 11 PC feels sluggish, opens unfamiliar programs, or suddenly displays pop-ups you did not trigger, a hidden infection may be the culprit. While Windows Defender runs automatic background scans by default, those scheduled checks sometimes miss deeply buried threats. Running a manual malware scan gives you direct control over when and how your system checks for malicious files. This guide walks you through the exact steps to trigger a Quick Scan, Full Scan, or Offline Scan using the built-in Windows Security app.
Before You Start: Make sure your PC is connected to the internet and plugged into a power source. Full and Offline scans can take anywhere from thirty minutes to several hours, depending on your drive size and hardware. If you are running a third-party antivirus, you will need to temporarily disable its real-time protection before Windows Defender can run its own scans.
Step 1: Open the Windows Security app
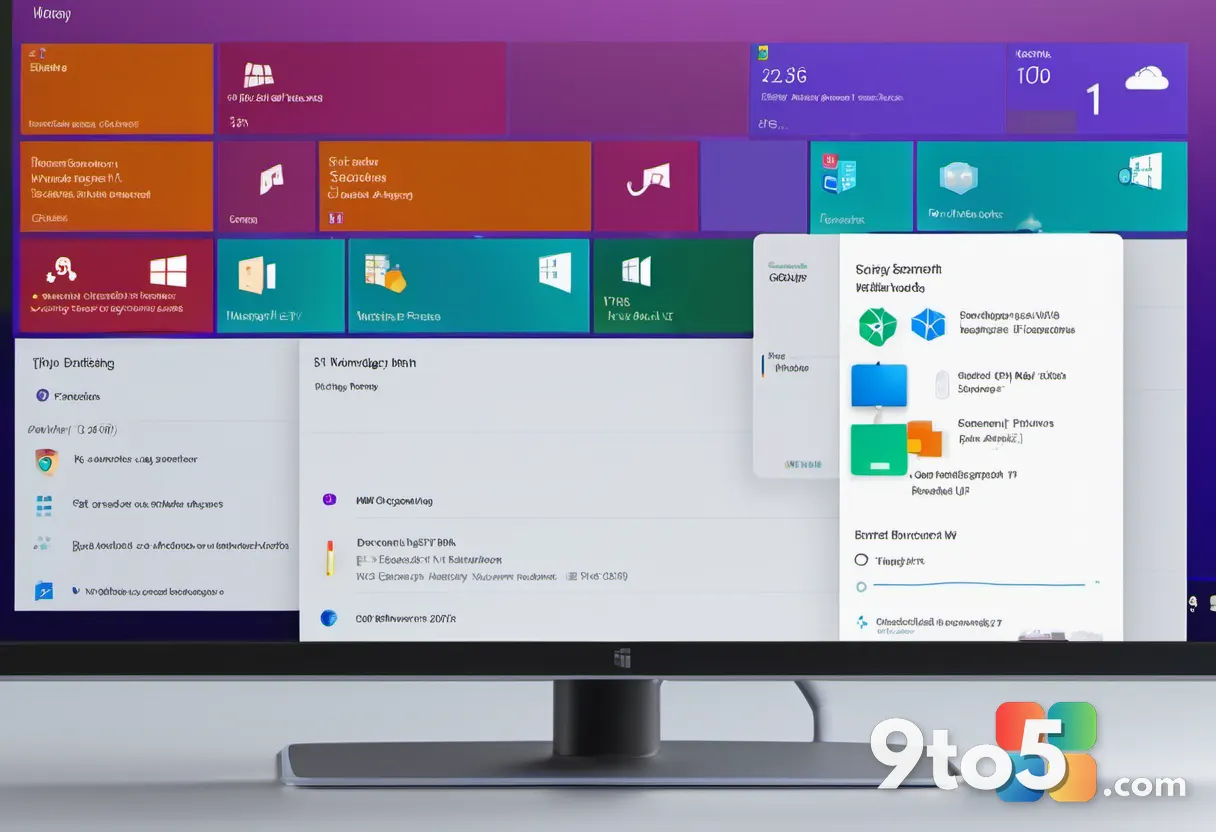
Click the Start button and type Windows Security, then select the app from the results. The Windows Security app serves as the central dashboard for all your system protection features, including firewall monitoring, account control, and device performance. You will see a grid of colorful tiles representing different security categories. If you prefer a keyboard shortcut, you can press Windows + I to open Settings, navigate to Privacy & security, and click Windows Security at the bottom of the page. This app requires administrator-level access, so standard guest accounts will not be able to run scans until you sign in with your primary account.
Step 2: Navigate to Virus & threat protection
Click the Virus & threat protection tile in the top left corner of the Windows Security dashboard. This section houses every scanning option Windows Defender offers, along with your protection history and cloud-delivered protection settings. The page will load with a large heading that reads Virus & threat protection settings, followed by a status indicator showing whether your PC is currently protected. Look for the Scan options link located just below the current protection status. Clicking this link reveals the three manual scan types you can choose from, each designed for different threat scenarios.
Step 3: Select your preferred scan type
Choose between Quick scan, Full scan, or Windows Defender Offline scan based on your needs. The Quick scan checks only the locations where malware typically hides, such as your startup folder, registry keys, and active memory. It usually finishes in ten to fifteen minutes and is ideal for routine checks. The Full scan examines every file and running program on your primary drive, which takes significantly longer but catches deeply embedded threats. The Offline scan restarts your PC into a secure environment where Windows Defender can inspect files before Windows fully loads, making it nearly impossible for active malware to hide. If you suspect a stubborn infection that refuses to delete, the Offline scan is your strongest built-in option.
Step 4: Start the scan and monitor progress
Click the Scan now button next to your chosen option and wait for the progress bar to complete. Windows Defender will display a percentage counter and an estimated time remaining while it indexes your files. You can still use your PC during a Quick scan, though performance may dip slightly as the engine reads your hard drive. Full and Offline scans will lock certain system functions and may require you to step away. If the scan stalls at a specific percentage for more than an hour, do not force restart your computer. Instead, let it finish, as forced interruptions can corrupt system files or leave the scan in a broken state. You can also click the scan name in the left sidebar to pause or cancel it if your schedule changes.
Step 5: Review results and handle detected threats
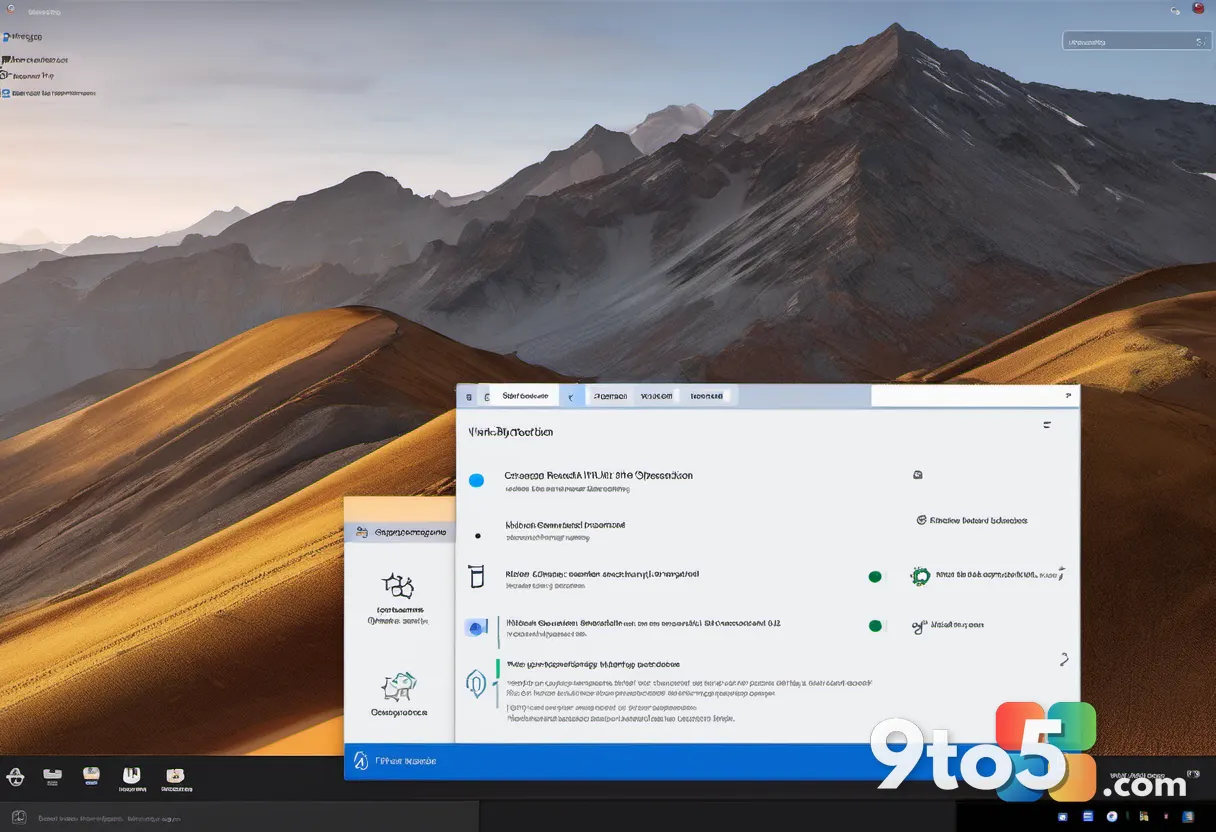
Once the scan finishes, click View scan results to see a detailed list of any detected items. Windows Defender will categorize findings by severity and type, such as Potentially Unwanted Applications, Adware, or Trojans. For each item, you can choose to Quarantine, Delete, or Allow the file depending on whether you recognize it as legitimate software. Quarantining moves the file to a secure folder where it cannot execute, while Deleting removes it permanently from your drive. If the scan reports no threats but your PC still behaves strangely, consider running a second scan with a reputable third-party tool to catch PUPs that Windows Defender sometimes overlooks. You can also click the Quarantine button at the top of the results page to review previously blocked items and restore them if they were false positives.
Pro Tip: Enable Cloud-delivered protection in the Virus & threat protection settings to let Windows Defender share threat data with Microsoft in real time. This feature updates your protection database faster than scheduled definition downloads and helps block zero-day exploits before they reach your system.
Troubleshooting common scan issues
If Windows Defender refuses to start a manual scan, check these frequent failure points before assuming a deeper system problem.
- Scan will not launch or shows an error code: Open Settings > Privacy & security > Windows Security > Virus & threat protection. Click Manage settings and toggle Real-time protection off, then toggle it back on. This refreshes the scanning engine and clears temporary glitches that block manual triggers.
- Scan completes but finds nothing despite suspicious behavior: Your definition database may be outdated. Click Check for updates under Virus & threat protection settings and wait for the download to finish. You can also force an update by opening
Windows Security > Virus & threat protection > Manage definitionsand selecting Update now. - Third-party antivirus is blocking the scan: Windows automatically disables Defender when another security suite is active. Open your third-party app, locate its real-time protection or firewall settings, and temporarily pause it. Remember to re-enable it immediately after the Defender scan finishes to maintain continuous protection.
- Scan engine crashes or loops indefinitely: Open
cmdas an administrator and runmsiexec /unregister %ProgramFiles%\Windows Defender\MpSigStub.exefollowed bymsiexec /register %ProgramFiles%\Windows Defender\MpSigStub.exe. Restart your PC and attempt the scan again to rebuild the component registration.
Running a manual malware scan takes only a few clicks but gives you complete visibility into your system’s health. By understanding when to use each scan type and how to interpret the results, you keep your Windows 11 PC secure without relying solely on background automation. Test your setup today, and revisit this guide whenever your system acts unusually.
Over to you: Have you ever caught a hidden threat using a manual scan, or do you rely on automatic protection alone?