Whether you are editing photos, designing graphics, or simply want your screen to look right, a properly calibrated display makes a real difference. Windows 11 ships with a built-in tool that walks you through the whole process without any third-party software. This guide shows you exactly how to calibrate monitor colors in Windows 11, step by step, so you can trust what appears on your screen.
The built-in wizard adjusts gamma, brightness, contrast, and the red-green-blue balance. It is not a substitute for a professional hardware colorimeter, but for most users it delivers noticeably better and more consistent colors. If you work in a field where color accuracy matters, you may eventually want a calibrated hardware device, but starting here gets you a solid baseline.
Before You Start: Close any apps that tint the screen, such as night-light modes or blue-light filters, and make sure your monitor is running on its factory default picture settings. Give your display about fifteen minutes to warm up so the colors stabilize before you begin adjusting them. This tip applies to every edition of Windows 11, including the Pro and Enterprise variants.
Step 1: Open the Display Color Calibration tool
Press the Windows key and type “calibrate”, then click the Calibrate color for display result that appears. This launches the Display Color Calibration wizard, known internally as dccw.exe. You can also open it by pressing Win + R, typing dccw.exe, and pressing Enter if you prefer the Run dialog.
If you do not see the result, confirm that you are editing the display you actually want to calibrate, since the tool only adjusts the currently active screen. On a laptop or a multi-monitor setup, the wizard targets whichever monitor is marked as the primary display by default.
Step 2: Start the wizard and set your baseline
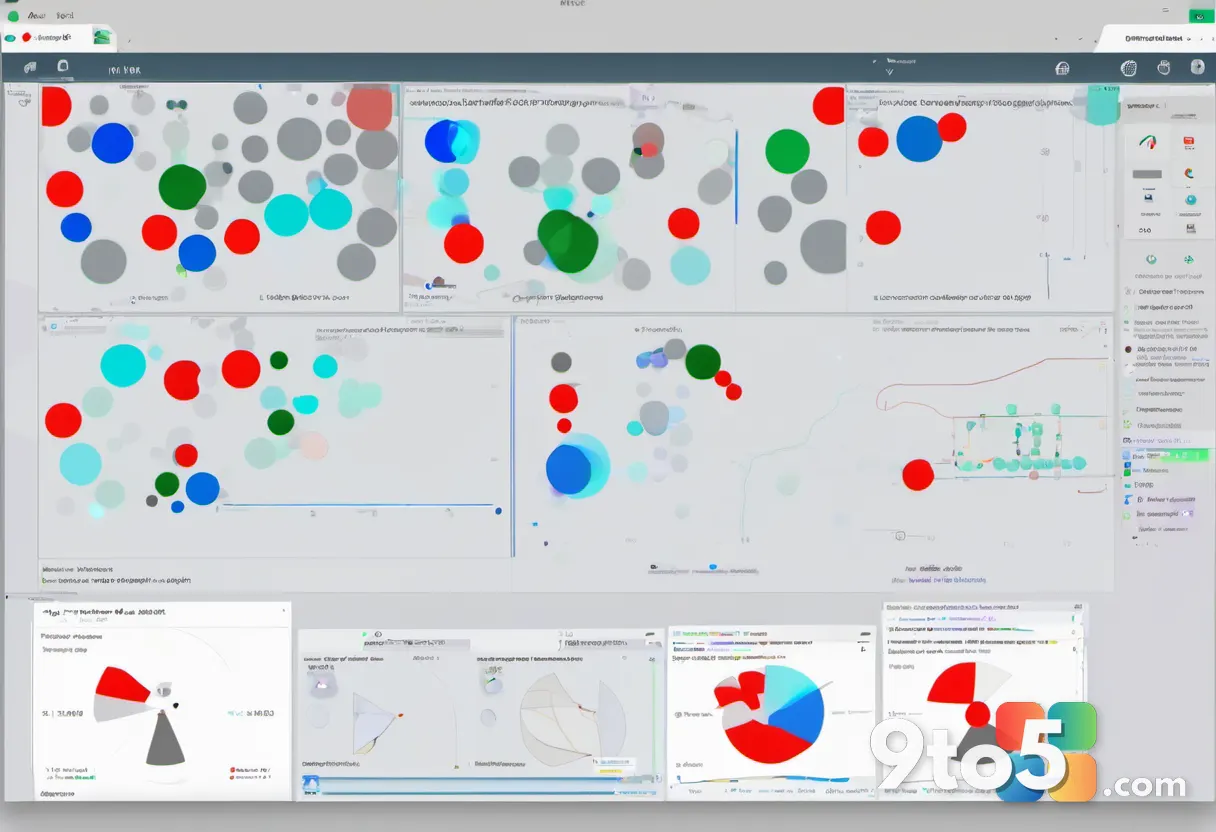
Click Next on the opening screen to accept the default starting point. The wizard explains what each adjustment will do, and it asks you to begin with the monitor’s own physical buttons to set a neutral baseline before software takes over.
Read the warning screen that follows, which reminds you that the built-in tool cannot perfectly match every panel. Click Next to continue once you are ready. This step matters because it sets expectations and prevents you from over-adjusting later.
Step 3: Adjust gamma
Move the gamma slider until the dots in the middle circle disappear. The screen shows two overlapping circles of dots: a red-green-blue set on the left and a gray set on the right. Your goal is to blend the colored dots into the gray dots so they become invisible.
Gamma controls the brightness of midtones, so getting it right makes images look natural rather than washed out or too dark. If the dots never fully disappear, that is normal—set the slider as close as you can and move on. Use the mouse wheel or the slider handle, whichever feels more precise to you.
Pro Tip: Rest your eyes on the screen for a few seconds between adjustments, then look again, so you judge the dots fresh instead of straining until your eyes adapt.
Step 4: Tune brightness and contrast
Use your monitor’s physical buttons to adjust brightness and contrast, not the Windows sliders. The wizard shows a screen with a light gray box inside a darker gray background. Adjust brightness until the inner box barely blends into the surrounding area, then adjust contrast to separate them.
This step uses the buttons on your actual monitor or in its on-screen menu, which is why the built-in tool relies on hardware controls here. Most monitors have a Menu, Plus, and Minus button, or a single joystick. If you cannot tell the difference between the two grays, sit back a few feet from the screen and look at the whole image at once.
Step 5: Set the point bar
Adjust contrast again until the white dot sits on the far right of the point bar. The wizard now shows a horizontal bar with a scale and a single white dot. You want the dot to align with the rightmost position, which represents the brightest white the panel can produce.
This locks in your white point so the rest of the calibration has a reference. If the dot will not stay put, double-check that you finished the contrast step in the previous screen. Click Next when the dot is as far right as you can set it.
Step 6: Balance the red, green, and blue colors
Drag the red, green, and blue sliders until the colored squares match the reference squares. The wizard displays pairs of squares for each color: one is your current output and one is the target. Move each slider until your square visually matches the reference.
This color balance corrects any warm or cool tint your panel may have, giving you more accurate skin tones and natural-looking images. Start with red, then green, then blue, and go back and forth if the colors seem to shift as you adjust. There is no perfect answer here, so aim for the closest match your eyes can judge.
Quick Tip: If your monitor has a preset called “sRGB” or “Standard” in its own menu, select it before starting, since that gives the wizard a neutral canvas to work from.
Step 7: Finish and save your profile
Click Finish, then check “Enable advanced color settings” to save the calibration. The wizard writes a new color profile to Windows and applies it to your display immediately. You can always reopen the tool later to review or reset the changes.
If the colors look too aggressive after finishing, open the tool again and click Reset calibration to return to the defaults. Your new profile is stored with Windows and will load each time you sign in, so you do not need to repeat the process.
Troubleshooting common calibration problems
The calibration tool will not open. If searching for it returns nothing, press Win + R, type dccw.exe, and press Enter. If that fails, confirm your display driver is up to date through Device Manager, since a missing or generic driver can hide display tools. Restart your PC after updating the driver and try again.
Colors look worse after calibration. This usually means you over-adjusted gamma or contrast. Reopen the tool and click Reset calibration, then work more slowly through each slider. Remember that the monitor’s own buttons still matter, so make sure you did not leave it in a dramatic preset like “Vivid” or “Game” mode.
The profile does not stick after a restart. If your colors reset each time you sign in, the profile may not have saved correctly. Open Settings, go to System > Display > Advanced display, and confirm your monitor is the one selected at the top of the page. On multi-monitor setups, you may need to calibrate each screen separately, since each one gets its own profile.
Extra tips for keeping colors accurate
Re-calibrate a few times a year. Monitor panels slowly shift as they age, so a yearly check keeps colors consistent over time.
Consider a hardware calibrator for professional work. Devices like a colorimeter read your actual panel and build a precise ICC profile, which the built-in wizard cannot match. This is the right move for photo editing, video grading, or print work.
Use the advanced color settings for finer control. After calibrating, you can tweak the gamma and color balance numbers directly from the Advanced display settings page without rerunning the whole wizard.
With these steps, your Windows 11 display should show colors that are more accurate, balanced, and comfortable to look at for longer sessions.
Over to you: Did calibrating your display make a noticeable difference to how your colors looked?