Windows 11 updates usually improve performance and security, but occasionally a fresh update leaves your Wi-Fi adapter unable to connect. You might see a ‘no internet’ icon, a network that refuses to authenticate, or a Wi-Fi option that vanishes entirely from Settings. This problem typically stems from a driver that no longer matches the new system files, corrupted network configuration, or a temporary software glitch introduced during the update.
The good news is that most Wi-Fi problems after a Windows 11 update resolve without reinstalling Windows or buying new hardware. Work through the steps below in order, starting with the quickest fixes. Each solution builds on the last, so try them one at a time and test your connection after finishing.
Before You Start: Write down your Wi-Fi network name and password before making changes. A network reset will erase saved networks, so having the password ready saves time later. If you have a wired Ethernet connection, plug in now so you can download driver updates while troubleshooting wireless.
Step 1: Restart your PC
Hold the power button for about five seconds, then press it again to turn the PC back on. A restart clears temporary memory and reloads driver files that the update may have left in a half-applied state. After Windows finishes booting, click the Wi-Fi icon in the taskbar and try to reconnect to your network. If the connection still fails, move on to the next step instead of restarting a third time.
Step 2: Run the Windows Network Troubleshooter
Open Settings with Win+I, go to Network & Internet, and select Network Troubleshooter. Windows scans your adapters, DNS, and proxy settings, then reports what it found and suggests a fix. Click ‘Apply this fix’ when it offers one, then wait for the scan to finish. If the tool says it found nothing or the problem returns immediately, the issue lives deeper than a basic config error.
Step 3: Confirm Wi-Fi and Airplane Mode
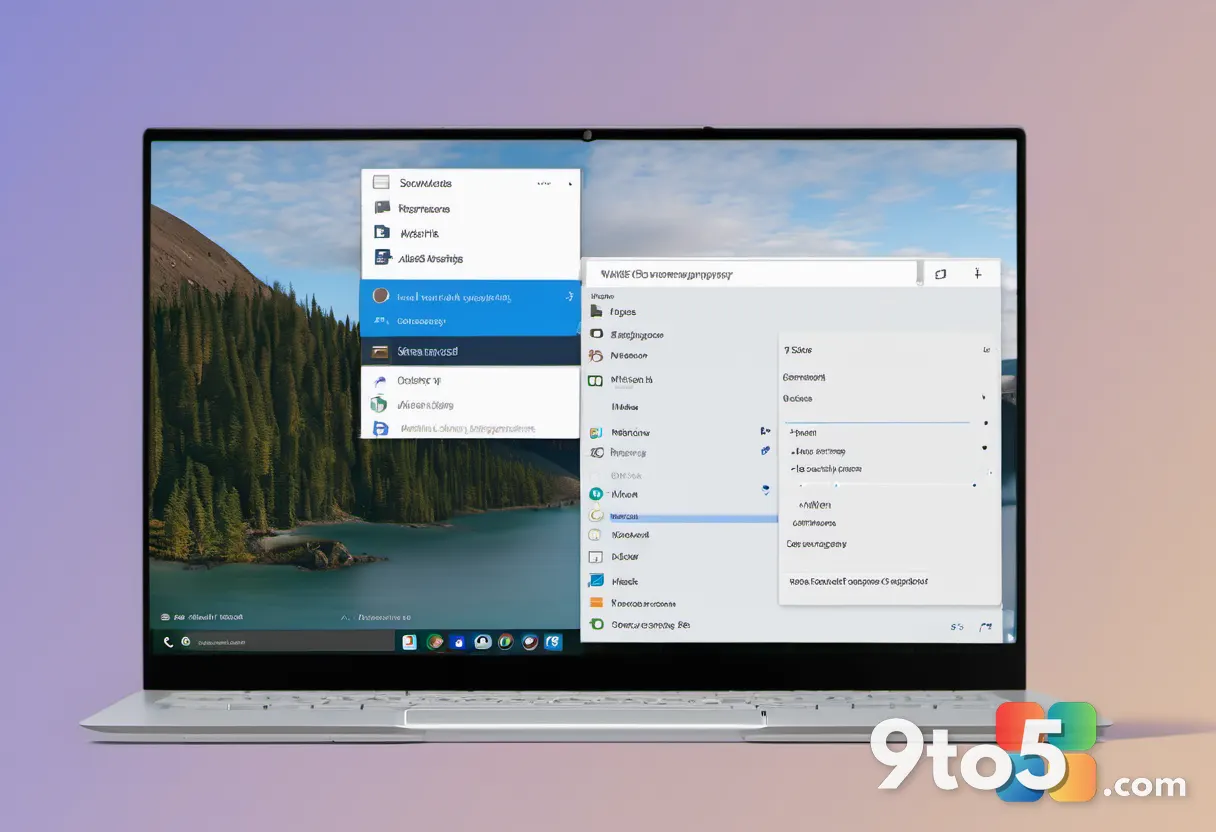
Press Win+N to open Quick Settings and check that Wi-Fi is on and Airplane mode is off. Sometimes an update toggles these settings, or a laptop’s function key disables the wireless radio entirely. Look for a Wi-Fi icon that is highlighted or white, which means it is active. If Airplane mode is on, click it to turn it off and watch for the list of available networks to reappear.
Step 4: Restart the Wi-Fi network adapter
Right-click the Start button and choose Device Manager, then expand Network adapters. Find your wireless adapter, which usually contains words like ‘Wi-Fi’, ‘Wireless’, ‘Intel’, ‘Realtek’, or ‘Qualcomm’. Right-click it and select ‘Disable device’, wait three seconds, then right-click again and choose ‘Enable device’. This forces Windows to reinitialize the hardware without touching your saved settings. If the adapter is missing from the list entirely, see Step 6 for a driver reinstall.
Step 5: Forget and reconnect to your network
Open Settings to Network & Internet > Wi-Fi, click Advanced network settings, then Manage known networks. Select your problem network and click ‘Forget’, which clears any corrupted profile the update may have conflicted with. Return to the Wi-Fi list, click the network again, enter your password, and reconnect. This clears stale credentials and refreshes the connection handshake.
Step 6: Update or roll back the network driver
In Device Manager, right-click your Wi-Fi adapter and choose ‘Update driver’, then ‘Search automatically for drivers. If Windows finds nothing newer, the update may have installed a broken driver, so try ‘Roll Back Driver’ instead, which is available on the Driver tab when an older version exists. You can also visit your laptop or adapter maker’s website and download the latest driver manually. After installing or rolling back, restart the PC and test the connection.
Pro Tip: If updating the driver did not help, choose ‘Uninstall device’ in Device Manager and tick the box to remove the driver software, then restart. Windows reinstalls a fresh copy on boot, which clears corruption that updates and roll-backs cannot fix.
Step 7: Run the System File Checker
Open Command Prompt as administrator by pressing Win+X and selecting Terminal (Admin) or Command Prompt (Admin). Type sfc /scannow and press Enter to scan and repair corrupted Windows system files that the update may have damaged. The process takes several minutes, so let it reach 100 percent before doing anything else. If it reports that it fixed files, restart your PC and check Wi-Fi again.
Step 8: Reset network settings (last resort)
Go to Settings > Network & Internet > Advanced network settings, then click Network reset > Reset now. This restores all network adapters and settings to their factory defaults and reinstalls drivers, which clears stubborn conflicts left by an update. Windows will restart automatically about five minutes later, and you will need to re-enter your Wi-Fi password afterward. Use this step only after the others fail, since it is the most disruptive.
Troubleshooting: Common Problems and Fixes
The Wi-Fi adapter is missing from Device Manager. Expand ‘Network adapters’ and also check ‘Adapters’ under ‘View > Show hidden devices’. If the adapter still does not appear, it may have been disabled in the BIOS. Restart, enter BIOS (usually by pressing F2 or Del at boot), and confirm the wireless or WLAN module is enabled.
The driver update says ‘the best drivers are already installed.’ Windows may be using a generic Microsoft driver that conflicts with the update. Download the exact driver from your manufacturer’s website instead, matching your adapter model and Windows 11 version, then install it manually.
You connect but have no internet access. Run netsh winsock reset and netsh int ip reset in an admin Command Prompt, then restart. These commands repair the socket and IP configuration that updates sometimes corrupt, restoring your path to the internet.
Closing Tips
Start each troubleshooting session with the quickest fix and only escalate when a step proves ineffective. Keep a copy of your Wi-Fi password and note which driver version was working before the update, so you can roll back quickly if a new update breaks things again. On enterprise or managed devices, contact your IT department before running a network reset, since it can remove company-installed VPN and connection profiles.
Quick Tip: Pause updates for a week if a brand-new Windows 11 update coincides with your Wi-Fi failure, since Microsoft often releases a follow-up patch that restores broken drivers.
Work patiently from top to bottom, and in most cases your wireless connection returns before you reach the network reset. Keep this guide bookmarked so you can repeat the winning steps next time an update causes trouble.
Over to you: Which single fix finally restored your Wi-Fi after a Windows 11 update, and would you share the steps you tried?