Xbox Game Bar is a built-in Windows 11 utility that lets you capture gameplay, take screenshots, and record clips without installing any third-party software. It ships with the operating system, works with most full-screen and borderless windowed games, and can even record apps and your desktop when you opt in. This guide walks you through every step of recording gameplay with Xbox Game Bar, from opening the overlay to locating your saved clips on the drive.
Whether you want to save an epic win, record a tutorial for a friend, or capture footage for a video, Game Bar gives you a fast, no-frills way to do it. Below, we cover opening the overlay, tuning your recording settings, starting and stopping captures, and troubleshooting the issues that trip up most users.
Before You Start
- Make sure you are running Windows 11 (version 22H2 or newer is recommended).
- Xbox Game Bar works on Windows 11 Home, Pro, and Enterprise editions.
- Launch your game or app in full-screen or borderless windowed mode for the best results.
- Free up a few gigabytes of storage on your drive, since recordings can fill disk space quickly.
- (Optional) Connect a microphone or headset if you want to record voice commentary.
If you are unsure whether Game Bar is installed, open the Start menu and search for “Xbox Game Bar.” If it appears in the results, it is ready to use.
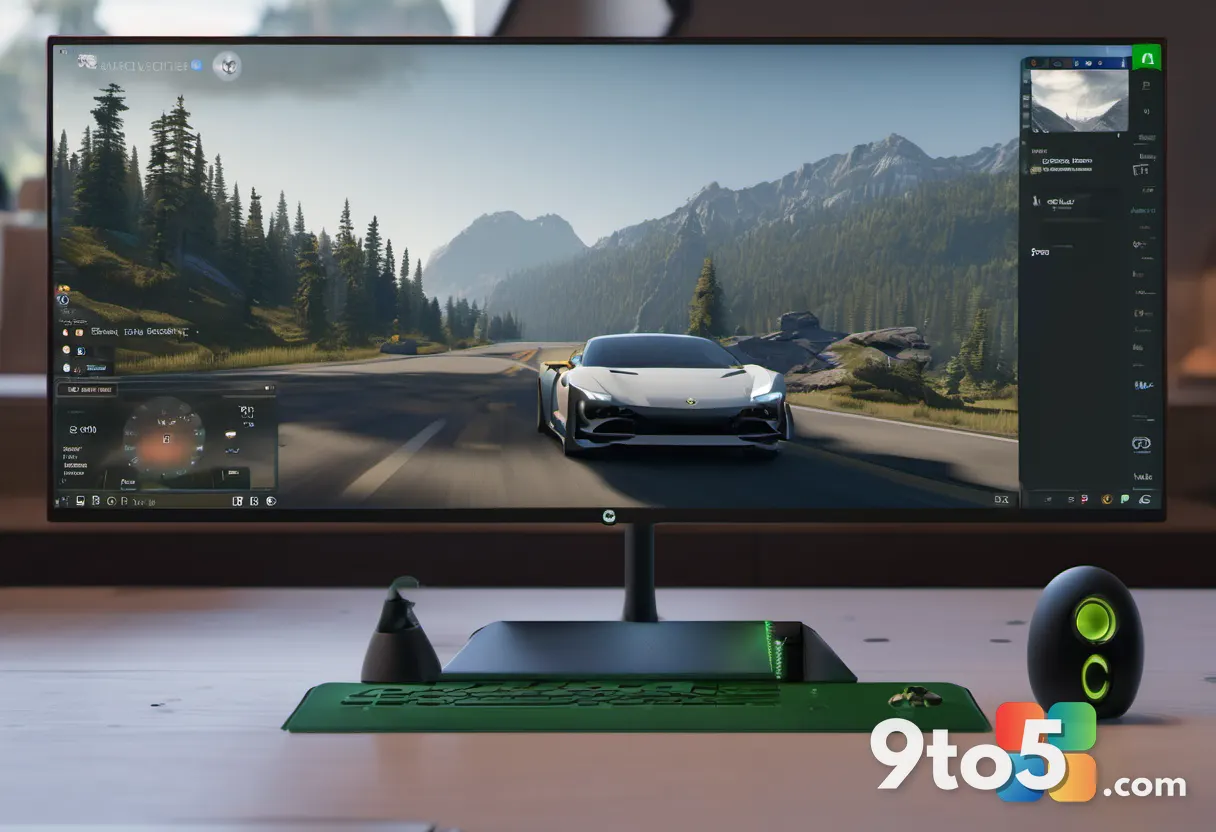
Step 1: Open Xbox Game Bar
Press Windows key + G together. This keyboard shortcut launches the Game Bar overlay on top of whatever is currently on your screen. You should see a translucent panel appear with a row of widgets showing system info, audio controls, and a Capture widget.
If nothing appears, the overlay may be disabled in Settings. Open Settings and search for “Xbox Game Bar,” then confirm that “Enable Xbox Game Bar for playing, recording, and broadcasting with your controllers” is turned on.
Step 2: Confirm That This Is a Game
Look for the “Yes, this is a game” prompt and check the box. When you launch Game Bar for the first time in a session, Windows shows a checkbox asking whether the app you are using is a game. Checking this box tells Game Bar to treat the window as a game, which unlocks recording and lets the overlay stay visible.
If you skip this step, the overlay may disappear or recording may be blocked. Tick the box and the prompt goes away for the rest of your session.
Step 3: Configure Your Capture Settings
Click the Settings gear on the Capture widget. This opens a menu where you can adjust how recordings are saved. Here you can set the default microphone, choose whether to capture system audio, and pick a recording location.
Scroll down to the recording options to set the resolution and frame rate. You can choose from options like 1080p at 60 fps, or a lower setting if your hardware struggles. Recording at a lower resolution saves disk space but reduces quality, so match the setting to your PC’s capabilities.
Pro Tip: If you only ever record short clips, switch your capture location to a drive with plenty of free space. Long recordings fill up your main drive fast, so pointing Game Bar at a secondary SSD or HDD keeps your system drive from running dry.
Step 4: Start Recording Your Gameplay
Click the Record button on the Capture widget, or press Windows key + Alt + R. The button turns red with a recording timer once it is active, confirming that Game Bar is capturing everything on screen.
By default, Game Bar records the current window rather than your entire desktop. This means the recording focuses on your game and ignores notifications or other apps popping up in the background. If you want to capture a specific moment, keep an eye on the timer so you know exactly when the clip starts and ends.
Step 5: Take a Screenshot While Playing
Press Windows key + Alt + Print Screen to snap a screenshot. Game Bar saves the image to your Captures folder and flashes a small notification in the corner to confirm it was captured.
You can also click the Camera icon on the Capture widget to take a screenshot from the overlay. Screenshots are handy for grabbing a single frame without saving a full video clip, and they take up far less storage space.
Step 6: Stop the Recording
Press Windows key + Alt + R again, or click the Stop button on the Capture widget. The recording stops immediately, and Game Bar saves the clip to disk. A notification appears confirming that your capture was saved.
If you forget to stop manually, Game Bar keeps recording until you stop it or close the game. There is no automatic cutoff, so make a habit of stopping the capture when your moment is over to avoid filling your drive.
Step 7: Find and Manage Your Recordings
Click the Camera icon on the Capture widget, or open the Videos \ Captures folder. The Camera icon shows a thumbnail gallery of your recent clips right inside Game Bar, so you can review them without leaving your game.
To access the files on your drive, open File Explorer and navigate to C:\Users\YourName\Videos\Captures. From there you can rename, move, or delete clips, or import them into a video editor. Each recording is saved as an MP4 file, which most editing tools and media players can open without extra codecs.
Troubleshooting Common Recording Issues
If Game Bar is not capturing what you expect, check these common problems before assuming the tool is broken.
- Recording does not start: Make sure Game Bar is enabled in Settings and that you checked the “This is a game” box. Some apps, especially those with anti-cheat protection, block recording. Try launching the game in borderless windowed mode instead of exclusive full-screen.
- No audio in the recording: Open the Capture widget and confirm the microphone and system audio levels are not muted. If you do not see audio controls, click the arrow at the bottom of the Capture widget to expand it.
- Game Bar crashes or freezes: Restart the Xbox services. Press
Windows key + X, select Terminal (Admin) or Task Manager, and restart the “Xbox Accessory Management Service” and “Xbox Game Overlay” processes. Updating Windows and the Xbox app can also resolve crashes. - Clips are missing or empty: Verify your capture location has free space. If the drive is full, recordings may fail silently. Change the capture location in the Capture widget settings to a drive with room.
Final Tips for Better Recordings
Keep a few gigabytes of free storage available. Recordings are large, and a short clip can use hundreds of megabytes. Planning your storage prevents interrupted captures.
Use borderless windowed mode when possible. Some games only allow recording in this display mode, and it also makes switching between apps smoother.
Monitor your disk space during long sessions. If you plan to record for an hour or more, keep an eye on free space so you do not lose footage to a full drive.
Over to you: What’s the first thing you’re going to record with Xbox Game Bar?