Input lag is the delay between pressing a key or moving your mouse and seeing the result appear on screen. In a fast-paced competitive shooter or fighting game, even a few milliseconds can decide whether you win or lose a gunfight. Windows 11 ships with features that prioritize multitasking and visual polish over raw responsiveness, and those features quietly add latency to your inputs. The good news is that most of these settings can be tuned without editing the registry or buying new hardware. This guide walks you through the most effective tweaks, in the order that tends to produce the biggest gains.
Before You Start: Close every game and background app before making these changes so you can see the true baseline performance. If you play on a laptop, plug it into wall power, because most laptops throttle the CPU and GPU on battery. The steps below apply to Windows 11 across all editions, though a few settings like the power plan and GPU scheduling behave slightly differently on Windows 11 Pro and Enterprise.
Step 1: Turn on Game Mode
Press Win + I to open Settings, then navigate to System and click Game Mode, and switch the toggle to On. Game Mode tells Windows to prioritize your game over background tasks, which helps keep the CPU and GPU focused on what is on screen. You will see a single toggle switch at the top of the page; Windows usually remembers this choice for future sessions. If the toggle is already on, leave it enabled, because turning it off lets other apps steal resources mid-game.
Step 2: Set your display to its maximum refresh rate
Go to System > Display > Advanced display, then open the refresh rate dropdown and pick the highest number available. A higher refresh rate means your screen draws more frames per second, which shortens the time between your input and what you see. You will see options like 60Hz, 144Hz, or 165Hz depending on your monitor. If the high options are missing, your graphics driver likely needs updating, or you may be using a cable like an older HDMI port that cannot carry the full rate; a DisplayPort cable usually solves this.
Step 3: Enable Hardware-Accelerated GPU Scheduling
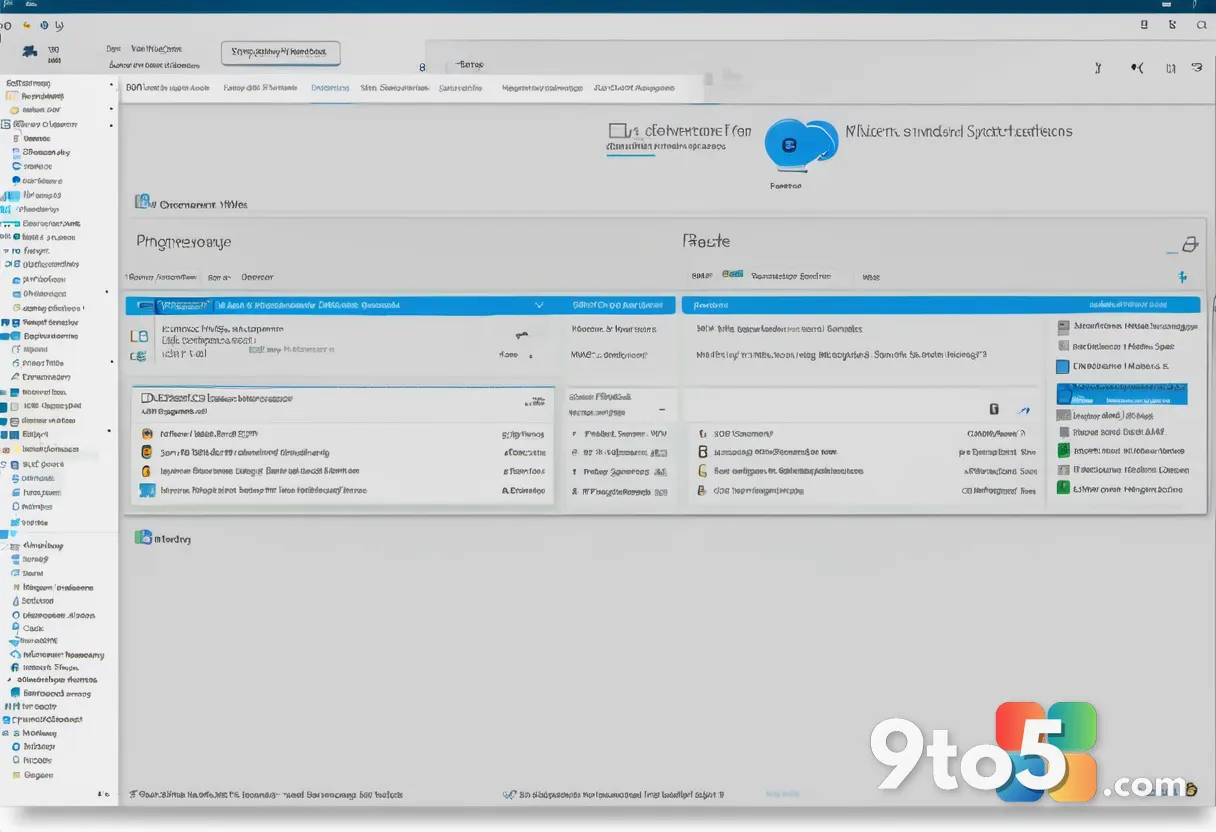
On that same Advanced display page, click the GPU scheduling dropdown and switch it to On, then restart your PC. This feature lets the GPU manage its own memory instead of the CPU doing the work, which can reduce the time your inputs spend waiting to be rendered. You may not see this option if your GPU is quite old, in which case skip ahead. After the restart, open Task Manager, click the Performance tab, and confirm that GPU scheduling says Enabled under the GPU section.
Step 4: Disable fullscreen optimizations for your game
Find your game’s shortcut or executable, right-click it, choose Properties, open the Compatibility tab, and check the box that says Disable fullscreen optimizations. Windows fullscreen optimization adds a compositing layer that can introduce an extra frame of latency, and turning it off often makes games feel crisper. Click Apply and OK, then launch the game to test. If the checkbox is greyed out, right-click the file again, select Run as administrator, and the option should become adjustable.
Pro Tip: Do this for every competitive game you play, and also for the game’s launcher if it opens in fullscreen. Applying the tweak to the launcher prevents the menu screens from adding latency before the match even begins.
Step 5: Turn off Xbox Game Bar and Game DVR
Open Settings, go to Gaming, then turn Xbox Game Bar Off, and under Capture switch recording to Manual and turn off Record what happened. These features constantly buffer your screen in the background, which uses disk space and CPU cycles that your game would rather have. You will see separate toggles for the Game Bar and for capture settings. If you cannot find them on a managed or corporate machine, check the Group Policy editor, since Windows 11 Pro and Enterprise can disable these features site-wide.
Step 6: Switch to a High Performance power plan
Open the Control Panel, go to Hardware and Sound > Power Options, and select High Performance. The default Balanced plan lets your CPU downclock to save power, which adds a small delay every time the system has to ramp performance back up. You will see the plan listed as a selectable circle. If you only see Balanced, run powercfg -dynamicscheme 8c5e7fda-e8bf-4a96-9a85-a6e23a8c635c in an administrator Command Prompt to unlock the hidden Ultimate Performance plan, which is ideal for competitive play.
Step 7: Clean-install your graphics driver
Download the latest driver directly from NVIDIA, AMD, or Intel, then perform a clean install that removes the old files first. Outdated or corrupted drivers are one of the most common hidden causes of input lag, because poor CPU-to-GPU scheduling stalls your inputs. NVIDIA’s installer offers a Custom install checkbox that includes a Clean install option, and AMD’s offers a factory reset; for a truly fresh start, tools like DDU (Display Driver Uninstaller) remove every trace before you reinstall. If the lag gets worse after an update, use the driver’s rollback option to return to the previous version.
Step 8: Configure your GPU control panel for low latency
Open your GPU’s control panel, find the 3D or gaming settings, and set Low Latency Mode to Ultra (NVIDIA) or Anti-Latency Mode to Ultra (AMD). This setting caps how many frames the CPU prepares ahead of time, so your most recent input is rendered sooner instead of sitting in a queue. You will find it under performance or image settings in each vendor’s panel. If the game starts stuttering, dial the option back to Normal or Adaptive, because Ultra can occasionally cause hitches in CPU-heavy titles.
Step 9: Tune your in-game settings for responsiveness
Launch your game, open the video settings, and lower demanding options like shadows, anti-aliasing, and motion blur, then set the display mode to Fullscreen. Rendering fewer details means the GPU finishes each frame faster, which directly lowers latency. You should also cap your FPS to match your monitor’s refresh rate, since uncapped frames beyond that point only add input queue delay without any visible benefit. Borderless windowed mode tends to add latency, so always prefer true fullscreen for competitive matches.
Step 10: Speed up your mouse pointer and reduce smoothing
Go to Settings > Bluetooth and devices > Mouse, click Advanced mouse settings, open the Pointer Options tab, and uncheck Enhance Pointer Precision. This Windows feature artificially smooths your cursor movement, which can throw off your muscle memory and add a subtle delay to where the pointer lands. Set the movement slider to the middle (position 10) for a 1:1 feel, then set the same precision off inside your game’s mouse settings. If you use a gaming mouse, open the vendor software and set the polling rate to 1000Hz so the report sends data to your PC ten times per second.
Step 11: Kill background apps and quiet notifications
Open Settings > System > Startup, disable the apps you do not need, then go to System > Notifications and turn on Focus Assist during games. Background programs like cloud sync tools, chat apps, and browser tabs consume CPU and disk bandwidth, which can cause tiny hitches that feel like input lag. You will see a list of startup apps with individual toggles. If your game still hitches intermittently, press Ctrl + Shift + Esc to open Task Manager, sort by CPU, and close whatever is spiking.
Troubleshooting: Common Problems and Fixes
If your input lag does not improve, these are the failures you are most likely hitting and how to resolve them.
- Input lag persists even though your FPS looks fine. This usually means the bottleneck is not frame rate but the render queue or display path. Re-check that you are running in true fullscreen (not borderless), confirm the refresh rate is set to its maximum, and verify your Low Latency Mode is on Ultra. Also test with a different USB port, since a weak or shared USB hub can slow your mouse and keyboard reports.
- Screen tearing appears after enabling GPU scheduling. This is common when variable rate shading or VRR is not configured. Enable G-Sync (NVIDIA) or FreeSync (AMD) in both your monitor’s on-screen menu and the GPU control panel, and make sure your game’s refresh rate matches the monitor. A small amount of tearing is normal with these features on; the latency benefit outweighs it.
- The game stutters intermittently rather than feeling consistently laggy. Intermittent stutter points to background activity or storage limits, not input lag per se. Close startup apps, make sure your game is installed on an SSD rather than a hard drive, and check that your GPU temperatures are not causing thermal throttling. Open Task Manager during play to see which process is spiking and disable or uninstall it.
Final Tips for Lasting Low Latency
Make these changes one at a time when possible, so you can tell which tweak actually helped your specific setup. Keep your graphics driver updated, but if a new version causes problems, roll back to the previous stable build. Consider a wired mouse and Ethernet connection over Wi-Fi, because wireless peripherals and network jitter can add their own latency on top of Windows settings. Finally, remember that no amount of software tweaking can overcome a monitor or PC that is fundamentally too slow for competitive play, so budget for hardware upgrades if you have exhausted every option.
Over to you: Which of these tweaks made the biggest difference to your aim and response time?