The Windows 11 Photos app does far more than display your pictures. It bundles a full set of editing tools and organization features that keep your library tidy without installing extra software. You can crop, adjust lighting, apply filters, tag faces, and sort images into albums and collections, all from one place.
This guide covers both the consumer version found on Windows 11 Home and Pro, plus the Enterprise edition, which ships the same core app with a few managed-feature differences. Follow the steps in order, and you will be editing and organizing like a pro by the end.
Step 1: Open the Photos app
Press the Windows key, type Photos, and press Enter. The Search box finds the app by name and launches it in about a second. You can also pin it to your taskbar later by right-clicking its icon and choosing Pin to taskbar.
If the app fails to open, look for the Microsoft Store icon next to it. A missing or broken install usually shows up there, and tapping it opens the page where you can reinstall or update the app.
Step 2: Get familiar with the main interface
Take a moment to read the left sidebar and the top ribbon. The left pane lists your photos by date, albums, and collections. The top ribbon reveals editing tools only when you open an image, so keep it hidden until you need it.
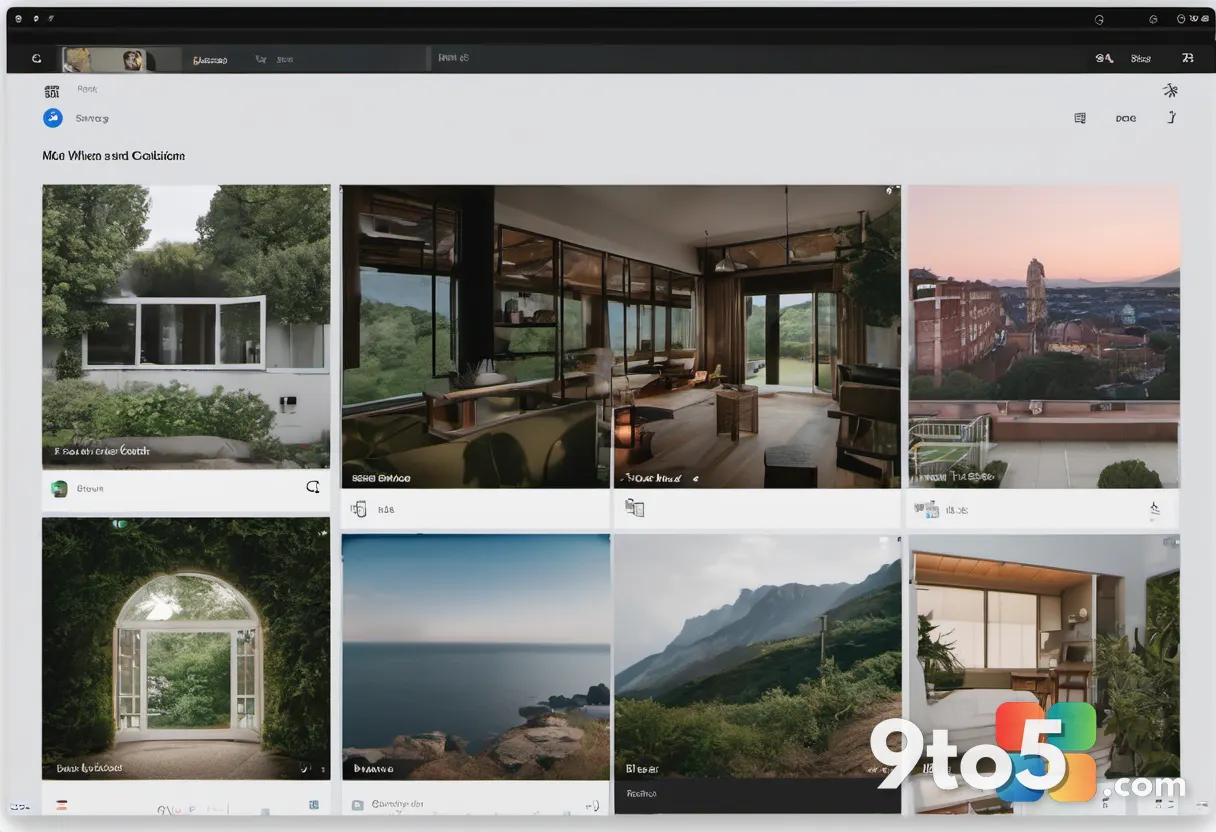
When you first open the app, you will see a grid of thumbnails sorted by day. Scroll slowly to feel how the library is organized before you start making changes, since editing works best once you know where each picture lives.
Step 3: Open a photo you want to edit
Double-click the thumbnail of the picture you want to work on. The image opens in the editor, and the ribbon at the top switches to show your editing options instead of the library view.
If nothing appears when you click, the file may be in a format the app does not recognize, such as certain RAW or HEIF files. In that case, open the file with a different viewer or convert it to a JPEG first.
Step 4: Use Auto-fix to improve a photo instantly
Tap the Auto-fix button on the ribbon to let the app balance exposure and color. This tool reads the image and applies a mild correction to brighten shadows, tame highlights, and neutralize color casts without any input from you.
After the fix runs, compare the result to the original by tapping the checkmark to keep it or the arrow to discard it. Auto-fix is ideal for quick snapshots that only need a small boost, but it will not fix a badly composed shot.
Step 5: Crop and rotate the picture
Tap Crop & rotate, then drag the handles along the edges of the image. Dragging a corner or side changes the frame, while the rotate button tips the horizon back to level. You can also pick an aspect ratio like 16:9 or 1:1 to force a specific shape.
If your crop looks off, tap Undo until the frame returns to the original. The app keeps each edit as a separate step, so you can adjust the crop multiple times before committing.
Step 6: Adjust lighting and color manually
Tap Edit under the lighting and color section, then move the sliders. You will see controls for exposure, contrast, highlights, shadows, warmth, and tint. Drag each slider left or right and watch the preview update live so you can judge the effect before saving.
Start with exposure, then contrast, and finish with warmth, since those three cover most problems. If a photo looks washed out, nudge the contrast up a little; if it feels too cold, add a touch of warmth.
Pro Tip: Keep a light hand with the sliders. Pushing any single value to the maximum often creates ugly artifacts, while small nudges produce a natural-looking result that still resembles the original scene.
Step 7: Apply a filter for a creative look
Tap Filters along the top, then click a style to preview it. Each filter applies a mood shift, from warm vintage tones to crisp black-and-white conversions. Tap the number slider beneath the filter names to dial the strength up or down before you apply it.
Filters are a fast way to give a series of photos a consistent look, which helps when you are putting together an album. Remember that a filter sits on top of your other edits, so you can still adjust lighting afterward.
Step 8: Save your edits
Tap the checkmark in the top-right corner to save your changes. The app writes the edited version while keeping the original file intact, so you can always start over later. You will see the updated photo replace the thumbnail in your library view.
If the Save button is grayed out, you likely have no changes to commit yet. Make at least one adjustment or crop before you try to save.
Step 9: Create an album to organize photos
Right-click a photo and choose Add to, then pick or create an album. Albums are folders that group pictures by event or theme, such as a family vacation or a project shoot. Choosing Create new lets you name the album before the photos are placed inside it.
You can add the same photo to multiple albums, since albums only store references rather than copies. This keeps your storage lean while still letting one picture appear in several groups.
Step 10: Tag faces so you can find people quickly
Open a photo, tap the faces icon, and assign a name to each person. The app scans the image for faces, and you tap each one to type a name. Once named, that person shows up whenever you search their name across the entire library.
If the app misses a face, tap the plus icon and draw a box around it, then enter the name. Tagging pays off over time, because a well-labeled library lets you pull up every photo of a grandparent with a single search.
Step 11: Delete and restore photos
Select the photos you no longer want, tap Delete, and confirm. Deleted files move to the Recycle Bin instead of vanishing immediately, which gives you a window to change your mind. Open the Recycle Bin, right-click the photo, and choose Restore to bring it back to its original folder.
Photos deleted from the app also appear in the Deleted folder inside the Photos app itself after 30 days. Check that folder if you cannot find a picture in the Recycle Bin, since the two locations keep separate copies.
Troubleshooting common problems
Problem 1: The Photos app will not open. Restart it first by pressing Ctrl+Shift+Esc, finding Photos in Task Manager, and choosing End task. If it still will not launch, open the Microsoft Store, go to Your library, and update the app. A stale or corrupted install is the most common cause, and an update usually clears it up.
Problem 2: Edits disappear or will not save. Make sure you tapped the checkmark to commit the changes, since closing the window without saving discards them. If the app crashes mid-edit, open the file again and check the Recycle Bin, because a crash can sometimes move the working copy there.
Problem 3: Face tagging never finds anyone. This usually happens when the feature is turned off or the library is not indexed. Open the Photos app settings and confirm that face detection is enabled, then let the app finish scanning your folder. A large library can take several minutes to index, so give it time before assuming it is broken.
Closing tips
Work on copies rather than originals whenever a photo is precious, and rely on the Recycle Bin as your safety net. Keep albums organized by event, and tag faces early so later searches stay fast. With these habits, the Windows 11 Photos app handles most editing and organizing needs without any third-party software.
Do you prefer the one-tap Auto-fix tool or manual sliders when editing your photos? Let me know which approach keeps your library looking its best.
Over to you: Do you prefer the one-tap Auto-fix tool or manual sliders when editing your photos?