Microsoft Edge bundles two features that most people never touch: a screenshot tool that captures any web page and a complete set of PDF annotation tools. Both live inside the browser, so you do not need to download third-party apps, sign up for accounts, or deal with clunky add-ons. This guide walks you through capturing a page, drawing on it, and marking up a PDF from start to finish.
These tools work in the standard consumer version of Edge, and the same features are available in Microsoft Edge Enterprise Channel builds used by businesses. Whether you are flagging a clause in a contract or circling a bug on a webpage, you already have everything you need installed.
Step 1: Open the screenshot tool
Press Ctrl + Shift + S on any webpage to launch Edge’s screenshot menu. A small toolbar appears near the top of the page offering three capture options: capture visible area, capture full page, and capture area.
If the menu does not appear, confirm that you are looking at a regular webpage rather than a blank new tab. The shortcut works in both the classic and Chromium-based versions of Edge. You can also click the three-dot menu in the top-right corner, hover over Screenshot, and pick an option from the submenu.
Step 2: Choose what to capture
Click one of the three options to select your capture type. The visible area grabs only what shows on your screen. The full page scrolls and captures the entire document, including long pages that would otherwise need multiple screenshots. The capture area lets you drag a box around a specific section.
When you select the capture area option, your cursor turns into a crosshair. Click and drag to draw a rectangle around the part of the page you want. A preview window opens automatically once you release the mouse, showing you the captured image with a row of editing tools along the bottom.
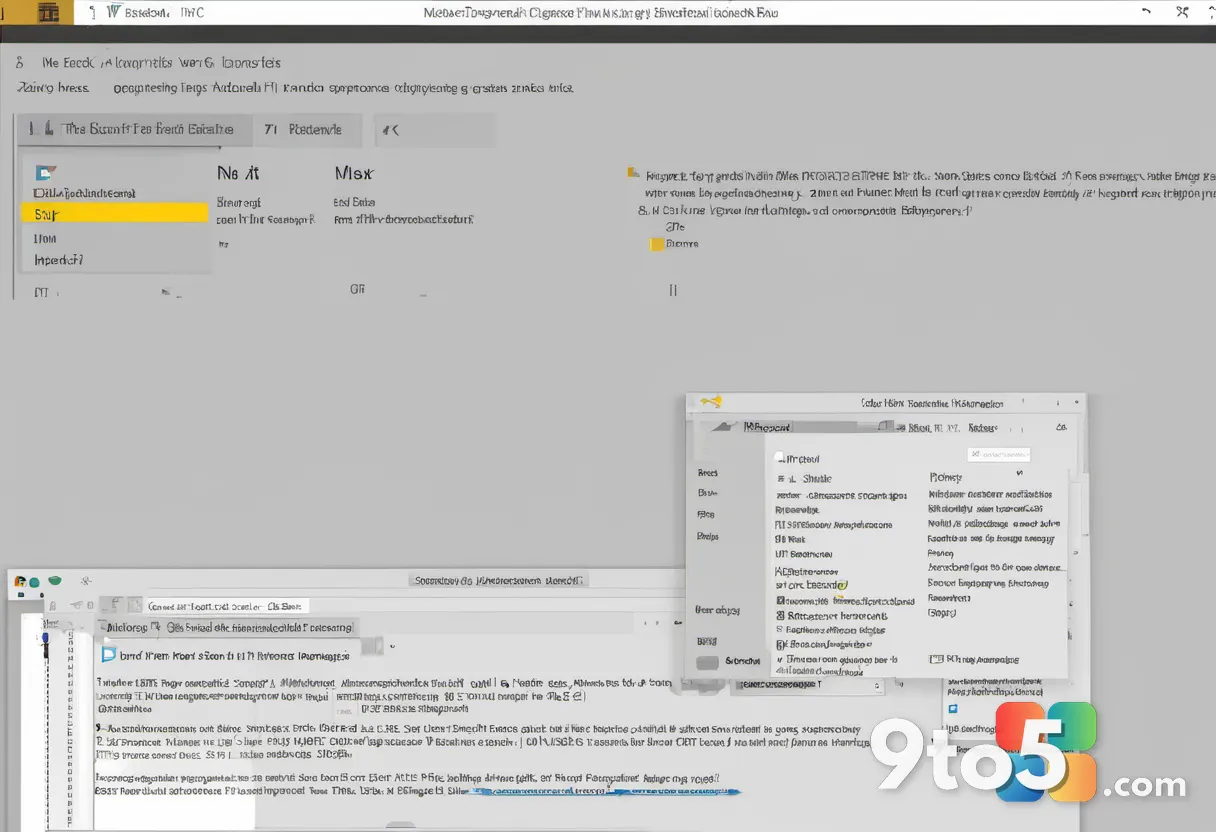
Step 3: Annotate your screenshot
Use the toolbar at the bottom of the preview to draw, highlight, or add text. The pen tool lets you sketch freehand over the image. The highlighter tints a region without fully covering it. The text box lets you type a note anywhere on the screenshot. An eraser removes individual marks, and a trash icon clears everything.
Each tool shows a small color picker and a thickness slider so you can match your markings to whatever you are emphasizing. For example, use a red pen to circle a pricing error and a yellow highlighter to flag a deadline. Once you are happy with the annotations, click Save in the top-right corner of the preview window.
Pro Tip: Press Ctrl + Shift + C to copy a screenshot to your clipboard instead of saving a file. This lets you paste the image directly into an email, chat message, or document without opening a folder first.
Step 4: Save your screenshot
Pick a file format and location when the save dialog opens. Edge offers PNG and JPEG options. Choose PNG when you want the sharpest quality and transparent backgrounds, and pick JPEG for smaller file sizes that are better for email attachments.
The file downloads to your Downloads folder by default. Open File Explorer and navigate to that folder to find your image. If you want to share it right away, you can also click Share on the downloaded file and choose your preferred app or messaging service.
Step 5: Open a PDF in Edge
Double-click a PDF file, or drag it onto an open Edge window. Edge opens the document in its built-in PDF reader, which replaces the need for a separate PDF viewer. You will see a ribbon-style toolbar appear at the top of the document with all the annotation controls.
If your PDF opens in a different program instead of Edge, right-click the file, choose Open with, and select Microsoft Edge. Enterprise users managing default apps can set Edge as the PDF handler through Windows Settings under Apps > Default Apps. The annotation toolbar only appears when the document is actually open inside Edge.
Step 6: Mark up your PDF
Click the drawing tools in the top toolbar to add your annotations. The pen tool draws freehand lines, the highlighter marks text in color, and the text box lets you type notes anywhere on the page. There is also a shape tool for rectangles and arrows, plus an eraser to remove mistakes.
Click the color swatch next to each tool to change its color, and use the thickness slider to adjust line weight. Highlighting works best when you select text directly, while the pen is better for circling or drawing arrows. As you work, Edge keeps a running list of your marks so you can jump between them on multi-page documents.
Step 7: Save your annotated PDF
Click the Save icon in the top-right corner to keep your changes. Edge writes your annotations back into the PDF file, so the markings stay in place whenever you reopen the document. You can also choose Save a copy to keep the original file untouched and create a new annotated version.
If you need to share the file, click the three-dot menu and pick Print or Export to convert it to another format. The annotations are baked into the saved file, so recipients see your highlights and notes without needing Edge installed.
Troubleshooting
The screenshot menu will not open. If Ctrl + Shift + S does nothing, restart Edge and try again. Some keyboard shortcuts can conflict with other software, so check whether a game, screen recorder, or messaging app has claimed the same keys. You can always reach the tool through the three-dot menu instead of using the shortcut.
Your PDF annotations disappear after saving. This usually happens when you saved a copy but kept editing the original, or when you saved to a temporary folder. Confirm you clicked Save (not Save a copy) and reopened the same file you annotated. On network drives or synced folders, wait a few seconds for the file to finish writing before closing Edge.
The annotation toolbar is missing from your PDF. Make sure the document is actually open inside Edge rather than a preview pane in File Explorer. Right-click the file, choose Open with, and select Microsoft Edge. Protected View files downloaded from the internet may also lock editing until you click Enable Editing at the top of the document.
Final tips
Bookmark the screenshot shortcut in your memory, since it is the fastest way to grab a webpage without leaving your browser. Keep PNG for images with text or logos and JPEG for photos to balance quality against file size. For PDFs, use the highlighter for quick flags and the pen for precise circles, and always save a copy when you are unsure whether you want to overwrite the original. With these two toolsets, you can capture, annotate, and share documents without ever leaving Edge.
What annotation tool do you reach for most often when marking up a PDF or screenshot — the pen, the highlighter, or the text box?
Over to you: Which annotation tool do you use most when marking up a PDF or screenshot — the pen, the highlighter, or the text box?