Network discovery is the Windows feature that lets your PC see other devices on your local network and lets those devices see you back. When it’s on, you can share files, printers, and media across your home or office network without manually entering IP addresses or device names. When it’s off, your computer stays invisible to other devices, which some users prefer for privacy or when connected to untrusted networks.
This guide shows you exactly how to turn network discovery on or off in Windows 11. The same settings apply to Windows 11 Home, Pro, Enterprise, and Education editions, so you can follow along regardless of which version you run.
Before You Start
Before you begin, decide which network profile you’re using. Network discovery only works reliably on a Private network. If you’re connected to a Public network, such as a coffee shop or airport Wi-Fi, Windows disables network discovery by default for security. You can switch your current connection to Private during this process if you own and trust the network.
What you’ll need: A Windows 11 PC connected to your local network, and either a mouse or keyboard to navigate the Settings app. No third-party tools or admin rights are required for these steps.
Step 1: Open Settings
Open the Settings app by pressing Win + I on your keyboard. This shortcut launches Windows 11 Settings immediately, saving you from hunting through menus. You can also click the Start button and select the gear icon if you prefer using the mouse. Either way, you’ll land on the main Settings home screen where all your system options live.
Step 2: Click Network & internet
Click Network & internet in the left sidebar. This section controls everything related to your connections, including Wi-Fi, Ethernet, VPN, and mobile hotspot. Once you’re here, you can see your current connection status and reach the settings you need to manage network discovery.
Step 3: Open Advanced network settings
Scroll down and click Advanced network settings. On most Windows 11 builds this appears directly on the Network & internet page. If you don’t see it, look under a “More settings” area near the bottom. This page gives you access to advanced connection options that aren’t visible on the basic network pages.
Step 4: Open Advanced sharing settings
Click Advanced sharing settings near the top of the page. This opens the panel where Windows stores your resource-sharing preferences. You’ll see separate sections for Private and Public networks, along with file and printer sharing controls that work alongside network discovery.
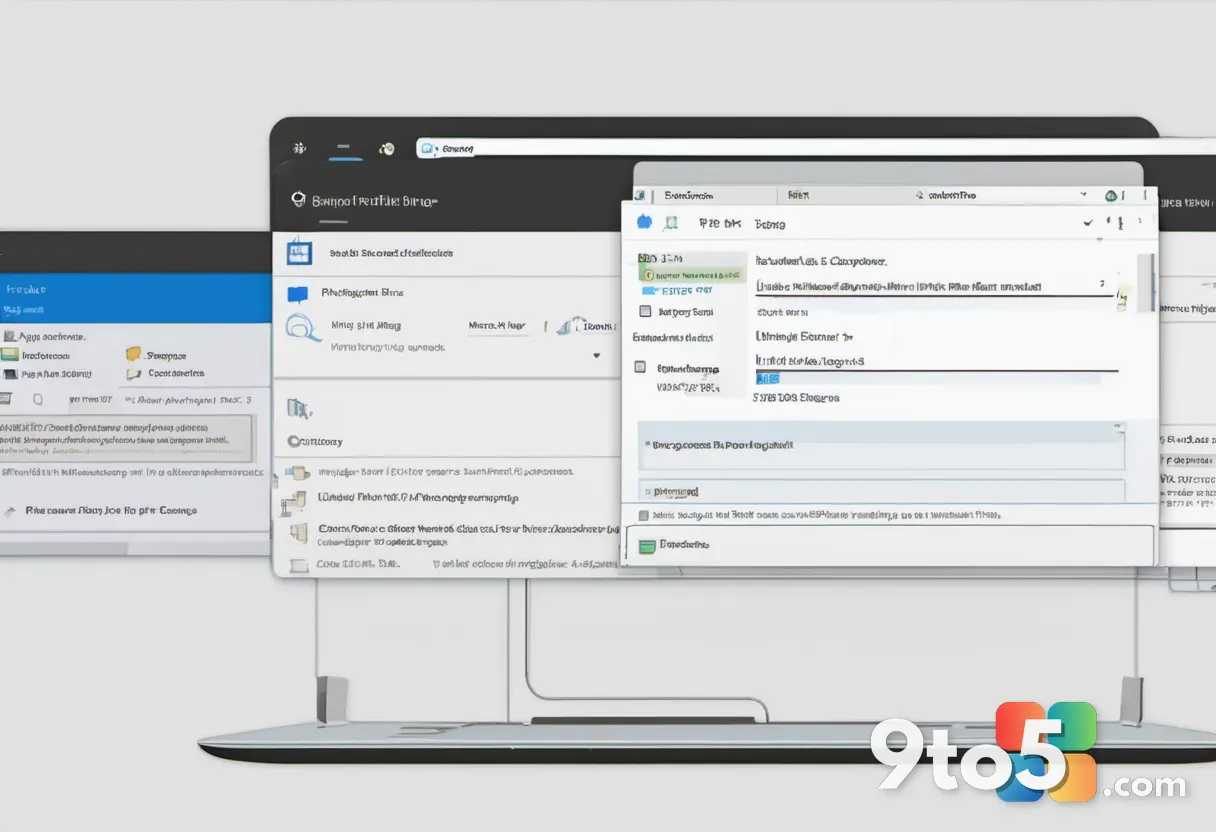
Featured: The Advanced sharing settings panel with the Network discovery section ready to toggle.
Step 5: Locate the Network discovery section
Find the Network discovery section and expand it if it’s collapsed. This section contains the toggles that actually control whether your PC appears on the network. Look for the main “Network discovery” switch and the option directly below it about pinging. If you don’t see it, make sure you’re viewing the Private network column.
Step 6: Toggle Network discovery on or off
Flip the Network discovery toggle to the on position to make your PC visible, or off to hide it. When you switch it on, Windows lets your computer search for other devices and appear in the Network section of File Explorer. When you switch it off, your PC stops broadcasting its presence and other devices won’t see it. Any change takes effect immediately, though already-connected shares may take a few seconds to update.
Step 7: Turn on network discovery pinging
Check the box next to “Turn on network discovery pinging (to find devices and resources)” if you want your PC to actively locate other devices, not merely be found. Pinging lets your computer send out signals to discover printers, media players, and other PCs on the same network. Leave this unchecked if you only want to be found without searching for others yourself.
Pro Tip: Leave the “Use Network Discovery level 3” option enabled if you see it. This setting lets Windows automatically manage home networking components, so new devices connect without extra configuration.
Step 8: Confirm your network profile is Private
If network discovery still won’t work, confirm your network is set to Private. Return to the Network & internet page and click your active connection, either Wi-Fi or Ethernet. Under “Network profile,” choose Private. Public networks force network discovery off for your protection, so switching to Private is required on networks you trust and control.
Troubleshooting network discovery issues
If you’ve followed the steps above but your PC still can’t see or be seen, check these common failure points before assuming something is broken.
- Network set to Public: This is the most frequent cause. Open Settings > Network & internet, click your connection, and switch the network profile to Private. Discovery stays disabled on Public networks on purpose.
- Windows Firewall blocking discovery: A misconfigured or third-party firewall can block the signals devices use to find each other. Open Windows Security > Firewall & network protection, make sure your Private network allows discovery, and temporarily disable any non-Windows antivirus firewall to test.
- Discovery services stopped: Windows relies on background services to publish and find devices. Press Win + R, type
services.msc, and press Enter. Ensure “Function Discovery Provider Host” and “Function Discovery Resource Publish” are set to Automatic and running. Right-click each one, choose Properties, set Startup type to Automatic, and click Start if it’s stopped.
Quick Tip: After changing any setting, restart File Explorer or reboot your PC if discovered devices haven’t refreshed. Press Ctrl + Shift + Esc to open Task Manager, right-click File Explorer, and choose Restart to force a quick refresh.
Final thoughts
Enabling or disabling network discovery in Windows 11 takes only a few clicks once you know where the settings live. Keep it on for home and trusted office networks so you can share files and printers freely, and turn it off when you’re on public Wi-Fi or want extra privacy. Because the option lives under Advanced sharing settings, the path is the same across Windows 11 Home, Pro, Enterprise, and Education.
Featured: File Explorer’s Network section showing devices discovered after enabling network discovery.
Do you keep network discovery turned on or off on your daily driver, and has it ever caused a sharing problem you had to track down? Let us know in the comments.
Over to you: Do you keep network discovery on or off on your daily PC, and has it ever caused a sharing problem you had to fix?