Accidentally deleting an important file is one of the most stressful moments for any Windows user. Whether you cleared out your desktop, emptied a folder by mistake, or hit the Delete key when you meant to press something else, the data is often not gone for good. Windows 11 keeps several built-in safety nets that can restore your files without you installing a single third-party program.
This guide walks you through every recovery method that ships with Windows 11, ordered from the quickest fix to the more thorough options. Follow the steps in order, and in most cases you will have your file back within a few minutes.
Before You Start
Stop using the drive where the file lived as soon as you realize it is gone. Every new file you save, every browser cache write, and every system log entry can overwrite the space where your deleted data still sits. The longer you wait, the lower your chances of a clean recovery.
- Do not install recovery tools onto the same drive that held the lost file.
- Note which folder and drive the file was in, along with its approximate name and file type.
- Confirm whether File History or OneDrive was active before the deletion, since those features change which methods will work.
Step 1: Check the Recycle Bin
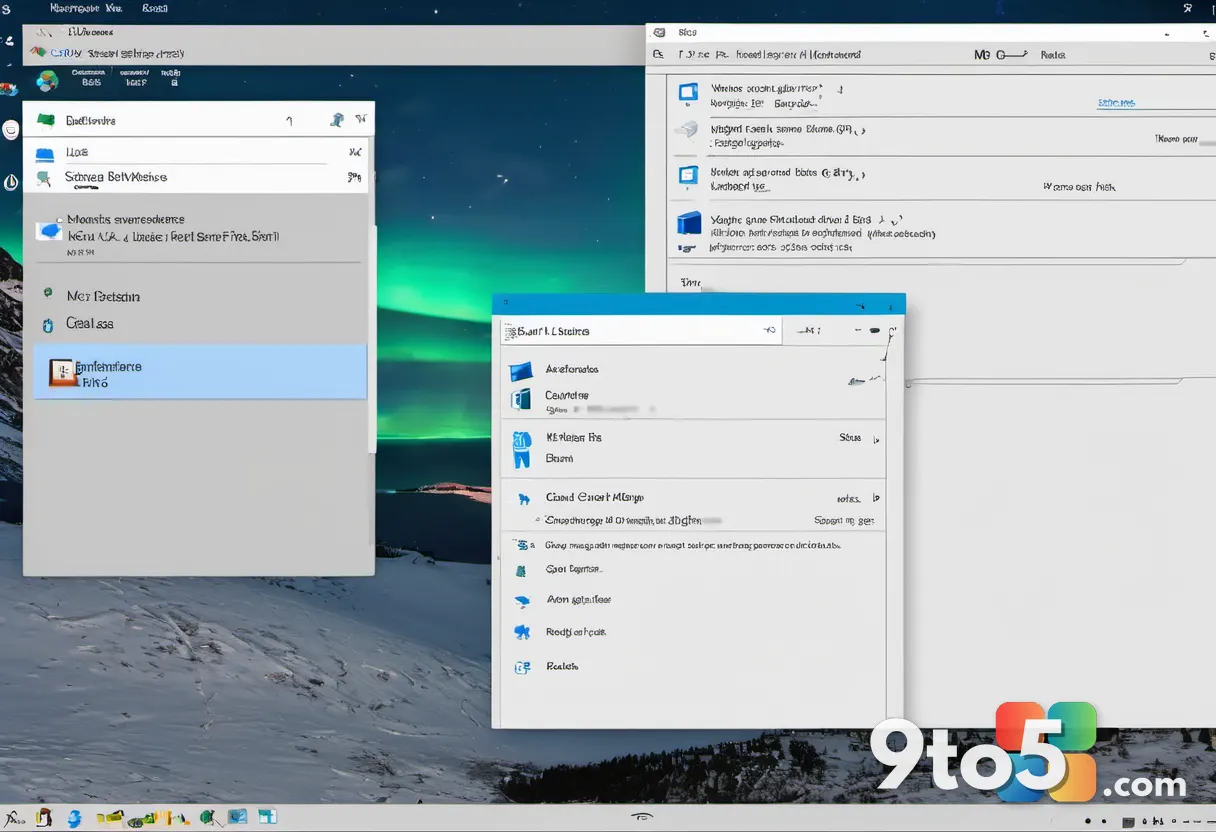
The Recycle Bin is Windows 11’s first and most reliable line of defense. When you press Delete on a file, the operating system moves it there instead of erasing it, which is why most accidental deletions can be undone in seconds.
- Open the Recycle Bin by double-clicking its icon on the desktop, or by searching for “Recycle Bin” in the Start menu.
- Search or scroll through the list to find your file. You can sort by “Deleted on” to see the most recent deletions first.
- Right-click the file and choose “Restore,” or select it and click the Restore button at the top of the window.
Your file returns to its original folder automatically. If the Recycle Bin appears empty, do not panic — files deleted with the Shift+Delete shortcut skip the bin entirely, so you will need the methods below.
Step 2: Restore From OneDrive
If you have OneDrive enabled, Windows may have automatically backed up your Desktop, Documents, and Pictures folders. OneDrive keeps a cloud-based recycle bin that holds deleted files for up to 30 days, or longer if your organization manages the account.
- Open OneDrive by clicking the cloud icon in the taskbar notification area, or by visiting
drive.live.comin your browser and signing in. - Click “Recycle bin” in the left navigation pane (in the web version, find it under your account menu).
- Select the files you want to recover, then click “Restore.” OneDrive returns them to their original locations.
OneDrive also stores version history for files that were edited. Right-click a current version of the file and choose “Version history” to roll back to an earlier save.
Step 3: Use File History to Restore Older Versions
File History continuously saves copies of your personal files to an external drive or network location, but only if you set it up in advance. It is one of the most powerful built-in recovery tools, so it is worth checking even if you are not sure it was enabled.
- Open Settings and navigate to
System → Storage → Advanced storage settings → File History(or search “File History” in Start). - Click “Restore personal files”, which opens a window showing saved copies organized by folder and date.
- Browse to your file, select the version you want, and click “Restore” to bring it back to its original location.
Pro Tip: If you cannot find the File History option in Settings, press Win + R, type control, and press Enter to open the classic Control Panel, where “File History” still lives as a standalone app.
Step 4: Recover With Previous Versions (Shadow Copies)
Windows can keep shadow copies of folders on your drive, letting you restore an earlier version of a file or the entire folder. This feature is more commonly available on Windows 11 Pro, Enterprise, and Education editions, where it ties into system protection.
- Right-click the folder that contained your file (or the folder itself if it was deleted) and choose “Properties.”
- Click the “Previous Versions” tab to see a list of saved snapshots with dates and times.
- Select an older version and click “Open” to inspect it, “Restore” to bring it back, or “Restore to” to place it in a different folder.
If the Previous Versions tab is empty, the feature was not active for that drive. You can enable System Protection later through System Properties → Protection Settings, but it will only create snapshots going forward.
Step 5: Check Temporary and Cache Locations
Sometimes a file is not truly deleted at all — it is sitting in a temporary folder where an application dropped it. Word processors, design tools, and editors frequently save autosave copies in hidden locations that you can search for.
- Open File Explorer and navigate to
%temp%by typing it into the address bar and pressing Enter. - Look for files with recent dates or names that match your lost document. Many temporary files use random names, so sort by “Modified date.”
- Copy any matches to a safe folder before opening them, in case they are partial or corrupted saves.
Also check the folder where your program stores autosave data. For example, Microsoft Office keeps recovery files in a path you can reach through the app’s “Manage Document” options.
Step 6: Restore From a Windows Backup
If you previously used the older Windows Backup and Restore (Windows 7) tool, or a manufacturer-provided backup utility, you may have restore points you can pull from. This option applies mainly to users who have been backing up for a while.
- Open the Control Panel and search for “Backup and Restore.”
- Click “Restore my files” to launch the wizard that walks you through choosing a backup to recover from.
- Follow the prompts to select the files or folders you want and choose where to return them.
Enterprise users with Microsoft Endpoint Manager or a domain backup solution may also have server-side restore options available through their IT department.
Troubleshooting Common Recovery Problems
Even with the right method in front of you, a few snags can block your recovery. Here are the most frequent issues and how to work around them.
- The Recycle Bin is empty. This usually means the file was deleted with Shift+Delete or cleared automatically by Storage Sense. Move straight to OneDrive, File History, or Previous Versions rather than wasting time searching the bin.
- File History has no backups. If the feature was never turned on, there will be nothing to restore. Check whether an external drive was ever connected, since File History only saves while that drive is attached.
- Previous Versions shows nothing. System Protection may be disabled on that drive, which is common on fresh installs. Enable it in the future, but know it cannot recover files deleted before it was active.
- OneDrive recycle bin is empty. Cloud recycle bins expire after 30 days (or 90 days for some business accounts). If the file was deleted longer ago, check the local OneDrive folder or your network recycle bin.
Final Tips to Protect Your Files
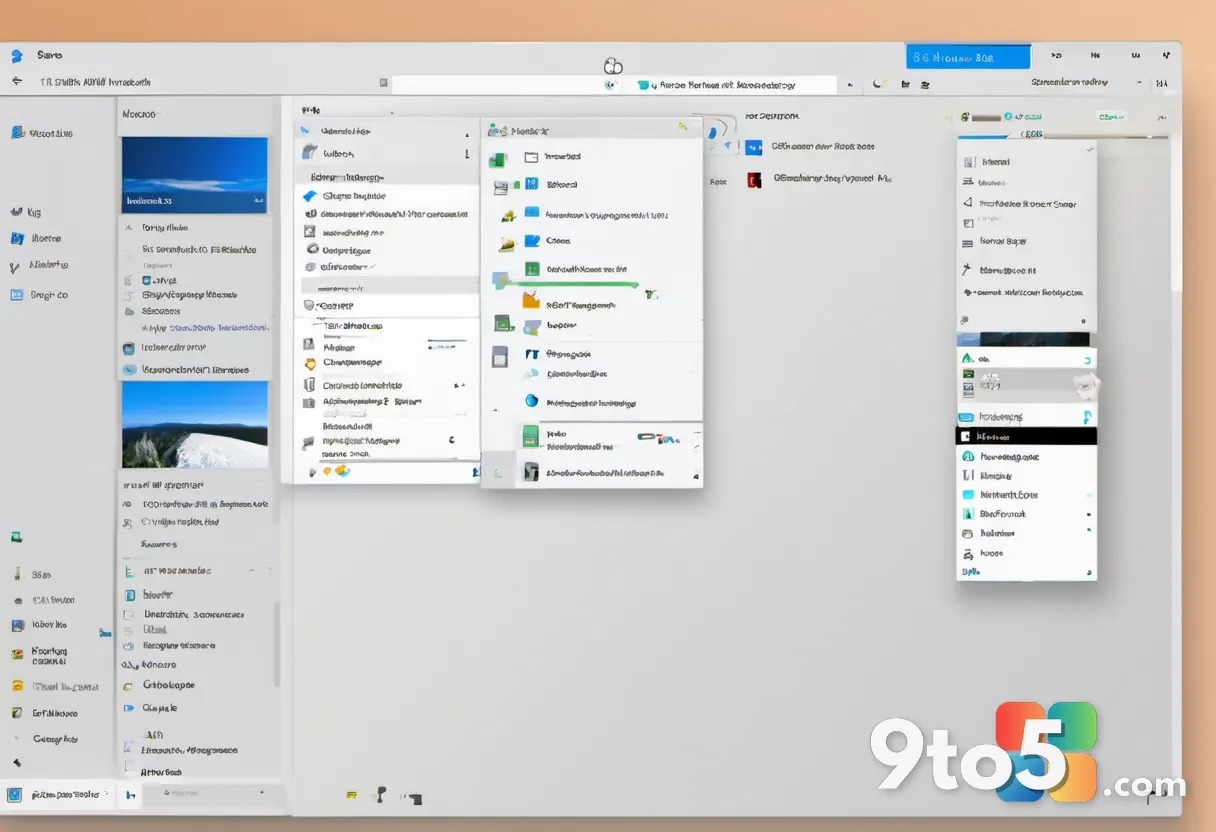
Recovery works best as a backup plan, not a primary strategy. Take a few minutes to set up automatic protection so a future mistake does not become a crisis.
- Turn on File History or a cloud backup now, even if you never need it.
- Enable OneDrive sync for your Documents, Desktop, and Pictures folders.
- Keep regular backups of irreplaceable files on a separate drive that stays disconnected most of the time.
With these methods in your toolkit, an accidental deletion becomes a temporary inconvenience rather than a permanent loss. Which recovery option worked best for you?
Over to you: Which of these built-in recovery methods worked best for your deleted file?