The Windows 11 Start menu can feel cluttered with apps you rarely open and a Recommended section full of files from weeks ago. You did not arrange it this way, yet it is the first screen you see every time you start your PC. The good news is that the Start menu is fully customizable, and you can reshape it in a few minutes. This guide walks you through every setting so the menu reflects the programs and files you actually use.
Before You Start: Make sure you are running a recent version of Windows 11 (23H2 or 24H2). The settings described here also apply to Windows 11 Enterprise and Education editions, though some layout controls on managed work devices may be locked by your IT administrator. You only need a mouse or trackpad, and roughly ten minutes.
Step 1: Open the Start menu
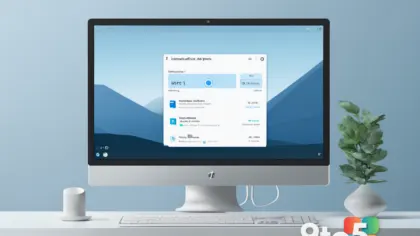
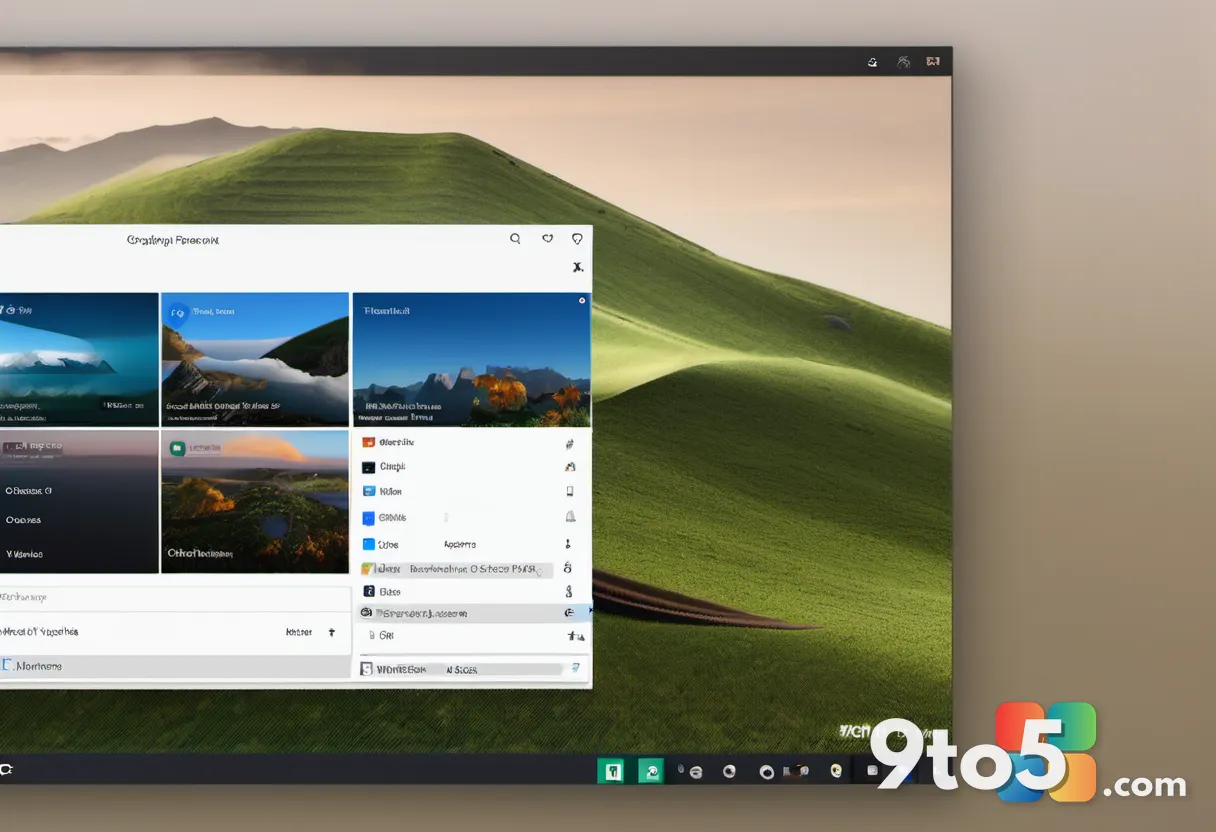
Click the centered Start button on your taskbar, or press the Windows key on your keyboard. Either action opens the Start menu as a centered panel that shows your pinned apps at the top, an All apps list on the right, and a Recommended area at the bottom. Take a moment to scan the menu and note which tiles you tap daily and which gather digital dust. This quick inventory tells you exactly what to keep and what to remove.
Step 2: Unpin the apps you never open
Right-click any tile you do not use and choose Unpin from the menu that appears. The tile immediately disappears from the top row, freeing up space for things you actually want. If you see an app listed under All apps that you never launch, you can unpin it there too, since some apps appear in both places. Remove everything that does not earn a spot, and the menu will start to feel intentional rather than crowded.
Step 3: Pin the apps you use every day
Scroll through the All apps list on the right side of the menu, right-click the program you want, and select Pin to Start. The app instantly jumps to the top row as a new tile, ready with a single click. You can also click and hold an app, then drag it to a preferred spot to arrange your most-used programs in order. Arrange them so the four or five apps you open first sit front and center.
Step 4: Group apps into folders
When your top row gets busy, create folders to keep related apps together. Drag one tile directly on top of another and Windows bundles them into a single folder tile. Name the folder something meaningful, such as Work Tools or Creative Apps, then drop additional tiles into it. Folders prevent the Start menu from looking like a scattered app store while keeping everything one click away.
Step 5: Make your tiles bigger or smaller
Right-click a tile and hover over More, then choose either Show more tiles or Show fewer tiles. Choosing Show more tiles enlarges the icon so labels and live content read clearly, while Show fewer tiles packs more apps into the same space. You can mix sizes by resizing individual tiles, which helps highlight a frequently used program. Adjust these until the layout feels balanced and nothing looks cramped.
Step 6: Trim the Recommended section
The Recommended area at the bottom shows recent files and apps, which many users find distracting. Press Windows + I to open Settings, then navigate to Personalization → Start. Here you will find toggles for Show recent apps in Start, Show most used apps, Show recently added apps, and Show files opened with Microsoft Edge. Turn off any switch that adds clutter, and the bottom of the menu will stay clean and predictable.
Step 7: Choose which apps appear on the apps list
If certain apps keep reappearing on Start even after you unpin them, you can control them from Settings. Go to Apps → Start and scroll to the Choose which apps appear on Start list. Toggle each app on or off to decide whether it shows up in the All apps section. This is especially useful for preinstalled bloatware that Windows keeps trying to surface.
Step 8: Apply a fixed Start layout (Enterprise and Education)
On managed devices, Windows 11 Enterprise and Education can enforce a custom Start layout across many computers at once. An IT administrator configures an XML layout file and deploys it through Group Policy or the StartLayout registry key. If your work PC is managed, you may not be able to change the layout yourself, and that is intentional. Contact your IT department if the menu looks locked or resets after every restart.
Pro Tip: Keep your five most-used apps as individual large tiles and group the rest into folders. This hybrid layout gives you instant access to favorites while hiding the long tail of occasional apps in tidy, labeled folders.
Troubleshooting common problems
The Start menu will not close or responds slowly. Sometimes the Start menu freezes after a Windows update. Press Ctrl + Shift + Esc to open Task Manager, find Windows Explorer in the list, right-click it, and choose Restart. The taskbar blinks and the menu should respond normally again.
Your pinned tiles disappear or reset. This usually happens when a corrupted layout file or a syncing issue wipes your arrangement. Open Settings to Personalization → Start and make sure the Reset Start menu layout option is not accidentally enabled. Re-pin your essential apps, and consider signing in with your Microsoft account so your settings back up and restore across devices.
The Recommended section still shows files you removed. Windows caches recent items, so deleted files can linger for a while. Go to Settings → Privacy & security → Activity history and turn off Store my activity history on this device, then click Clear under Recent files. The Recommended area updates within a few minutes.
Final tips for a cleaner Start menu
Review your menu once a month and unpin anything you have not touched. Resist pinning apps solely because they arrived preinstalled; keep only what serves your daily routine. Use folders for categories and reserve large tiles for true favorites. Once you shape the menu to fit your workflow, you will spend less time searching and more time working.
Over to you: What is the first thing you would unpin from your Start menu today?