Upgrading from a mechanical hard drive to a solid-state drive transforms how your computer feels, but reinstalling Windows and restoring everything from backups takes hours. Cloning your current drive creates an exact copy of your operating system, applications, and personal files on the new SSD. You can boot directly into the fresh drive without touching your existing setup.
Before You Start: You will need the new SSD, a USB-to-SATA adapter or an empty 2.5-inch drive bay inside your PC, and a reliable cloning utility. Make sure the new SSD has at least as much usable capacity as the data currently stored on your old drive. If your old drive shows file system errors, run chkdsk /f in an elevated Command Prompt before beginning.
Step 1: Physically Install the New SSD
Connect the drive to your motherboard or external enclosure. If you are building a desktop, power down the PC, open the case, and secure the SSD in an available drive bay. Attach a SATA data cable to the motherboard and a power connector from the PSU. Laptop users should open the bottom panel, remove the existing drive, and slide the new SSD into the M.2 or 2.5-inch slot. You will see the drive appear in Windows Disk Management once you power on the system, confirming the hardware connection works.
Step 2: Download and Install Cloning Software
Choose a reputable cloning tool and install it on your current Windows 11 drive. Free options like Macrium Reflect Free, Clonezilla, or the manufacturer software that came with your SSD (such as Samsung Data Migration or Crucial Storage Executive) handle the heavy lifting. Run the installer, accept the license agreement, and launch the application. You will see a dashboard listing your connected drives, which tells you the software recognizes both the source HDD and the target SSD.
Step 3: Verify Drive Health and Free Space
Check that both drives report healthy status and meet capacity requirements. Open the drive health tool built into Windows or use the monitoring feature inside your cloning software. You will see current temperature, read/write counts, and partition layouts. If the source drive shows a warning status, the clone might fail midway through. Back up critical files to an external drive or cloud storage before proceeding, because a failing source drive can drop connections during the write process.
Step 4: Select Source and Destination Drives
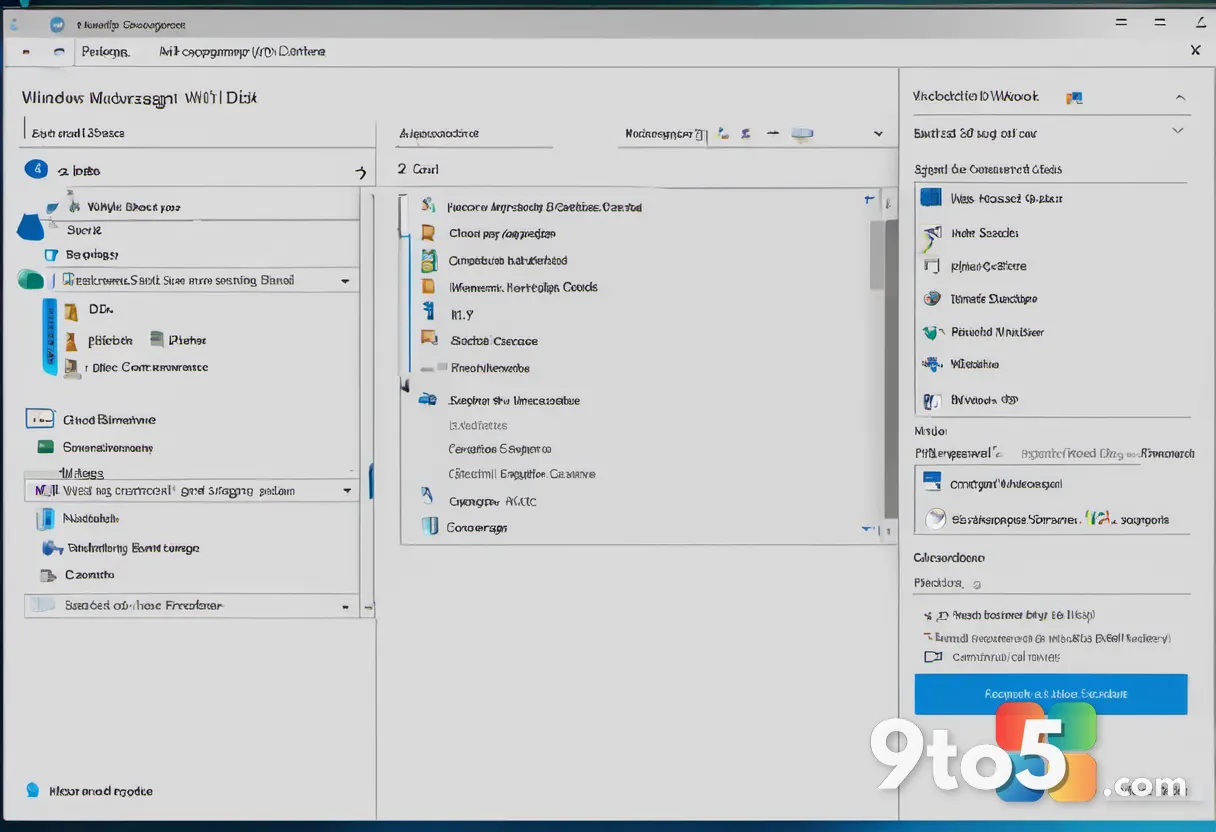
Assign your old HDD as the source and the new SSD as the destination. Most cloning interfaces ask you to pick a source first, then a target. Drag the source drive to the top slot and the target drive to the bottom slot, or use the dropdown menus to make your selection. The software will warn you that data on the destination drive will be overwritten. Click through the warning only after confirming you selected the correct SSD, because accidental overwrites will erase everything on that drive.
Step 5: Configure the Partition Layout
Adjust the partition scheme so the new SSD uses its full capacity. By default, cloning software copies the exact partition sizes from your old drive, which leaves unused space on the larger SSD. Click the partition editor or layout option, then drag the right edge of the main Windows partition to fill the available space. You will see a preview showing the new allocation. If the software offers a sector-by-sector option, leave it unchecked unless you are cloning a drive with bad sectors, because the standard file-system copy runs much faster.
Step 6: Start the Clone and Wait for Completion
Initiate the process and let the software run without interruption. Click the Start or Clone button, and you will see a progress bar alongside a speed readout measured in megabytes per second. The operation typically takes thirty to ninety minutes depending on how much data you are moving and whether you use a USB adapter or internal SATA connection. Do not shut down the computer, sleep the system, or disconnect the drives while the progress bar is active, because an interrupted write can corrupt the file system on both drives.
Step 7: Swap Drives and Boot from the SSD
Power down, remove the old HDD, and set the SSD as the primary boot drive. If you installed the SSD internally, swap the data cables so the SSD connects to the first SATA port, or enter the BIOS/UEFI and change the boot order. Restart the PC and watch the Windows logo appear. You will notice faster login times, quicker application launches, and reduced fan noise. Once you confirm everything boots correctly, you can format the old HDD and use it for extra storage.
Troubleshooting Common Cloning Issues
Issue 1: The PC does not boot after swapping the drives. Windows often stores boot files in a small recovery partition that the cloning software might not copy correctly. Restart into the BIOS and verify the SSD is listed first in the boot priority menu. If the system still refuses to start, use a Windows 11 installation USB, choose Repair your computer, and run Startup Repair to rebuild the boot configuration.
Issue 2: The clone fails with an I/O error or stops at a certain percentage. This usually points to a failing sector on the source drive or a loose cable. Check both SATA and power connections, then try cloning in smaller batches by selecting only specific partitions. If the error persists, replace the source drive, because continuing to force a clone across bad sectors will likely corrupt the destination.
Issue 3: The new SSD shows less usable space than expected. Cloning software often preserves the original partition layout, leaving unallocated space on the larger drive. Open Disk Management, right-click the main Windows partition on the SSD, and select Extend Volume. Follow the wizard to merge the free space, and Windows will immediately recognize the full capacity.
Pro Tip: Create a system image backup on an external drive before you begin. If the clone fails or the new SSD arrives defective, you can restore your original setup without reinstalling Windows or reconfiguring your applications.
Final Tips for a Smooth Transition
Keep the old drive connected until you verify the new SSD works flawlessly. Run your most-used programs, check that OneDrive and file sync are active, and confirm your printer and peripherals respond correctly. Enterprise environments should verify BitLocker recovery keys before cloning, because changing the boot drive can trigger a TPM lock. Once you are completely satisfied with the new setup, back up your data one final time and format the old HDD for secondary storage.
Over to you: Have you switched to an SSD yet, or are you still waiting to make the jump?