When Windows 11 stops working properly or you need to reinstall the operating system, a bootable USB drive becomes your best recovery tool. This guide walks you through creating a recovery USB drive using Microsoft’s official Media Creation Tool or the free Rufus utility.
Before You Start: You’ll need a USB flash drive with at least 8GB of storage (16GB recommended), access to a working Windows 11 or 10 PC, and your Microsoft account credentials for downloading the ISO file.
Step 1: Download the Windows 11 ISO file
Navigate to the Microsoft software download page in your web browser and locate the Windows 11 download section. Click the “Download tool now” button to get the Media Creation Tool, or choose “Download ISO” if you prefer to use Rufus. The ISO file contains the complete Windows 11 installation files you’ll need for recovery.
The Media Creation Tool automatically downloads the latest version of Windows 11 and prepares it for USB creation. If you choose the ISO route, you’ll need to select the edition (Windows 11 Home or Pro) and language before downloading. This process may take 10-20 minutes depending on your internet connection speed.
If the download fails or times out, try clearing your browser cache or switching to a different browser. You can also pause and resume the download if your connection drops.
Step 2: Insert your USB drive
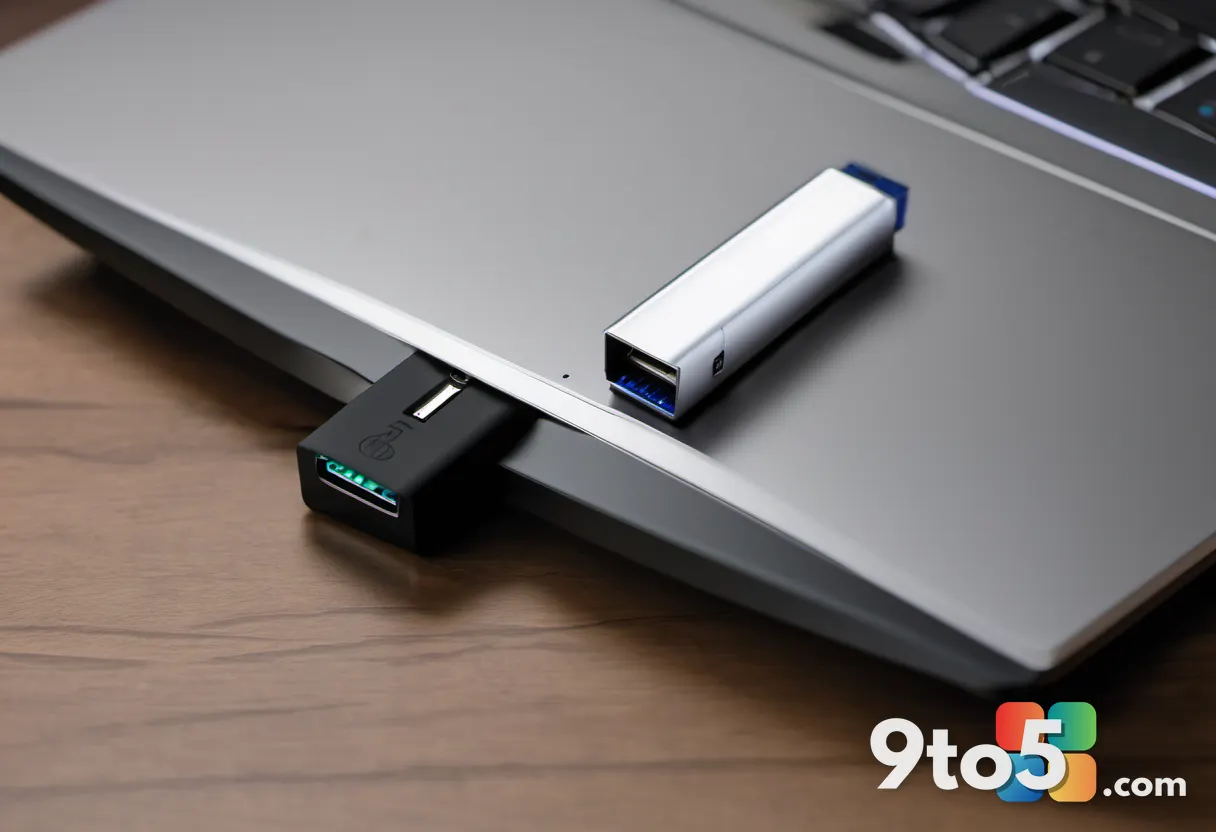
Plug your USB flash drive into a USB port on your working Windows PC. The drive will appear in File Explorer under “This PC” with a drive letter like E: or F:. Make sure all important files are backed up, as this process will erase everything on the USB drive.
Windows will recognize the drive automatically and assign it a drive letter. If you see a prompt asking how to use the USB drive, click “Cancel” to close that dialog. The drive needs to be empty or you’ll lose any data currently stored on it.
If your USB drive doesn’t appear in File Explorer, try a different USB port or check Device Manager to see if Windows recognizes the hardware. You may need to update drivers or the drive might be faulty.
Step 3: Run the Media Creation Tool
Double-click the MediaCreationTool.exe file you downloaded in Step 1 to launch the utility. If Windows SmartScreen shows a warning, click “More info” and then “Run anyway” to proceed. The tool requires administrator privileges to modify system files and create the bootable drive.
The Media Creation Tool will ask if you want to agree to the license terms. Click “Accept” to continue. The tool then presents two options: “Upgrade this PC now” or “Create installation media for another PC.” Select the second option for creating a recovery USB drive.
If the tool crashes or won’t launch, try running it as an administrator by right-clicking the file and selecting “Run as administrator.” You can also temporarily disable antivirus software during the process, then re-enable it afterward.
Step 4: Configure the USB creation settings
Select your language, edition, and architecture in the Media Creation Tool’s configuration screen. For most users, the default settings (English, Windows 11 Home, 64-bit) work perfectly. Click “Next” to proceed to the media selection screen.
The tool asks whether you want to create a USB flash drive or an ISO file. Since you’re building a recovery drive, select “USB flash drive” from the options. This tells the tool to prepare the installation files specifically for USB booting.
If you selected “ISO file” by mistake, don’t worry. You can still use Rufus to create the bootable USB from the downloaded ISO file in a later step.
Step 5: Select your USB drive
Choose your USB flash drive from the list of available drives in the Media Creation Tool. The tool displays all USB drives it can detect, showing the drive letter and capacity. Select the correct drive to avoid accidentally formatting the wrong device.
Double-check that you’ve selected the right USB drive before clicking “Next.” The tool will warn you that all data on the selected drive will be erased. This is a critical safety step to prevent accidental data loss.
If your USB drive doesn’t appear in the list, it might not be properly formatted or the Media Creation Tool may not support certain drive sizes. Try using Rufus instead, which supports a wider range of USB drives.
Step 6: Wait for the creation process to complete
The Media Creation Tool begins writing files to your USB drive. This process typically takes 15-30 minutes, depending on your USB drive’s write speed and the size of the Windows 11 files. You’ll see a progress bar showing the current status.
During this time, the tool copies the Windows 11 installation files, makes the drive bootable, and verifies the data integrity. Do not remove the USB drive or turn off your PC while the process is running. Interrupting the process can leave the USB drive in an unusable state.
If the process fails or shows an error message, note the exact error code and try again. Common issues include USB drive compatibility problems or corrupted download files. You may need to re-download the ISO or try a different USB drive.
Pro Tip: For faster creation times, use a USB 3.0 drive (blue connector) and plug it into a USB 3.0 port (also blue). USB 3.0 drives write data significantly faster than older USB 2.0 drives.
Step 7: Verify the bootable USB drive
Once the Media Creation Tool completes, you’ll see a success message confirming the USB drive is ready. Click “Finish” to close the tool. The USB drive now contains a bootable Windows 11 recovery environment that you can use on any compatible PC.
Eject the USB drive safely by clicking “Eject” in File Explorer before physically removing it. This ensures all data is properly written and prevents corruption. Your recovery USB drive is now ready to use.
If you want to verify the USB drive works, you can test it by restarting a PC and pressing the boot menu key (usually F12, F2, or Del) to boot from the USB drive. The Windows 11 setup screen should appear.
Alternative method: Using Rufus
Download and launch Rufus if you prefer more control over the USB creation process or if the Media Creation Tool doesn’t work with your USB drive. Rufus is a free, portable utility that creates bootable USB drives from ISO files.
Select your USB drive from the device dropdown, choose the Windows 11 ISO file, and select the appropriate partition scheme (GPT for UEFI systems, MBR for older BIOS systems). Click “Start” to begin the creation process.
Rufus offers additional options like creating a Windows To Go drive or including specific drivers. These advanced features are useful for IT professionals but may not be necessary for basic recovery USB creation.
Troubleshooting common issues
USB drive not detected: If your USB drive doesn’t appear in either the Media Creation Tool or Rufus, try these solutions: restart your PC with the USB drive plugged in, use a different USB port, or check Device Manager for unrecognized devices. You may need to update USB drivers or the drive might be incompatible with the creation tool.
Creation process fails or errors: When the USB creation process fails, note the exact error message. Common causes include insufficient USB drive space, corrupted ISO files, or USB drive compatibility issues. Try re-downloading the ISO file, using a different USB drive, or switching between the Media Creation Tool and Rufus.
USB drive not bootable: If your created USB drive doesn’t boot properly, verify you selected the correct partition scheme (GPT for UEFI, MBR for BIOS). Also ensure your PC’s BIOS/UEFI settings allow USB booting and that secure boot isn’t preventing the drive from starting. You may need to temporarily disable secure boot in BIOS settings.
Windows 11 installation fails on target PC: If the USB drive boots but Windows 11 won’t install, the issue might be hardware incompatibility or driver conflicts. Try updating your PC’s BIOS, checking hardware compatibility, or using the “Repair your computer” option from the USB drive’s advanced startup menu.
Quick tips for recovery USB success
- Label your USB drive: Use a label maker or tape to mark the USB drive as a Windows 11 recovery drive. This prevents accidental formatting and helps you identify it quickly in an emergency.
- Keep multiple recovery drives: Create backup recovery USB drives every 6-12 months. Windows updates can change system requirements, and older recovery drives might not support the latest features.
- Store USB drives safely: Keep your recovery USB drives in a fireproof container or safe place. Store them away from magnetic fields and extreme temperatures to prevent data corruption.
- Document your recovery process: Write down the steps you use to create recovery USB drives. This helps you recreate them quickly if you need to replace a lost or corrupted drive.
Creating a Windows 11 bootable USB drive for recovery gives you peace of mind knowing you can restore your system even if Windows becomes unbootable. Follow these steps carefully, and you’ll have a reliable recovery tool ready when you need it most.
Over to you: Have you ever used a recovery USB drive to fix a Windows 11 problem? What was your experience?