When the mercury rises outside, your computer feels the strain just as much as you do. While we seek relief in air conditioning or by the pool, a PC operating in a hot room faces a significantly higher thermal load. Once ambient temperatures climb past 30 degrees Celsius, your cooling system must work substantially harder to dissipate waste heat from the CPU, GPU, and other components.
This added strain manifests in several ways: fans spin faster and grow louder, power consumption increases, and component longevity takes a hit. More critically, sustained high temperatures trigger thermal throttling, a protective mechanism that deliberately slows down your processor to prevent damage. The result is a PC that feels sluggish, games stutter, and tasks that should take minutes suddenly take much longer.
Before you panic about hardware failure, it helps to understand exactly what is happening inside your case. This guide breaks down the science of heat, how to monitor your system’s temperatures using free Windows tools, and a series of actionable steps—from software tweaks to hardware maintenance—that will keep your PC running at full speed throughout the summer.
#1 Understanding the Thermal Impact on Performance
The immediate symptom of an overheating PC is a sudden drop in performance. Modern processors and graphics cards are equipped with sophisticated thermal protection circuits. When a chip approaches its maximum safe operating temperature, it automatically reduces its clock speed and voltage. This process is known as thermal throttling.
Thermal throttling is designed to reduce power consumption, which in turn lowers heat generation. However, the trade-off is speed. You may notice programs launching more slowly, file transfers taking longer, and frame rates in games plummeting. In severe cases, particularly with laptops, the CPU clock speed can drop by as much as 25 percent, turning a high-performance machine into a sluggish one.
Only when throttling proves insufficient to cool the component does the hardware initiate an emergency shutdown. This thermal shutdown is a last-resort safety measure and rarely occurs in practice because users typically notice the performance drop and close demanding applications beforehand.
Beyond immediate performance loss, prolonged exposure to high temperatures accelerates the aging of internal components. Chemical processes inside electronics speed up in heat. In cooling fans, the lubricant in ball bearings can liquefy, leading to increased friction and eventual failure. In capacitors on circuit boards, the electrolyte can evaporate, causing them to swell or burst.
For laptop users, the battery is particularly vulnerable. Lithium-ion cells degrade faster at elevated temperatures, especially when kept at a 100 percent charge while hot. During summer months, it is advisable to avoid leaving your laptop permanently plugged in at full capacity. If your manufacturer provides a battery charge limit in the system settings, activating it can significantly extend battery health.
#2 Monitoring Temperatures with Free Windows Tools
To manage heat effectively, you first need data. Windows does not natively display detailed component temperatures, so you will need third-party software. Several free options provide reliable sensor readings.
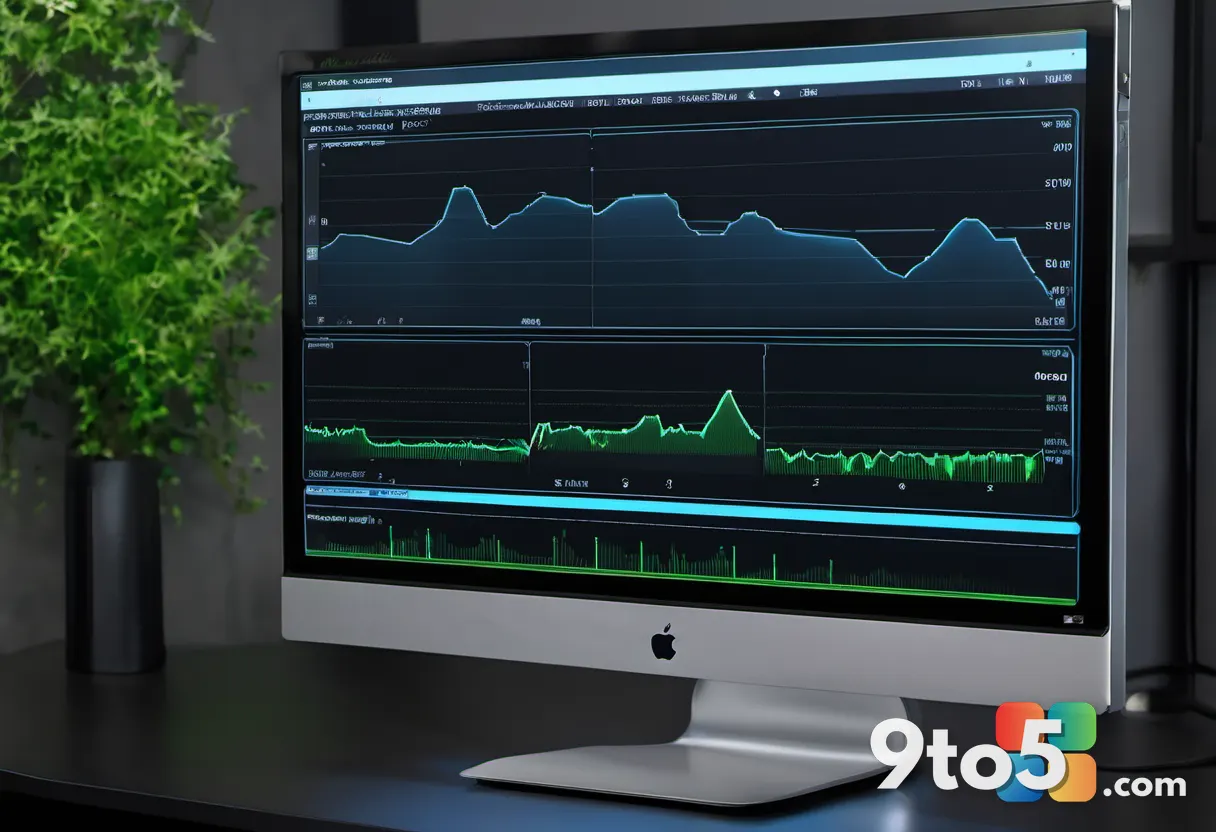
HWiNFO is widely regarded as the most comprehensive option. Upon installation, select the ‘Sensors only’ option to launch directly into the monitoring interface. The data is organized by component, displaying current, minimum, maximum, and average values. For the CPU, focus on the ‘CPU Package’ row. AMD users should look for ‘CPU (Tctl/Tdie).’ Below this, individual core temperatures reveal if specific cores are running hotter than others.
For the graphics card, two metrics are critical: ‘GPU Temperature’ for the average die temperature, and ‘GPU Hot Spot Temperature’ for the single hottest point on the chip. The ‘Drive Temperature’ entry shows SSD health, while the ‘Thermal Throttling’ line provides a binary indicator of whether your processor has already throttled during your session.
Core Temp offers a simpler interface, displaying per-core temperatures and utilization alongside the processor’s throttling limit, labeled as ‘Tj. Max.’ It can also pin these values to your taskbar for constant visibility. During installation, be sure to decline any bundled software offers.
HWMonitor provides a quick tabular overview of current, minimum, and maximum readings across all sensors. For users preferring open-source software, Libre Hardware Monitor serves as a capable alternative. If you primarily monitor your GPU, GPU-Z includes a dedicated sensors tab. For gamers who want real-time data overlaid on their screen, MSI Afterburner allows you to enable a persistent on-screen display for CPU and GPU temperatures.
#3 Knowing Your Safe Temperature Thresholds
Manufacturers define operating temperature ranges based on the silicon process, packaging, and expected lifespan. These thresholds vary by generation and even between production batches, but general guidelines apply across most modern hardware.
A CPU typically idles between 30 and 45 degrees Celsius. Under heavy load, it should ideally remain below 80 degrees Celsius. Thermal throttling thresholds differ by manufacturer: Intel processors generally throttle at 100 degrees Celsius, AMD Ryzen 7000 series chips at 95 degrees Celsius, and AMD X3D variants with large cache dies at 89 degrees Celsius.
These limits represent a compromise between peak performance and component longevity. Nvidia graphics cards typically throttle between 90 and 93 degrees Celsius, while AMD Radeon cards can tolerate hot spots up to 110 degrees Celsius. NVMe SSDs throttle between 70 and 80 degrees Celsius to protect data integrity, and DDR5 RAM becomes critical above 85 degrees Celsius, though it rarely reaches this point before other components fail first.
If your temperatures consistently exceed these limits under load, or if you see the ‘Thermal Throttling’ indicator activated, immediate action is required. The following steps range from zero-cost software adjustments to hardware maintenance.
#4 Reducing Heat via Windows Software Settings
Before opening your case, address software-related heat generation. Every background process consumes CPU cycles and generates waste heat. Open the Task Manager using Ctrl + Shift + Esc and navigate to the ‘Startup’ tab. Disable applications that do not need to launch immediately, such as cloud storage clients, update managers, and chat platforms.
In the ‘Processes’ tab, sort by ‘CPU’ to identify programs with persistent high utilization. An unusually high CPU load while idle often indicates malware, such as hidden cryptocurrency miners. Running a scan with a reputable antivirus can resolve this.
One of the most effective software adjustments involves capping the CPU’s Turbo Boost. Turbo Boost temporarily increases clock speeds for burst performance but generates disproportionate heat. Open the Windows Control Panel, navigate to Power Options, and select Change plan settings for your active power plan. Click Change advanced power settings to expand the menu.
Expand Processor power management and change Maximum processor power state from 100 percent to 99 percent. For many processors, this one percent reduction is sufficient to disable Turbo Boost entirely. The performance impact in daily tasks is negligible, but temperature reductions of several degrees are common. Apply this change to your ‘Balanced’ plan, while keeping a separate ‘High Performance’ plan for tasks that require maximum speed.
Additionally, review the System cooling policy in the same menu. Setting this to ‘Active’ ensures Windows prioritizes increasing fan speed before throttling the CPU, which can help maintain performance longer in hot environments.
#5 Optimizing PC Placement and Airflow
Environmental factors play a crucial role in thermal performance. Every degree of increase in ambient temperature reduces the efficiency of your cooling system. Avoid placing your PC in direct sunlight or in the warmest room of your home. Ensure the case is not pushed flush against a wall, which blocks exhaust airflow, and avoid enclosing it in a closed cabinet without ventilation.
Do not stack heat-generating devices, such as routers or gaming consoles, on top of your PC case. For laptop users, never place the device on soft surfaces like beds or blankets, as this blocks the bottom intake vents and traps heat. A hard, flat surface is essential for adequate airflow.
#6 Cleaning Dust and Maintaining Hardware
Dust accumulation is the primary cause of thermal degradation in older systems. Dust settles on cooling fins and fan blades, acting as an insulator that impedes heat dissipation. This forces fans to spin faster and louder, eventually leading to thermal throttling despite maximum fan speeds.
To clean your PC, power it down and unplug the power cable. Remove the side panel of your case, typically secured by two knurled screws at the rear. Using a can of compressed air, blow short bursts of air through the case from a distance of a few centimeters. Focus on the CPU cooler, GPU heatsinks, power supply air intakes, and front dust filters.
When cleaning fans, hold the blades stationary with a finger or toothpick. Allowing fans to spin freely from the air pressure can overspeed the bearings, causing damage. Never use a vacuum cleaner directly on internal components, as static discharge can destroy sensitive electronics. Removable dust filters should be washed under running water and completely dried before reinsertion.
Perform a thorough cleaning every six to twelve months. Households with pets or smokers may need to clean more frequently. After cleaning, verify that all fans are operational. Use software like HWiNFO to check fan speeds. A 120mm or 140mm case fan should typically operate between a few hundred and 1,200 RPM under normal load, rising to 2,000 RPM under heavy load. If a fan reports 0 RPM while the system is warm, it may be disconnected or faulty.
If temperatures remain high after cleaning, consider replacing the thermal paste on your CPU or GPU. Thermal paste degrades over time, drying out and losing its ability to transfer heat efficiently. If a single CPU core runs 10 to 15 degrees hotter than others, or if the GPU hot spot differs by more than 25 degrees from the average, the paste likely needs replacement. High-quality thermal paste costs between $5 and $10 and lasts three to five years, whereas factory-applied paste in pre-built systems may only last two years.
To apply paste, remove the cooler, clean the old paste from the chip and cooler base using isopropyl alcohol and a lint-free cloth, then apply a pea-sized dot to the center of the chip. Reattach the cooler evenly in a crisscross pattern to ensure proper contact.
#7 Installing Additional Case Fans
If software tweaks and cleaning do not resolve thermal issues, additional case fans can improve airflow. 120mm and 140mm fans are standard sizes, with larger fans moving more air at lower speeds and reduced noise.
Establish a clear airflow path: intake fans at the front and bottom draw in cool air, while exhaust fans at the rear and top expel hot air. For a standard mid-tower case, three to five fans are usually sufficient. Connect fans to motherboard headers labeled ‘CHA_FAN’ or ‘SYS_FAN,’ leaving ‘CPU_FAN’ for the processor cooler.
Four-pin fans use Pulse Width Modulation (PWM) for precise speed control, while three-pin fans use voltage regulation. Both fit standard connectors. Configure fan curves in the UEFI BIOS or using software like FanControl to balance noise and cooling efficiency.
Ensure your fan configuration creates slight positive pressure inside the case. This means having more intake fans than exhaust fans, which pushes air out through filtered gaps rather than pulling unfiltered dust through unfiltered openings. Route cables behind the motherboard tray to maintain clear airflow paths.
#8 Improving Laptop Cooling
Laptops have limited internal cooling options due to their slim form factors. External solutions are often the most effective approach.
Raising the rear of your laptop by two to three centimeters using a stand improves airflow through the bottom intakes, potentially reducing temperatures by 5 to 10 degrees. A foldable aluminum stand costs approximately $25 to $30.
Active cooling pads with built-in fans offer greater reduction. However, design matters. Open-sided pads allow air to escape, providing minimal benefit. Sealed pads direct air specifically into the intake vents, reducing temperatures by up to 20 degrees. Simple multi-fan pads cost $20 to $35, while high-performance models with turbo fans range from $45 to $70.
Regularly clear dust from laptop ventilation slots using short bursts of compressed air. This simple maintenance step can restore lost cooling performance over time.
What This Means for You
Summer heat does not have to compromise your PC’s performance. By monitoring temperatures, adjusting Windows power settings, maintaining clean hardware, and optimizing airflow, you can prevent thermal throttling and extend the lifespan of your components. These steps require minimal investment and can be implemented immediately, ensuring your PC remains fast and reliable throughout the hottest months of the year.
Source: PCWorld
Over to you: Have you noticed your PC throttling during summer months, or do your cooling solutions keep it silent and fast?