Gmail is packed with hidden features and add-on possibilities, but one of its most powerful organizational tools tends to sit quietly in the middle of the regular settings. It’s called Gmail filters — Google’s long-standing system for automating your inbox with a set of custom-crafted rules.
At first glance, Gmail filters can seem complicated, overwhelming, or even unnecessary. Don’t be fooled by that crusty exterior. Set them up once and they reshape how incoming mail is handled, keeping your email in order with no ongoing effort on your part.
Unlike Google’s newer AI-powered Inbox option (which, as of this writing, still isn’t available to most users), Gmail filters don’t require your personal messages to be processed by generative AI. They also hand you complete control over exactly how your mail is handled, instead of relying on technology that can be unreliable and occasionally fall short.
All it takes is a little one-time planning. Here’s everything you need to know about using Gmail filters to automate your inbox.
Why Gmail filters still beat AI for inbox organization
Google has been pushing its Gemini-powered features hard, including an AI Inbox that tries to figure out what matters most and summarize or act on your mail for you. But that approach has two notable drawbacks for privacy-conscious and control-oriented users.
First, the AI option processes your messages through generative systems, which isn’t for everyone. Second, AI is inherently probabilistic — it makes guesses, and those guesses are wrong more often than you’d like. Gmail filters, by contrast, are deterministic: you define the exact conditions and the exact actions, and they happen every time, predictably.
The filters themselves aren’t new. They’ve been part of Gmail for well over a decade and have been quietly refined ever since. This guide was originally published in October 2019 and most recently updated, so you’re getting battle-tested functionality rather than a beta experiment.
What Gmail filters can do for you
Before you build anything, it helps to know what’s possible. With Gmail filters, you can:
- Keep messages from specific high-priority senders in your Primary tab, where you’re guaranteed to see them.
- Route lower-priority mail — invoices, reports, service updates — into an out-of-the-way location so it never clogs your inbox.
- Automatically archive messages from annoying senders the moment they arrive, while keeping them searchable if you ever need them.
- Forward mail from a specific address or containing a specific subject phrase to someone on your team or in your family.
- Instantly reply to messages from or to a particular address with a prewritten template.
- Label messages sent to a plus-variation of your address (like youraddress+vip@gmail.com) or containing a keyword like “urgent” as “VIP,” then get notifications only for those.
- Mark your own messages as reminders by tagging them with a bright yellow “REMINDER” label.
That last item — automatically ordering a snickerdoodle when your boss emails you — isn’t possible. Everything else on the list is straightforward to set up.
How to create a Gmail filter
The simplest way to start is on a desktop browser. Gmail filters can’t easily be managed on mobile, so you’ll want to do this from a computer.
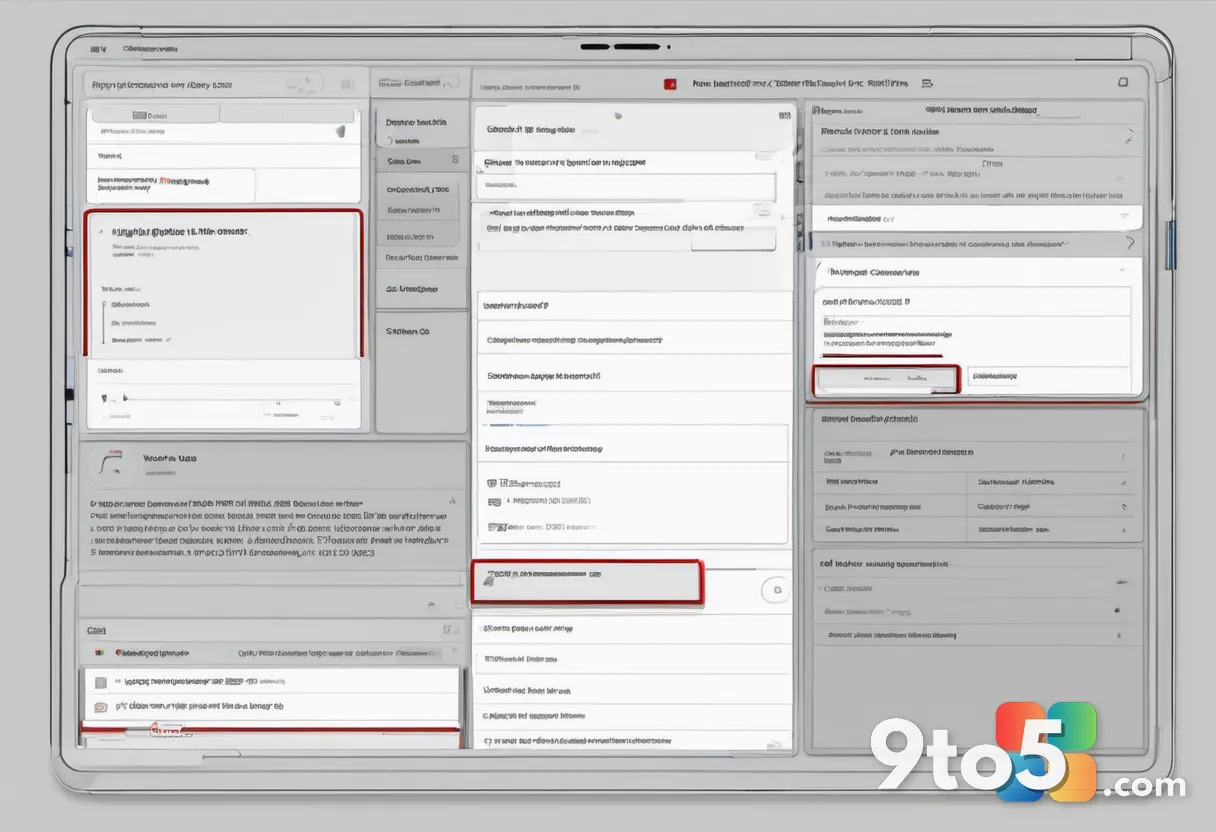
At the top of the Gmail website, click the control panel icon inside the search box — the symbol made of three horizontal lines stacked on top of each other. That opens a form where you define the conditions for your filter.
Here you can specify whatever you want to filter on: a word or phrase that might appear in an email’s subject or body, an address a message could come from, or any combination you like. You can even get precise by wrapping multiword terms in quotation marks and linking terms with operators like “AND” and “OR.” Once you’ve filled in the fields, click “Create filter” at the bottom of the box to move on.
A warning about the “Search” field
Before you pick actions, notice the “Search” option near the top of the filter form. By default, it’s set to “All Mail,” meaning your filter applies to every incoming message that matches your conditions.
If you switch that to “Inbox,” you’ll likely see an error telling you the parameters aren’t recommended and may not work properly. Leave it set to “All Mail” — which is almost always what you want — and you’ll avoid the error and keep things working as intended.
Choosing filter actions and applying them retroactively
On the second screen, you’ll see a checklist of actions you can combine and configure. These include labeling messages, marking them as read or unread, archiving, deleting, forwarding, and auto-replying.
Scroll to the bottom of the box to find one option worth knowing about: “Also apply filter to matching conversations.” Check this box and Gmail will run your new filter retroactively, applying it to messages already sitting in your account — not just future arrivals.
When you’re happy with your selections, click the blue “Create filter” button. Your filter is now live. The next time a message matches your conditions, the actions you specified fire automatically.
How to manage your Gmail filters
Filters aren’t set in stone. If you need to edit, delete, or simply review a filter later, click the gear-shaped icon in the upper-right corner of Gmail, then open “Settings.” From there, select the “Filters and Blocked Addresses” tab at the top.
You’ll see a complete list of every filter you’ve ever created, and you can tweak or remove any of them with a couple of clicks. This makes it easy to audit your automation and clean up rules that no longer serve you.
What this means for you
The practical takeaway is that Gmail filters give you reliable, private, and fully manual control over your inbox — no AI required. You decide the rules, and they execute every single time without guessing.
For everyday users, that means less time sorting through noise and more time seeing what actually matters. For anyone wary of sending personal email through generative AI systems, filters are a way to keep that data entirely in your hands.
The setup takes a few minutes, but the payoff is ongoing: once your filters are in place, your inbox runs itself. If you’ve been putting off inbox organization because it felt like too much work, this is the low-effort, high-reward path.
Source: Computerworld
Over to you: Will you set up Gmail filters to take back control of your inbox, or are you waiting for Google’s AI Inbox option to roll out more widely?